Adding a Product is very similar to adding a WebApp item, but with additional features which are fully integrated into other features of Siteglide eCommerce e.g. Shopping Cart, Checkout and Orders.
Creating A Product
Firstly, navigate to your Products.
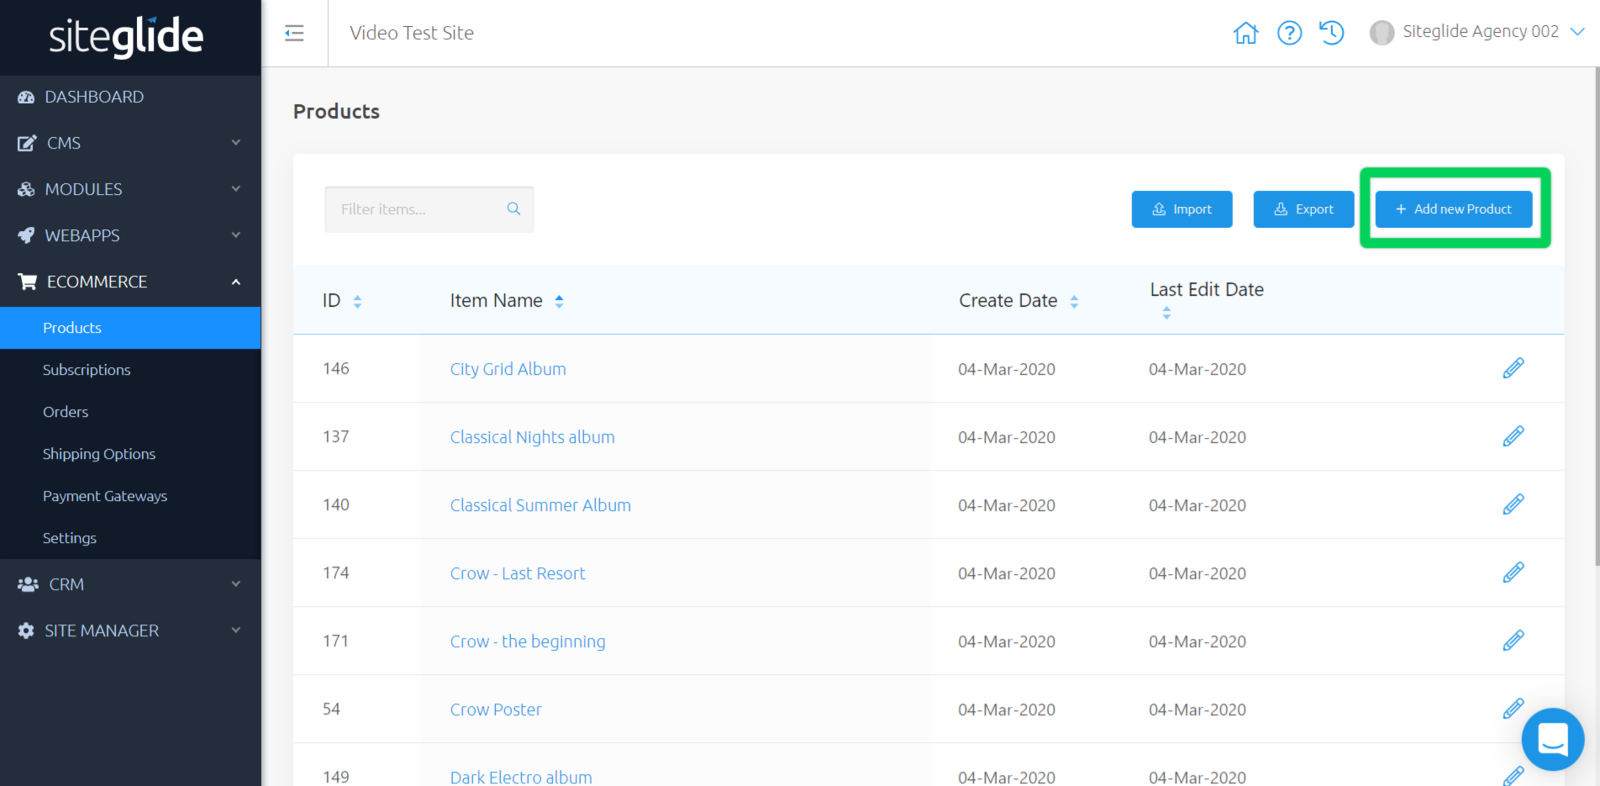
On the right-hand side above your list of Products, you'll see a blue button that says 'Add New Product', click this and you'll be on your way to creating a new Product.

This will redirect you to 'Standard Fields' page.
Once you have filled out these fields, click 'Save'.
Your new Product will then show in your list of Products.
Edit A Product
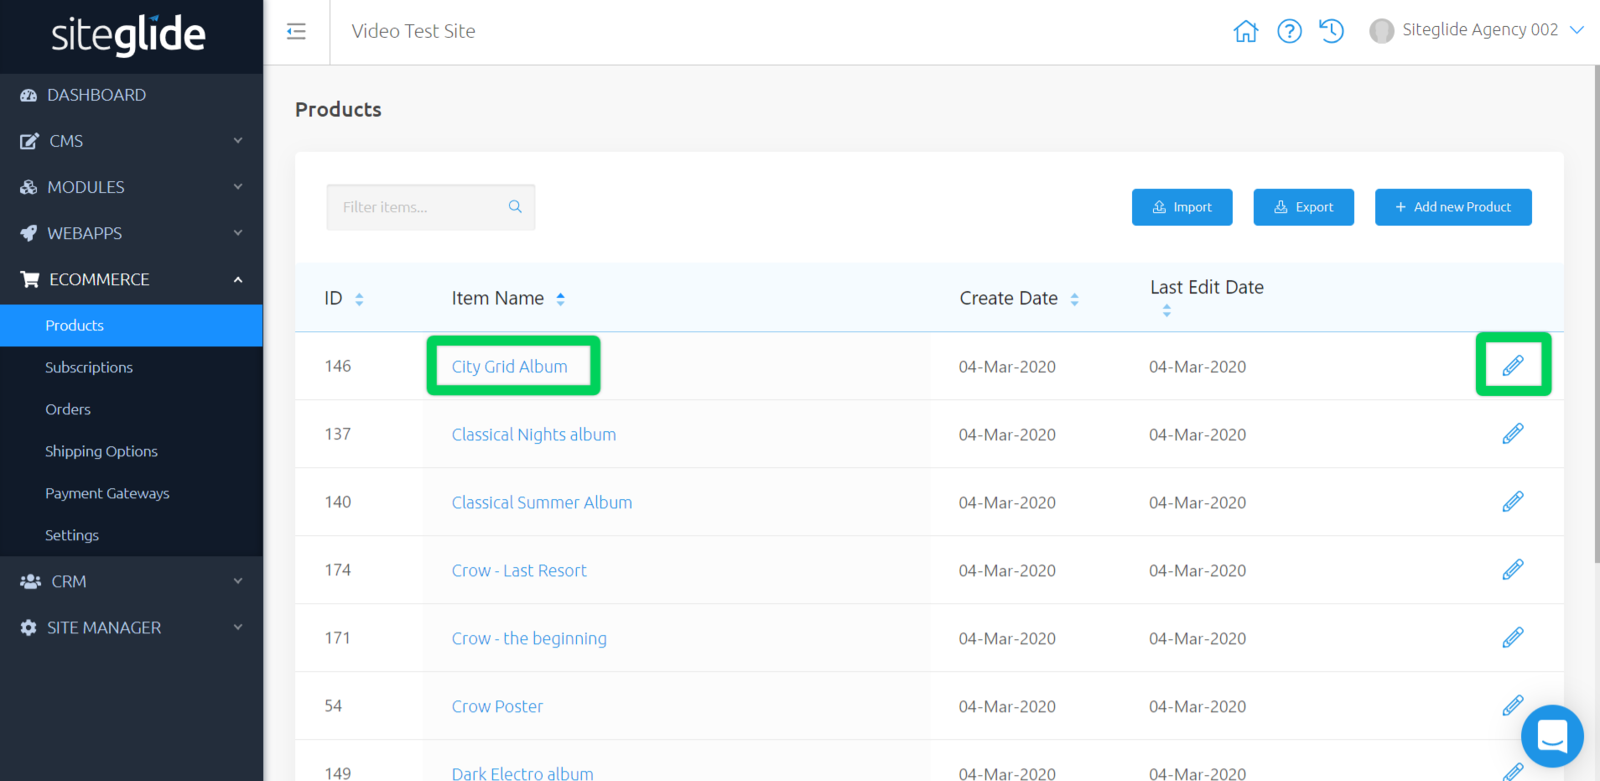
Whilst viewing your list of Products, click on the Product name, or the pencil icon to the right-hand side of any existing Product to take you to the Standard Fields page.

Once you are happy with your edits, click 'Save'.
Related Documents:
- Getting Started With Siteglide eCommerce
- Developing with eCommerce
- eCommerce - Products - Introduction
- eCommerce - Products - Creating and Editing
- eCommerce - Products - Import/Export
- eCommerce - Products - Standard Fields
- eCommerce - Products - SEO
- eCommerce - Products - Open Graph
- eCommerce - Products - Add To A Category
- eCommerce - Products - Pricing
- eCommerce - Products - Attributes
- eCommerce - Products - Inventory Control
- eCommerce - Products - Custom Field Sets
- eCommerce - Products - Outputting Products
- eCommerce - Products - Edit Module Structure
- eCommerce - Products - Custom Fields
- eCommerce - Products - Add a Location
- eCommerce - Products - Secure Zones
- eCommerce Settings
- Cart, Checkout and Orders Flow with Secure Zones Module - Tutorial
- eCommerce - Shipping Options
- FAQ - How to add optional (tax-free) donations at Checkout
- FAQ - How do I create a catalogue of eCommerce Products?
- How to Set Up a Shopping Cart and Guest Checkout - Tutorial


