

Prerequisites
- You've installed the Siteglide eCommerce Module
- You've added eCommerce Products
- You've Implemented a Cart and Checkout Flow
Introduction
There are two main options here:
- If you're happy for the User to make two payments- the main Checkout payment - and a separate donation payment, this will be easier. You can redirect the successful Cart transaction to a Page with a Basic Payment Form. An additional benefit is that Users will be able to choose their donation amount.
- Alternatively, if you think it's important that the donation is added to the Cart and only a single Checkout payment is made- you can create a range of Products with a set Price -categorising them to distinguish them from your other Products. Users will only be able to choose from amounts you've already set up.
We'll look at the last method below, as it is the least straightforward. As for the first method, setting up a Checkout and/or a Basic Payment Form is documented elsewhere.
Setting up "Donation Products" and enabling them to be added to the Cart
Step 1: Create a Category
Firstly, I've already got a root-level category for "Our Products" on my Starter Site. It's probably helpful to create a root-level category for both your main Products (if you've not got one already) and for Optional Donations. This means you can keep donations out of main Product lists, and display of list of Donation Products only later on.
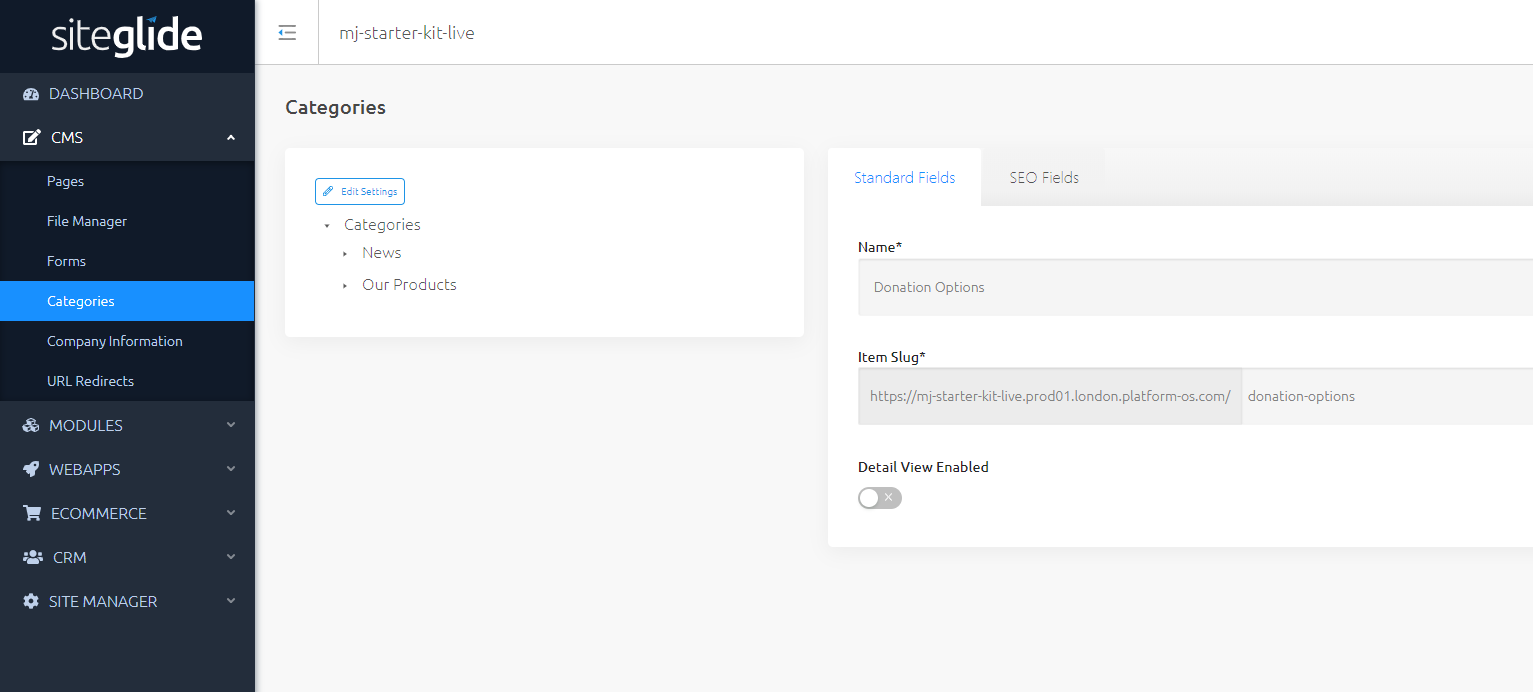
Having both root level categories should look like this:
Step 2: Add donation Products
For steps 2-5, you can follow them in order for each Product.
Add Products for the Donation amounts you'd like to make available.

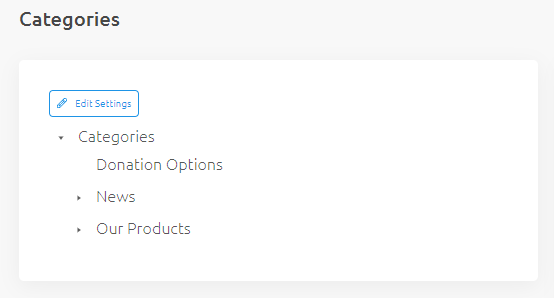
Step 3: Add each Product to your Donations Category
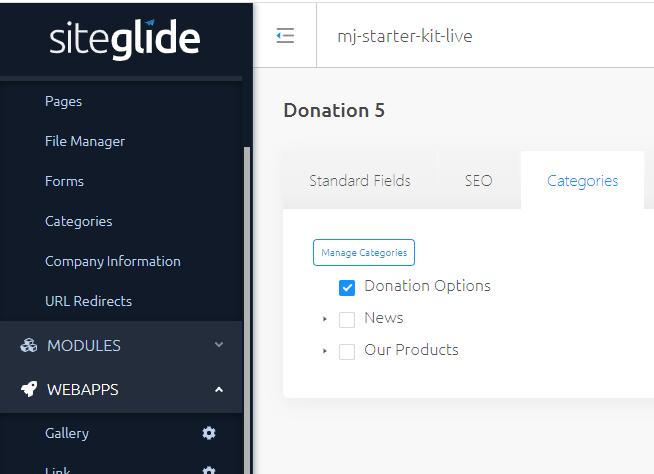
Step 4: Set Prices
Currently sales tax on Siteglide is handled with our joint price fields- "Chargeable Price" and "Display Only Price". We'll make these donations sales-tax free by setting these fields at the same price (no extra sales tax), while our other Products would have a higher "Chargeable Price" to reflect the added sales tax which applies to these. This is of course an option, depending on your Client's locale.
The "Chargeable Price" should be the donation amount for this particular option. At this point, you should decide whether you are adding sales tax.
In the example, these donations are tax free, so both prices show the same value.
Step 5: Don't set an Inventory- We can't run out of this Product!
Step 6: Create a Product List View - where you want to display the Donation Options
I'll be adding this to my Cart. This makes it easy for me to make sure the Cart is updated before the Checkout Process.
{%- include 'ecommerce/products', layout: "products", type: 'list' -%}
Step 7: For that List View- Limit it to the Donations Category
You can find the ID of the category in the Admin.
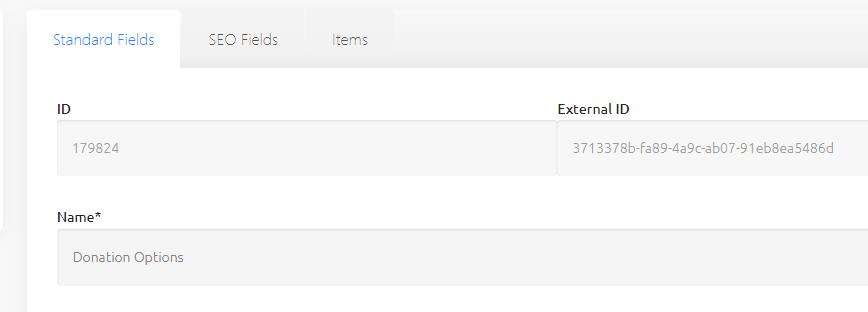
{%- include 'ecommerce/products', layout: "products", category_ids: "179824", type: 'list' -%}
Step 8: Add an "Add to Cart" button to each List Layout item.liquid File
{% include 'ecommerce/cart_add' -%}
Step 9: Add a quantity input field to each List Layout item.liquid FIle.
Hide it and hard-code it to 1:
<input style="opacity: 0;" hidden type="number" min="1" max="1" value="1" data-quantity-control id="quantity" readonly />