

Importing Products enables you to add Products in bulk at the same time. This is handy when you have many Products that you'd like to add or you'd like to edit these items in mass. Exporting enables you to generate a copy of your items and download this to your computer.
Where do you begin?
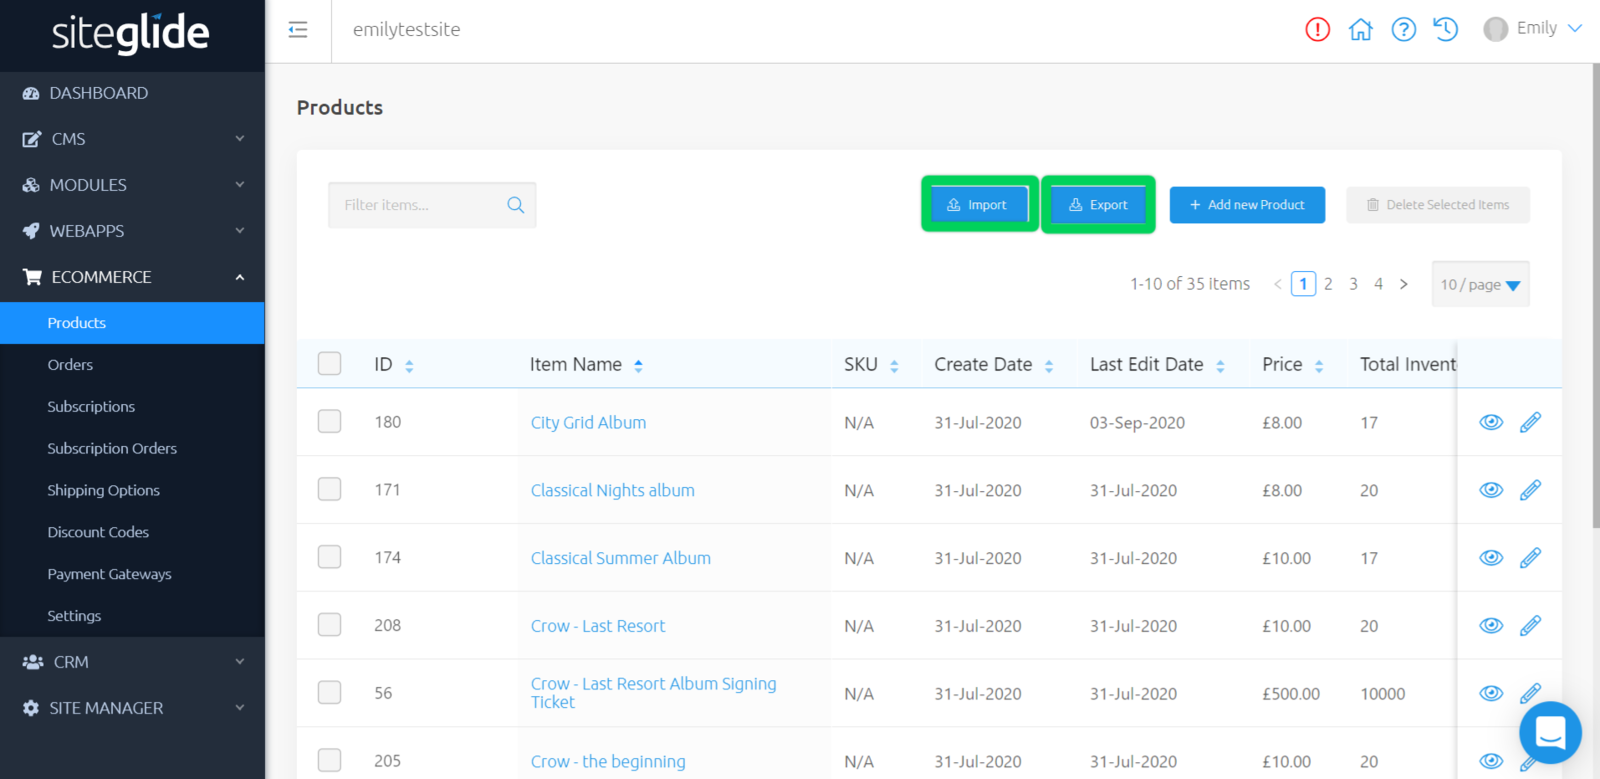
Firstly, navigate to your Products.
Above your list of Products, you'll see two blue buttons that say "Import" and "Export".
How do you import?
You can import data to Products, either by creating your own CSV file using the correct column headers or by downloading the import template and populating it with data. Click "Import" to redirect you to an area where you have two tabs, "Prepare" and "Start Import".
Clicking on "Prepare" will enable you to create your own CSV file using the correct column headers or by downloading the import template and populating it with data.
Start Import
Click on "Start Import" when you have a CSV file prepared, and click "Select CSV" to choose your file and begin importing into Siteglide.
A success message will show in the top right hand corner when this process has been completed for you. You can also head to Site Manager > Import Logs, to find a log of this CSV import.
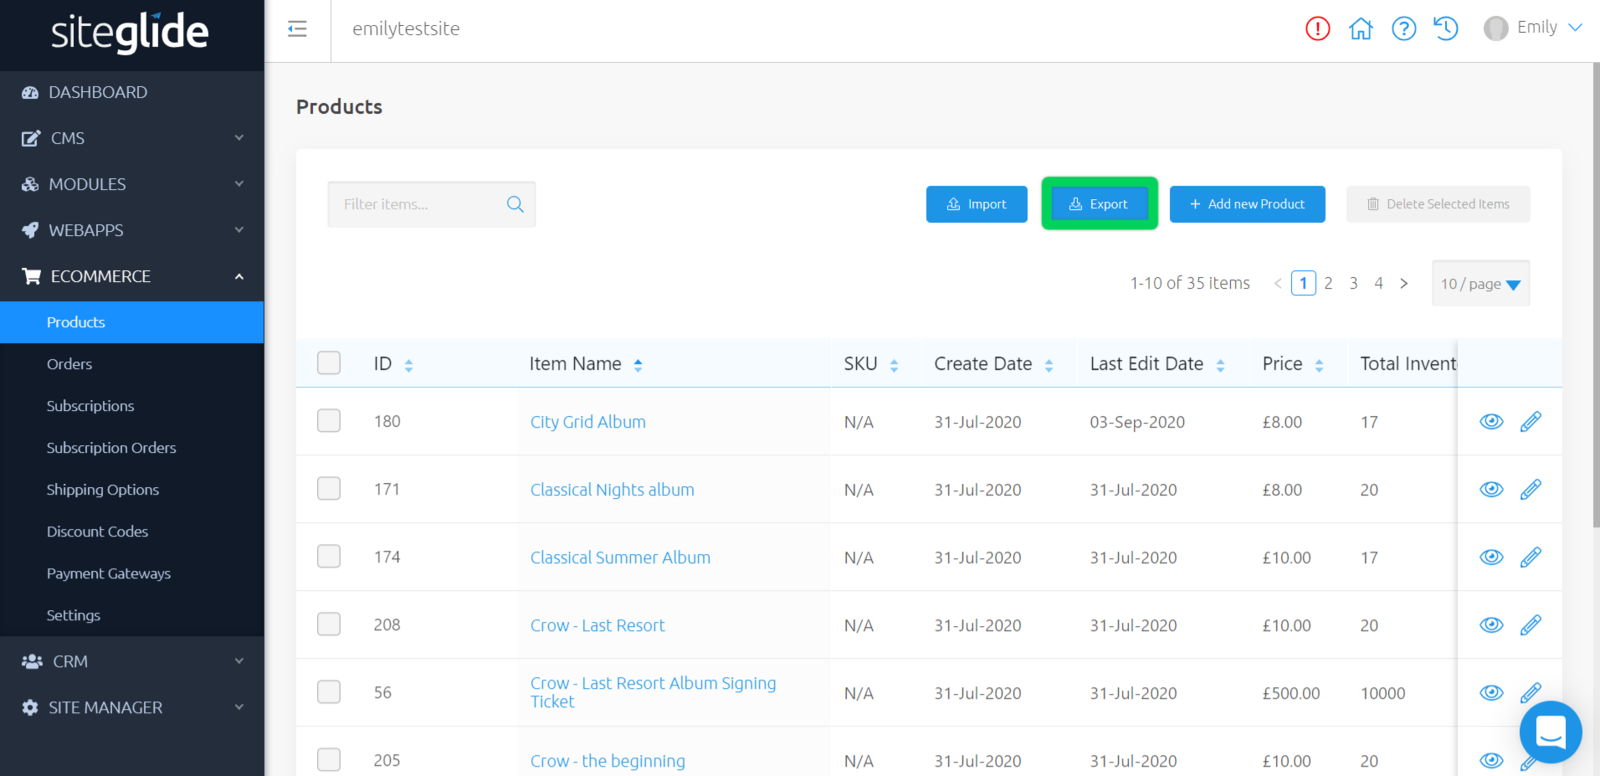
How do you export?
To export your Products, click the blue button that says "Export". A background data export process is then triggered, and you will receive an email when the data is ready for you to collect.
You can track progress of all your exports via Site Manager > Export Logs. Here you can see all exports that have been triggered, and download the resulting data.
Related Documents:
- Getting Started With Siteglide eCommerce
- Developing with eCommerce
- eCommerce - Products - Introduction
- eCommerce - Products - Creating and Editing
- eCommerce - Products - Import/Export
- eCommerce - Products - Standard Fields
- eCommerce - Products - SEO
- eCommerce - Products - Open Graph
- eCommerce - Products - Add To A Category
- eCommerce - Products - Pricing
- eCommerce - Products - Attributes
- eCommerce - Products - Inventory Control
- eCommerce - Products - Custom Field Sets
- eCommerce - Products - Outputting Products
- eCommerce - Products - Edit Module Structure
- eCommerce - Products - Custom Fields
- eCommerce - Products - Add a Location
- eCommerce - Products - Secure Zones
- eCommerce Settings
- Cart, Checkout and Orders Flow with Secure Zones Module - Tutorial
- eCommerce - Shipping Options
- FAQ - How to add optional (tax-free) donations at Checkout
- FAQ - How do I create a catalogue of eCommerce Products?
- How to Set Up a Shopping Cart and Guest Checkout - Tutorial