

Introduction
We recommend that the first thing you do once you have created a new site is import your assets.
This means that when you import your WebApps and WebApp Layouts later on, the images can easily be mapped.
There are two main ways to upload assets:
- via the Siteglide CLI
- via the Admin CMS/ File Manager
Using File Manager to Upload Assets
File Manager currently allows you to bulk upload files within your browser. This is a great alternative to CLI for day-to-day use. You can create folders and upload assets within each as you go.
However, there could be browser limitations over how much can be uploaded at once (e.g. large file sizes), so we still recommend you use Siteglide CLI for bulk upload and for migrations.
Outputting your Assets
Assets are stored and accessed a bit differently on our platform. We do this to receive various benefits, check out our doc on Assets to find out more.
Uploading Your Assets
Using Siteglide CLI
If you have a very large number of assets to upload (especially large images or videos), the best way to upload is via the Siteglide CLI.
In order to do this: you'll need to follow these steps. Where a step has a placeholder like <env>, add in your own environment, for example production:
1) First follow this tutorial to set up siteglide-cli, including adding an environment.
2) Create a new folder for your project if you've not already got one.
3) Change directory to that folder with the terminal command cd path/to/folder
4) Run the terminal command siteglide-cli pull <env> . When prompted to, type a capital "Y" to confirm.

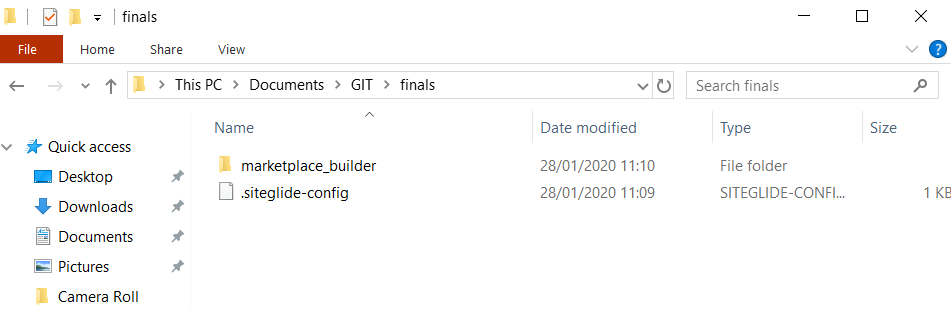
You will now have the Site stored in your new Project folder. On the root, level, you'll see a root folder called marketplace_builder.
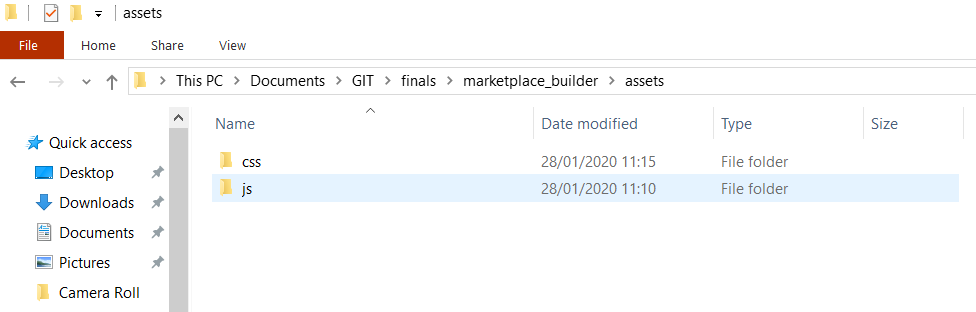
5) In your new Project folder, make sure the counterpart versions of these folders exist inside marketplace_builder/assets/ - by default after a pull, only a css and js folder will be shown. If needed, create any other folders here
6) Run the terminal command siteglide-cli deploy <env> -w . This deploys your marketplace_builder folder, including the assets, to your website.
7) Check your assets have arrived successfully on Admin by navigating to CMS/File Manager and checking each of the four tabs.

Related Documents:
- Migrations Overview
- Migration Method Checklist
- Migrations- Creating the Siteglide Site
- Static Site Import - How To Use
- Migrating Assets
- Migrating (Importing) WebApps
- Menu Builder Module
- Menus - Getting Started
- Troubleshooting Migrated Menu Layouts
- Code Editor - Introduction
- Migrating Templates
- Templates - Getting Started
- Migrating Forms
- Migrating WebApp Layouts
- How To Put A Site Live
- FAQ - What's the difference between an ID and an external ID?