At Siteglide, we want to set you up with the best practices to ensure your sites are future-proofed and easy to collaborate with other members of your team on.
Working with Templates enables you to create content that can be easily replicated across many or all Pages within your Site; aiding you in consistent design and structure across your Site. Templates are also used to include Studio assets in your Pages if you are working with Studio layouts.
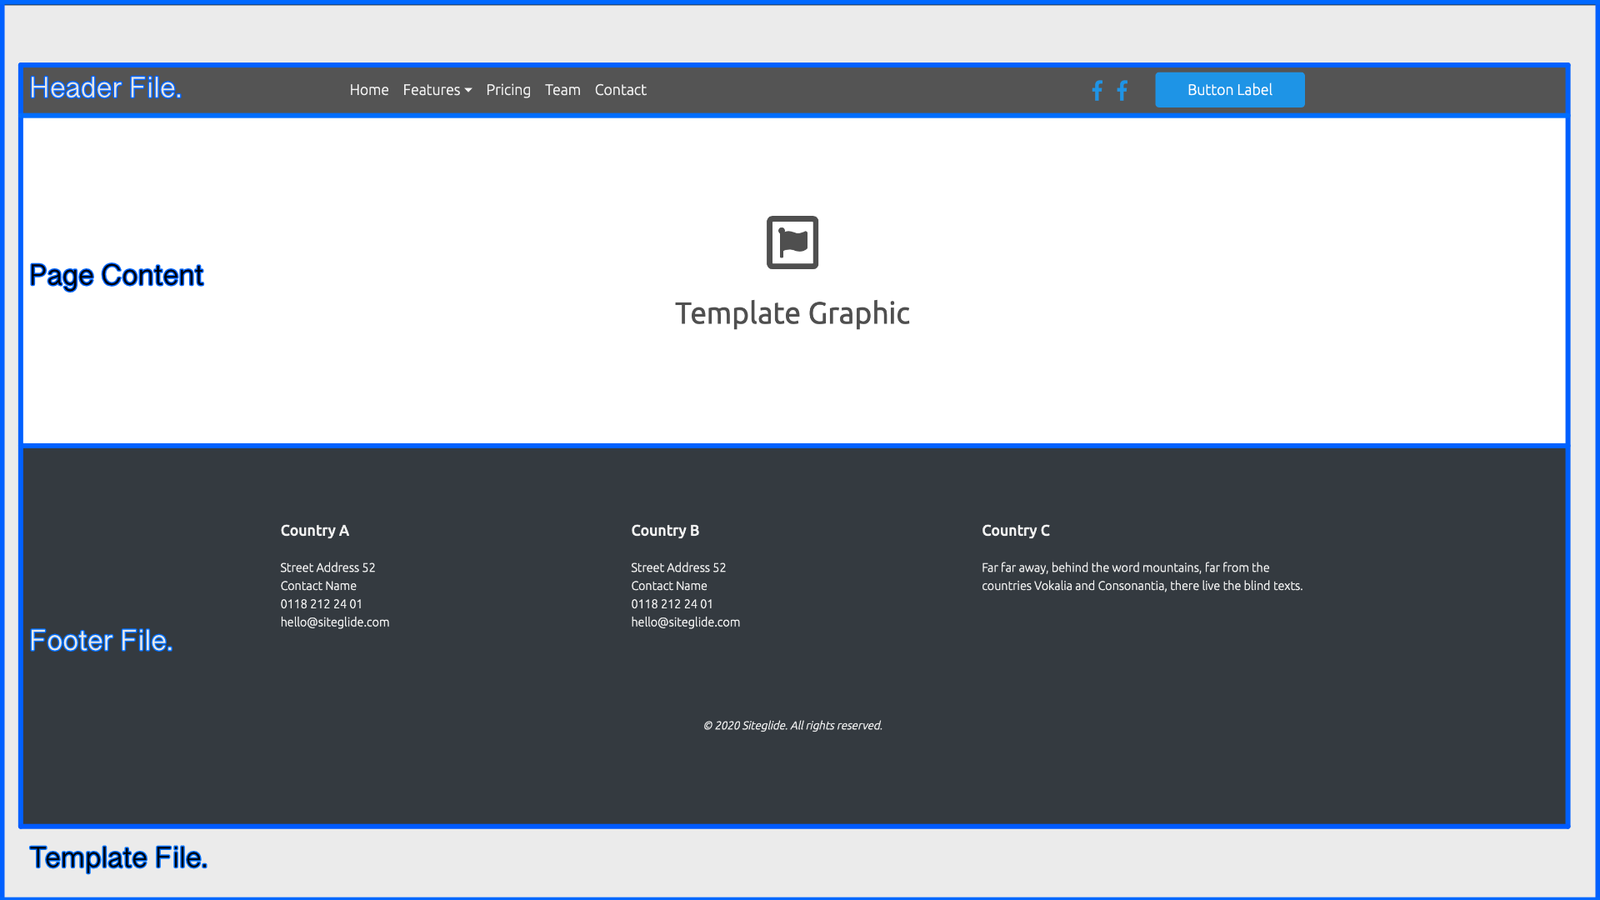
The graphic below illustrates the structure of a Page Template on the frontend: with a Header, Page content, a Footer within this Template.
Within this doc, you can find helpful information covering Templates, such as:
- Finding Templates
- Creating a Template
- Headers
- Footers
- Adding Headers and Footers to Templates
- Applying Templates to Pages
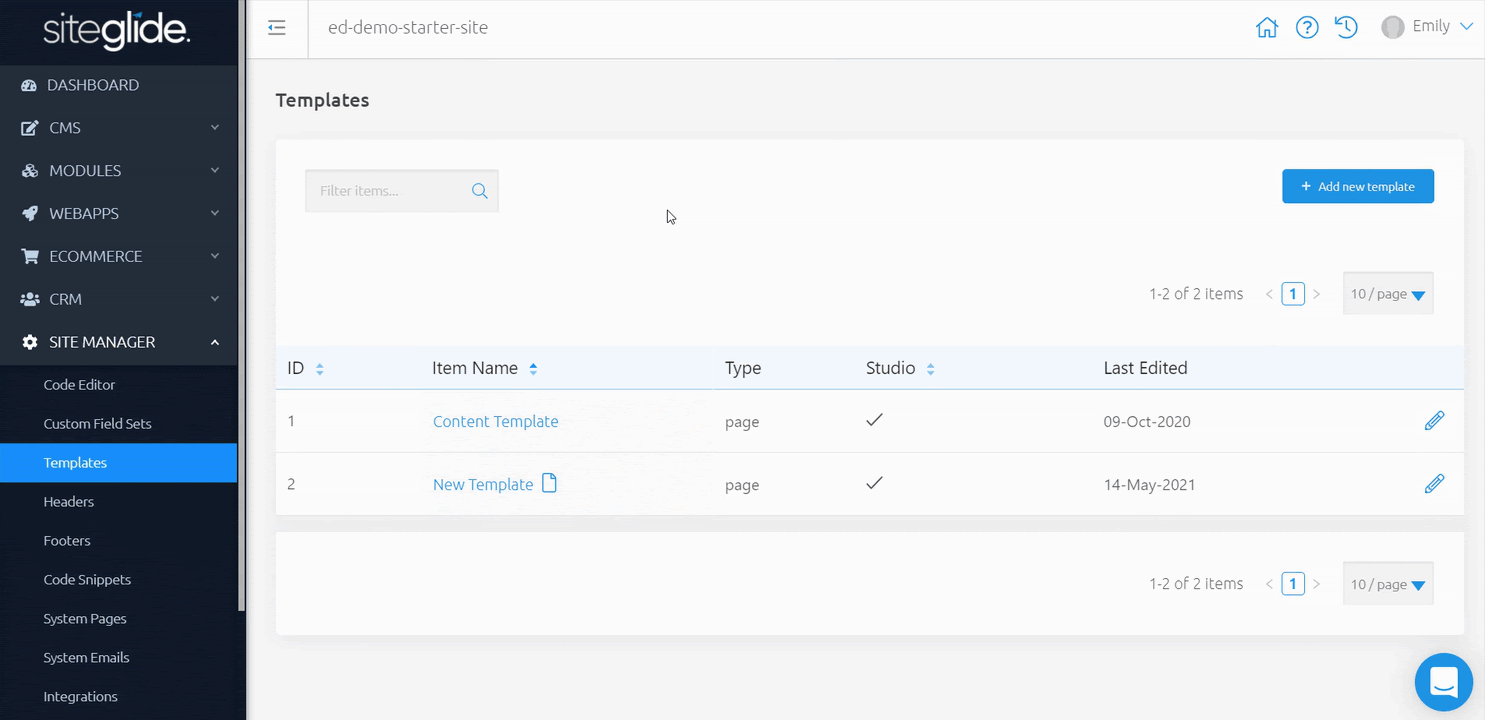
Finding Templates
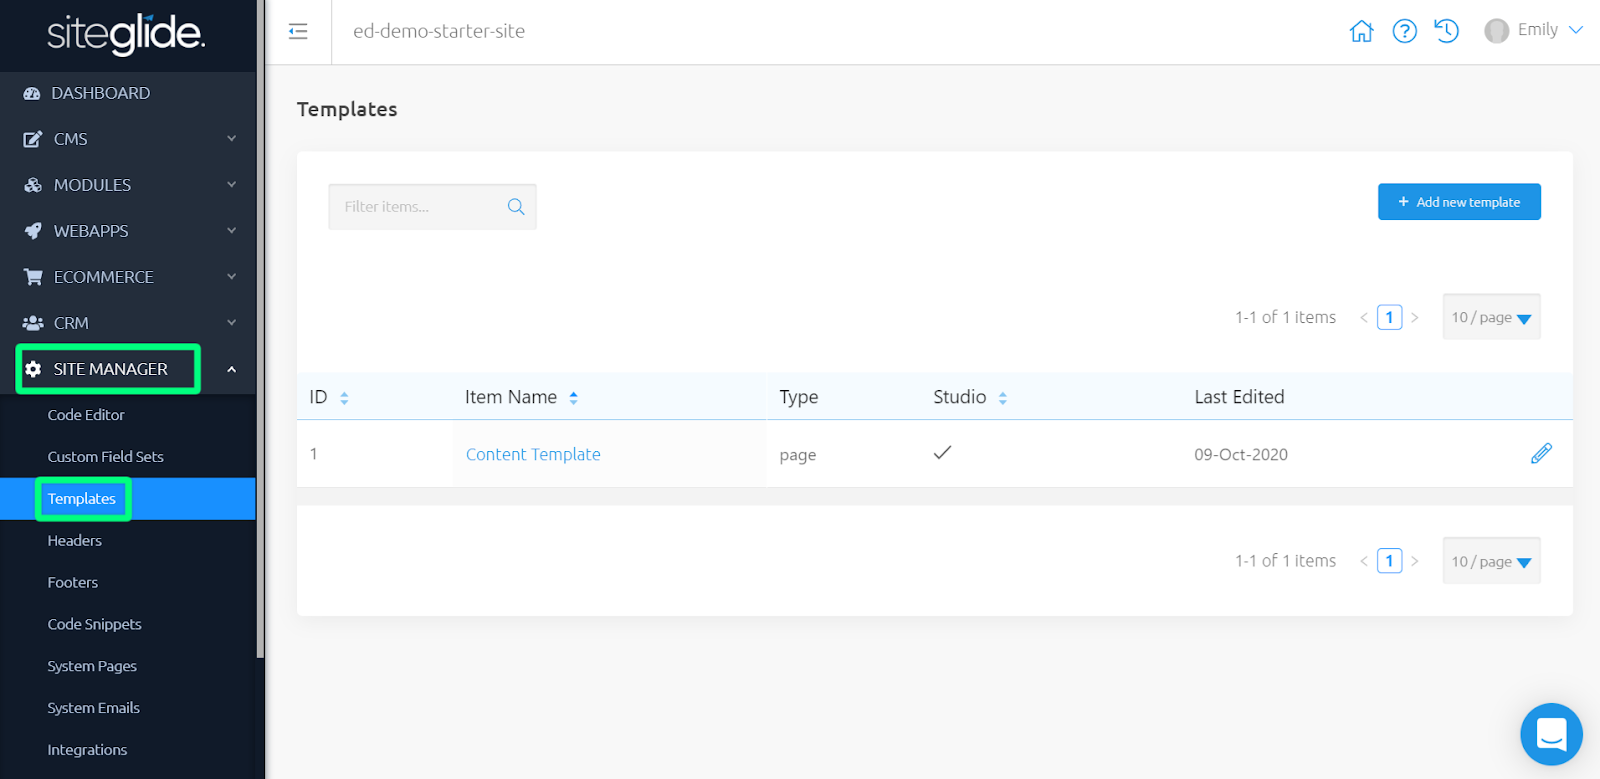
While viewing your Site Admin, use the left-hand menu to click "Site Manager" and expand the sub-menu. Next click on "Templates" to view a list of Templates on your site.
Creating A Template
You can create various Templates for different purposes across your Site, such as, landing pages, eCommerce pages or Blog pages.
On the right-hand side above your list of Templates, click “Add new template” to be re-directed to begin creating your new Template.
Here, you can add information, such as:
- Name - Name of the Template displayed in Admin
- Type - Type of the Template - Email or Page
- Default Template - Make this the default template to select for all Pages
- Use Studio - If you are working with our layouts, then you’ll want to include Studio to ensure these layouts look and act as expected
- Content - Add your Template content
Once you have included these details, click save. You can then click Templates to return to your list.
After saving, extra code will be added to your Template:
<!DOCTYPE html> <html> <head> </head> <body> {{ content_for_layout }} </body> </html>
You can also now include your head code files within the Head tags using Code Snippets and inserting these, or by adding these directly - these are used for linking code files, such as: JS and CSS, to your Pages.
Body tags are used for everything within the body of your Pages, such as content for layout, which is outputting your Pages content.
Headers
A Header is an area at the top of a page that typically holds the main navigation menu along with some other information, such as a company logo.
With Site Manager’s sub-menu open, head to “Headers”.
From here, you can click ‘Create Header’, fill in the name for this Header and click save.
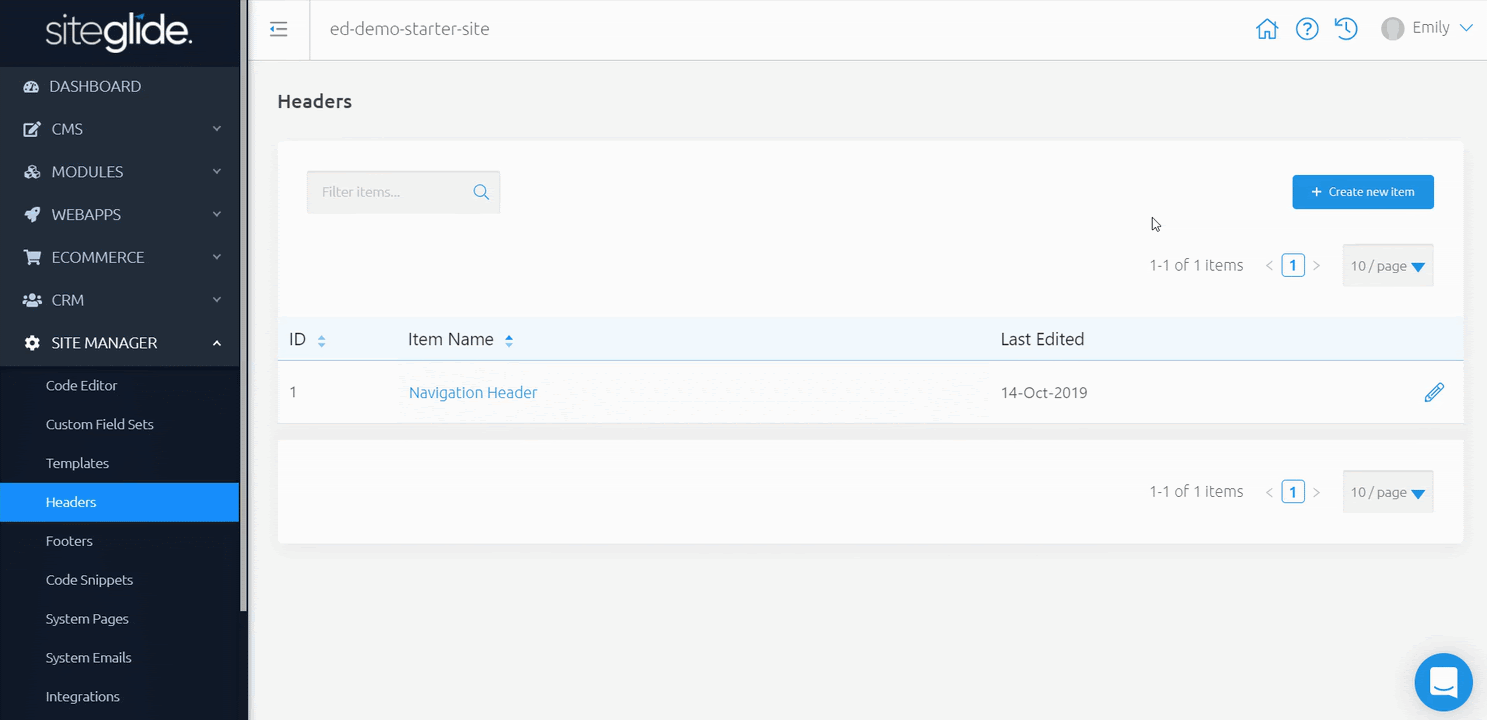
You can come back to edit your Header at any time, adding items from your Toolbox to enhance your site.
Footers
The footer generally is used for important information (policy documents), a company logo and a secondary navigation area.
With Site Manager’s sub-menu open, head to “Footers”.
From here, you can click ‘Create Footer’, fill in the name for this Footer and click save.
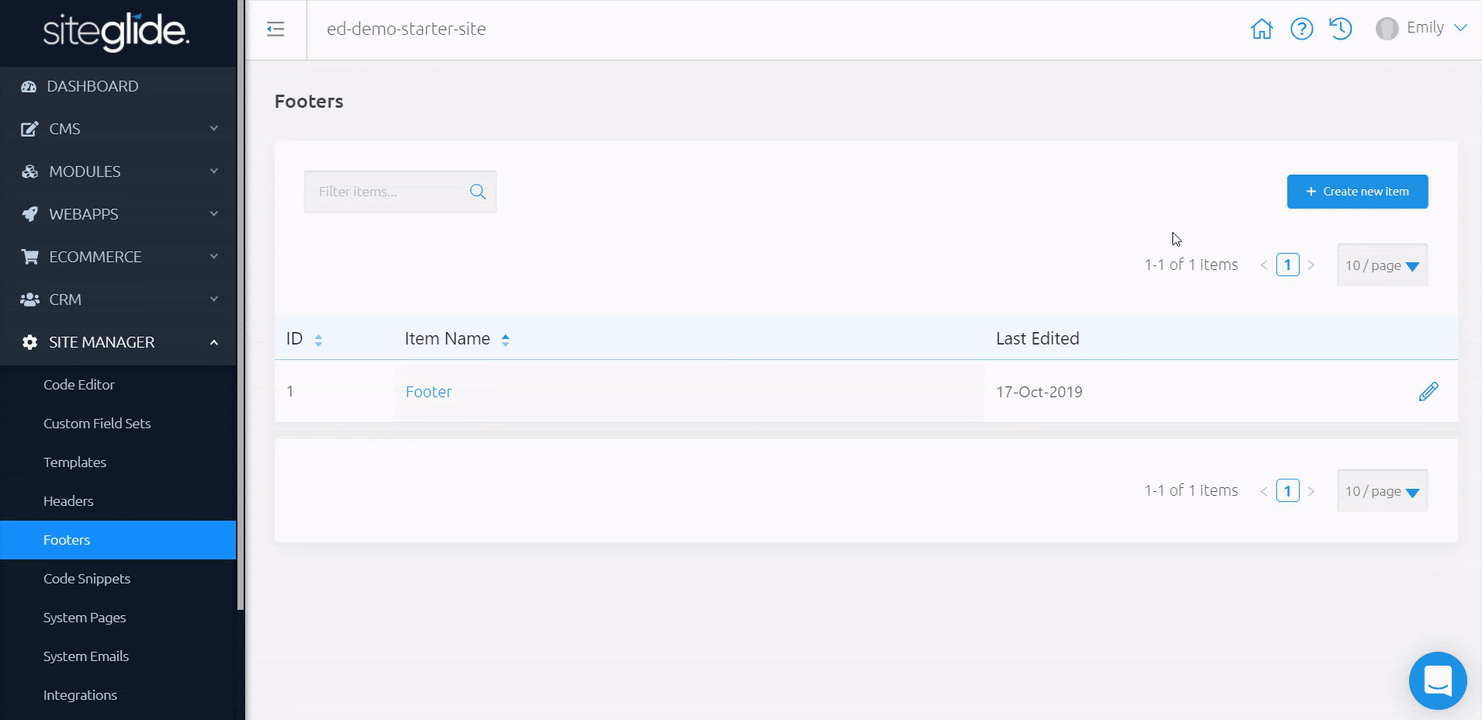
You can come back to edit your Footer at any time, adding items from your Toolbox to enhance your site.
Completing Your Template
Now that you have created your Header and Footer, you can now add these to your newly created Template. This helps to bring best practices and all of your content together in one place.
Simply head to your Template and insert your Header and Footer from the Toolbox on the right-hand side.
Applying a Template to Your Pages
Once you have a Template ready to go: with Studio attached, your Head files included, and your Header and Footer inserted; you can apply this to your Pages of choice.
Applying a Template enables you to use Studio assets, use best practices, ensure easy collaboration or editing down the line, and add your own styling to your Pages.
You can do this by heading to your Pages - “Details” tab, beneath the toggles, choosing a Template of your choice and clicking save.