File Manager
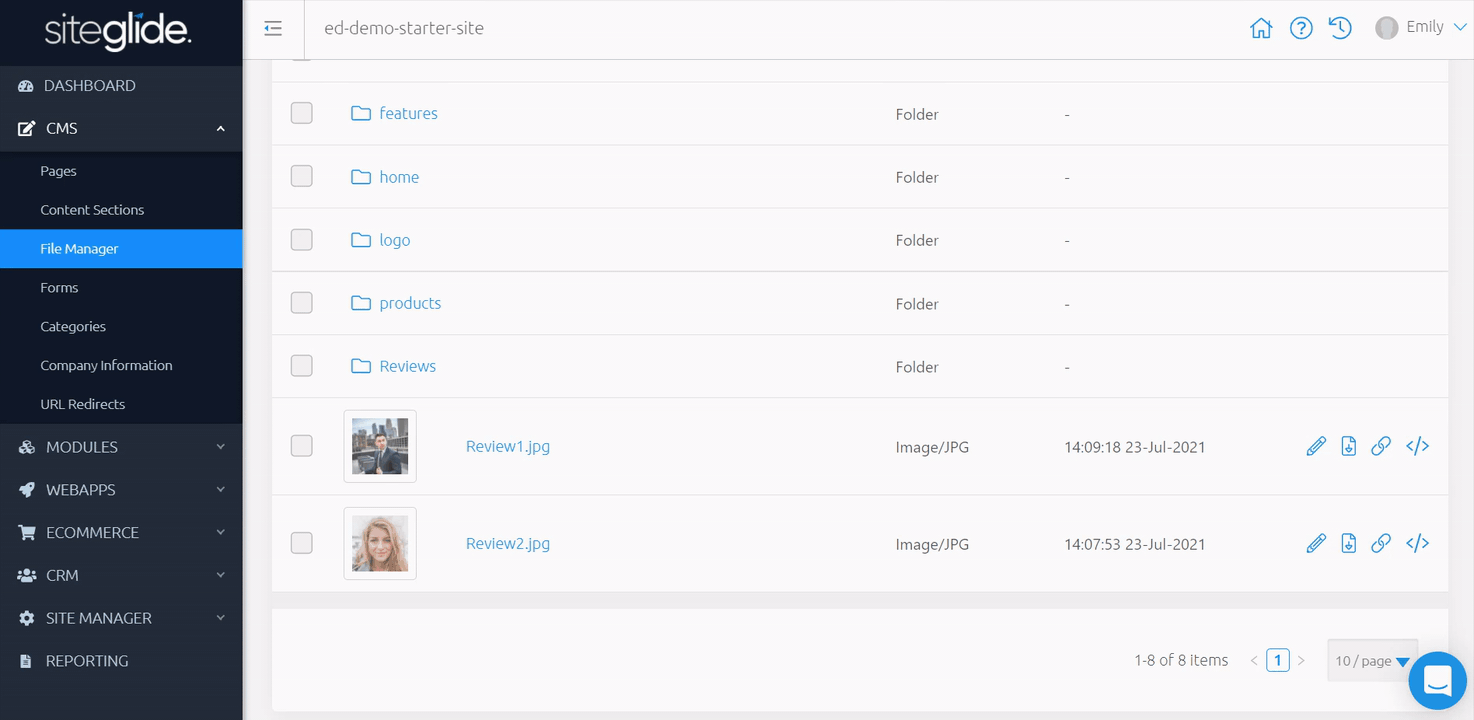
File Manager is an area for managing asset files on your website, a way of keeping track of all of your files while keeping them organised.
Here, you can upload, view and delete any files that you want or currently have on your site.
Within this doc, you can find helpful information covering File Manager, such as:
- Finding File Manager
- Setting Up File Manager
- Creating Folders
- Uploading Files
- Supported File Types
- File Information
- Renaming And Moving Files
- Downloading And Sharing Files
- Downloading Files
- Copying Direct URLs
- Copying Asset URLs For Outputting On Your Site
- Bulk Actions For Files
- Moving Files
- Deleting Files
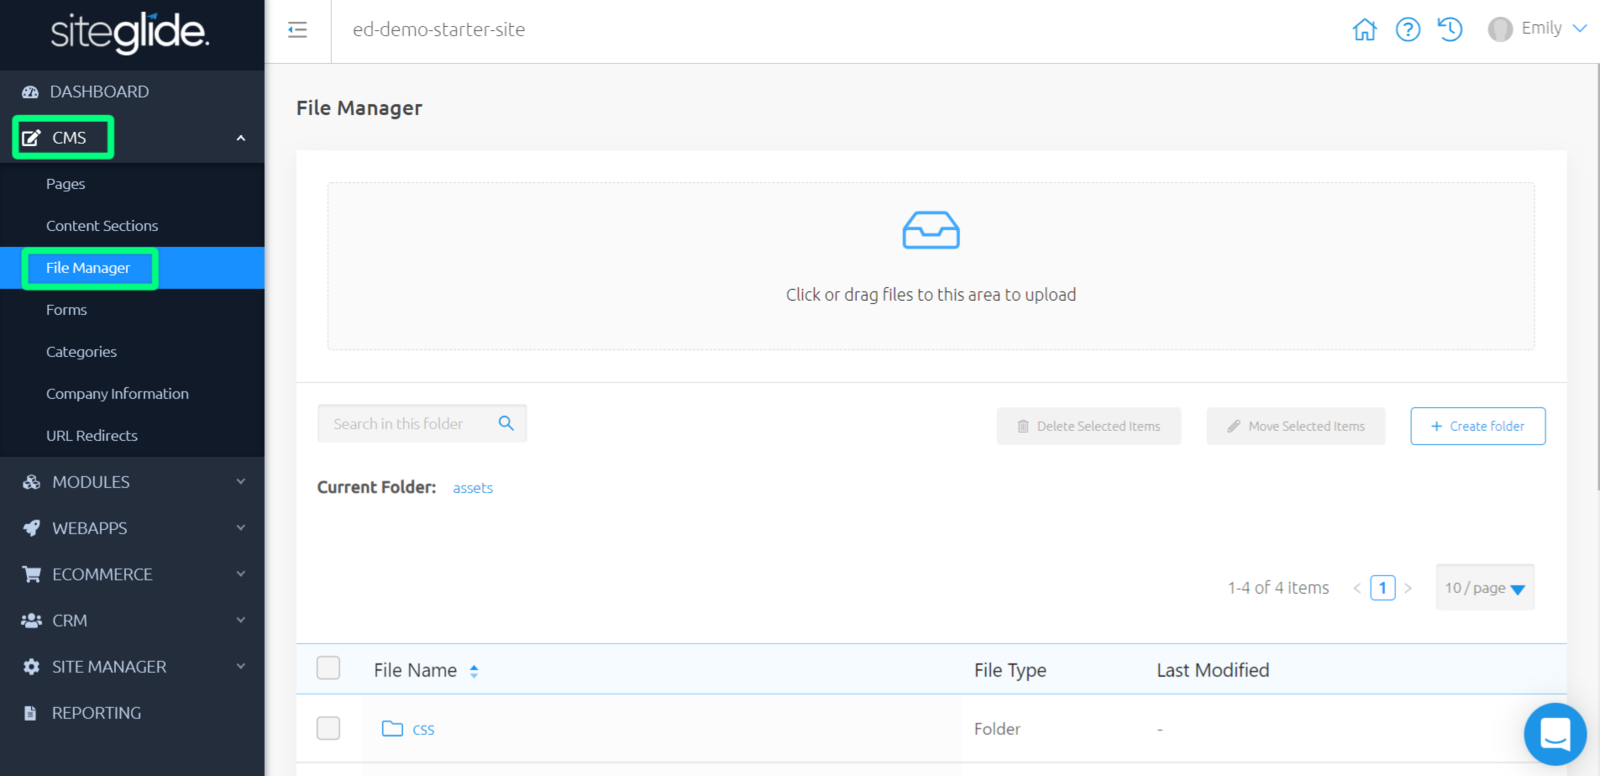
Finding File Manager
While viewing your Site Admin, use the left-hand menu to click "CMS" and expand the sub-menu. Next click on "File Manager" to view a list of Files on your Site.
Setting Up File Manager
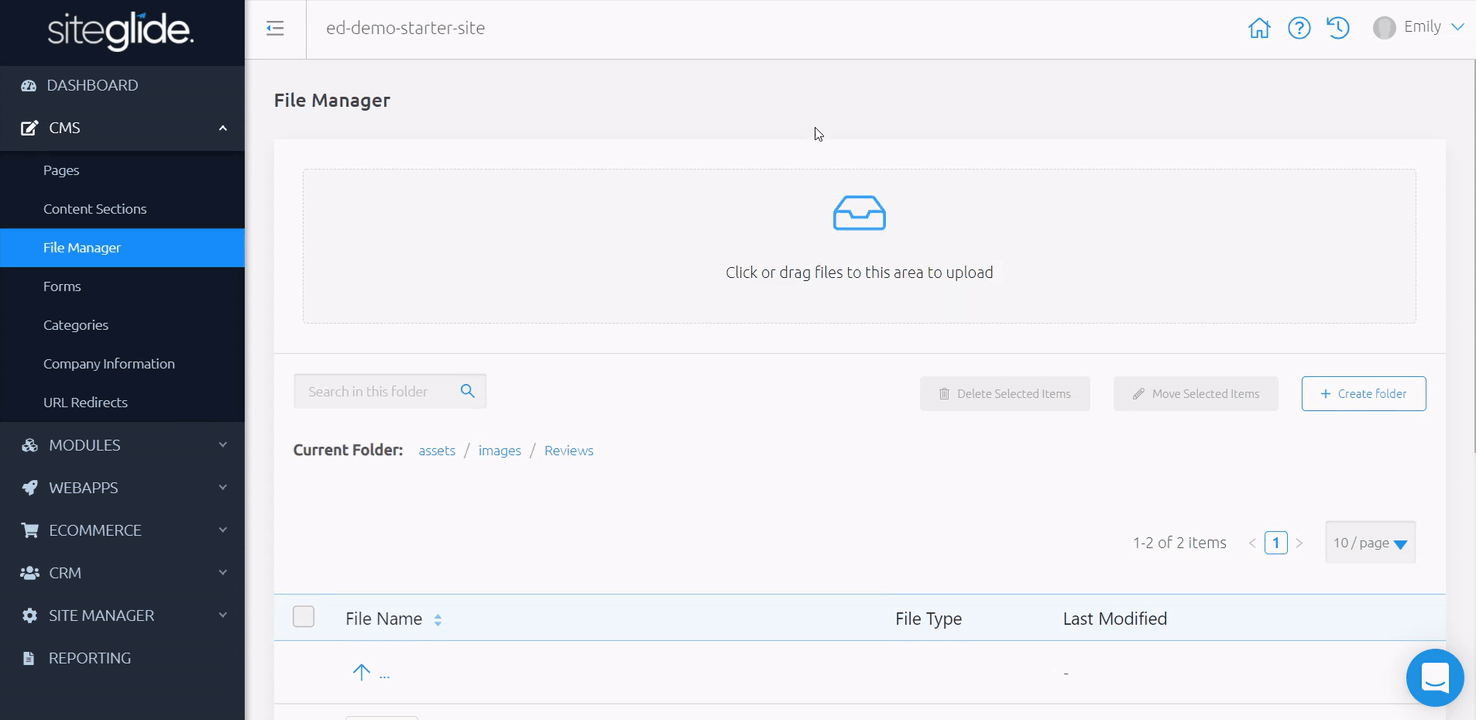
Before we start uploading files, we can create folders to build a structure for our assets.
Within File Manager, you begin in the root folder of 'assets'. You can utilise the four existing folders ('css', 'images', 'js', and 'modules'), create your own folders or upload files directly within 'assets'.
Creating Folders
Beneath the upload area, on the right-hand side, you can "+ Create folder".
Type in a name for this new folder and click the save icon on the right-hand side.
Note: This folder will be added to the current directory level, e.g. within the folder you are currently viewing.
Uploading Files
Before uploading a file, head to the folder where you'd like to upload this file.
Drag and drop this file into the upload area at the top, or alternatively, click this area to open your documents where you can select your file(s) to upload. There is a 50mb individual file limit when uploading files via the File Manager. If you need to upload a larger file then we recommend using the CLI.
Note: We recommend using a dash instead of a space, e.g "example-1.png", and avoiding special characters, as this can cause issues..
Supported File Types
File Manager supports most file extensions. Here is a list of some of the most common file formats that File Manager supports, however this is not exhaustive:
Code: HTML, EXE, JSON, SCSS, SASS, ZIP, JS, CSS
Documents: doc, docx, odt, pdf, xls, xlsx, ods, ppt, pptx, txt, ps, csv
Media: tif, gif, jpg, jpeg, png, svg, psd, mp3, mp4, webm, mpg, mp2, mpeg, mpe, mpv, ogg, m4p, m4v, avi, wmv, mov, qt, flv, hdv, wav, wma
File Information
Once a file has been uploaded, you can view some information about this file.
Within File Manager, you can search for a specific file, or navigate through your folders to find this.
Hovering over the image, and clicking the "eye" icon, opens up more information about this image. From top-down, we can see:
- A larger preview of this image
- File Name - name of your file
- File Dimensions - the size of your file in width and height
- File Size - the size of your file in mb, gb or kg.
Leaving this preview, back to view our list of files, we have different headings in this table showing us a smaller preview, the name, type, and when this was last modified.
https://image.siteglide.com/ApuE1evk
Renaming And Moving Files
We can also manage and edit key information about each file, such as: file name and file location.
To the far right-hand side of a file in your list, we can click the pencil icon to edit a file.
Here, we can see the current name and location. Type in a new name, and/or use the dropdown provided to choose a different folder for this file.
Note: Make sure there are no spaces in the name and it has the correct file extension, e.g. "example-1.png"
Once you have made these changes, don't forget to "Save Changes"!
Downloading And Sharing Files
You may want to download a file to make edits, or keep this for later reference; share direct URLs with others; and quickly insert the asset URLs needed when outputting into Pages.
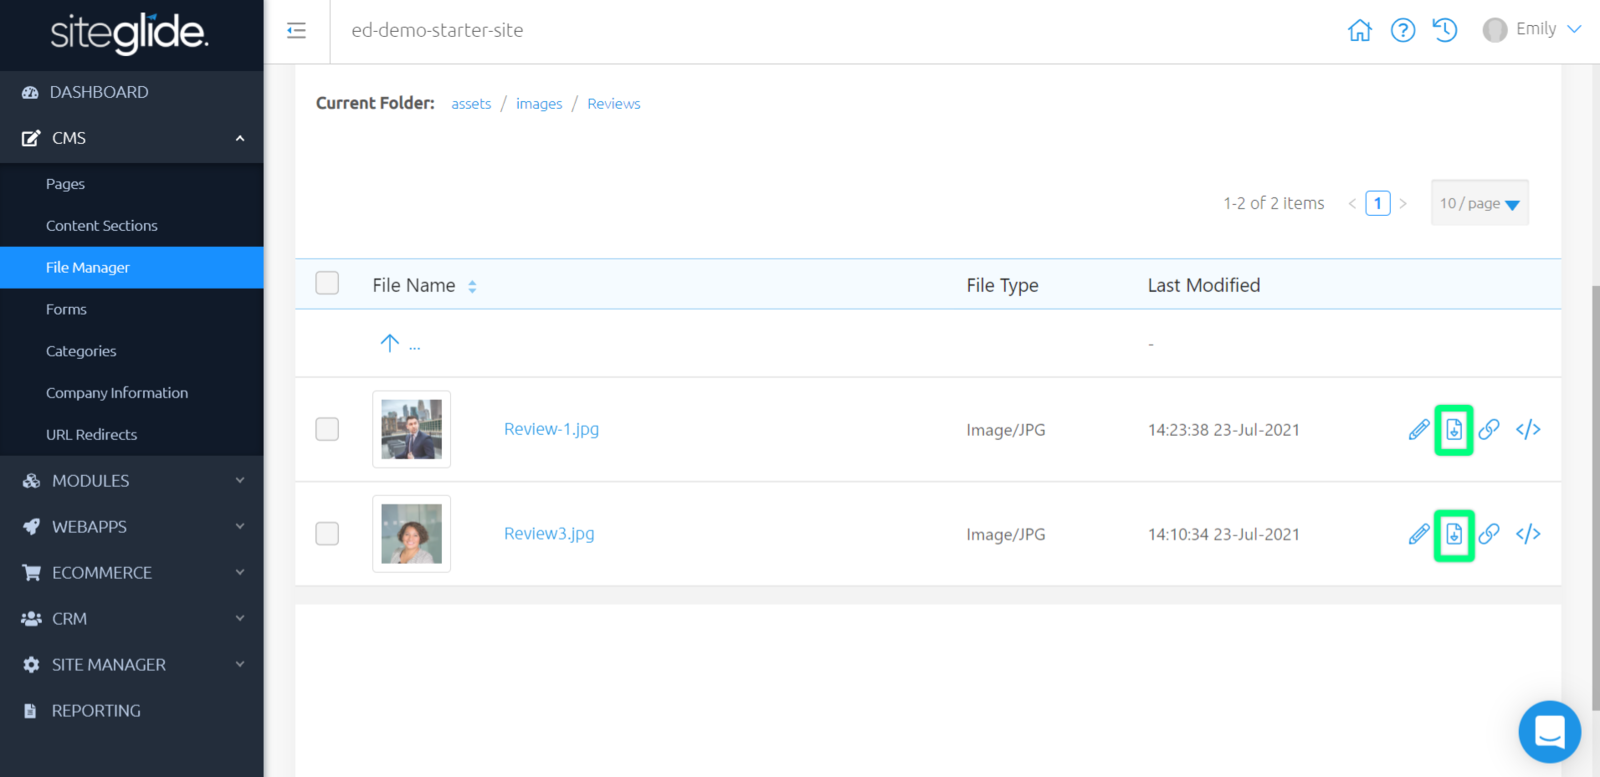
Downloading Files
On the far right-hand side of a file in your list, is a download icon (the second icon along).
Click this and your file will either begin downloading to your computer, or open in a new tab where you can then save the file.
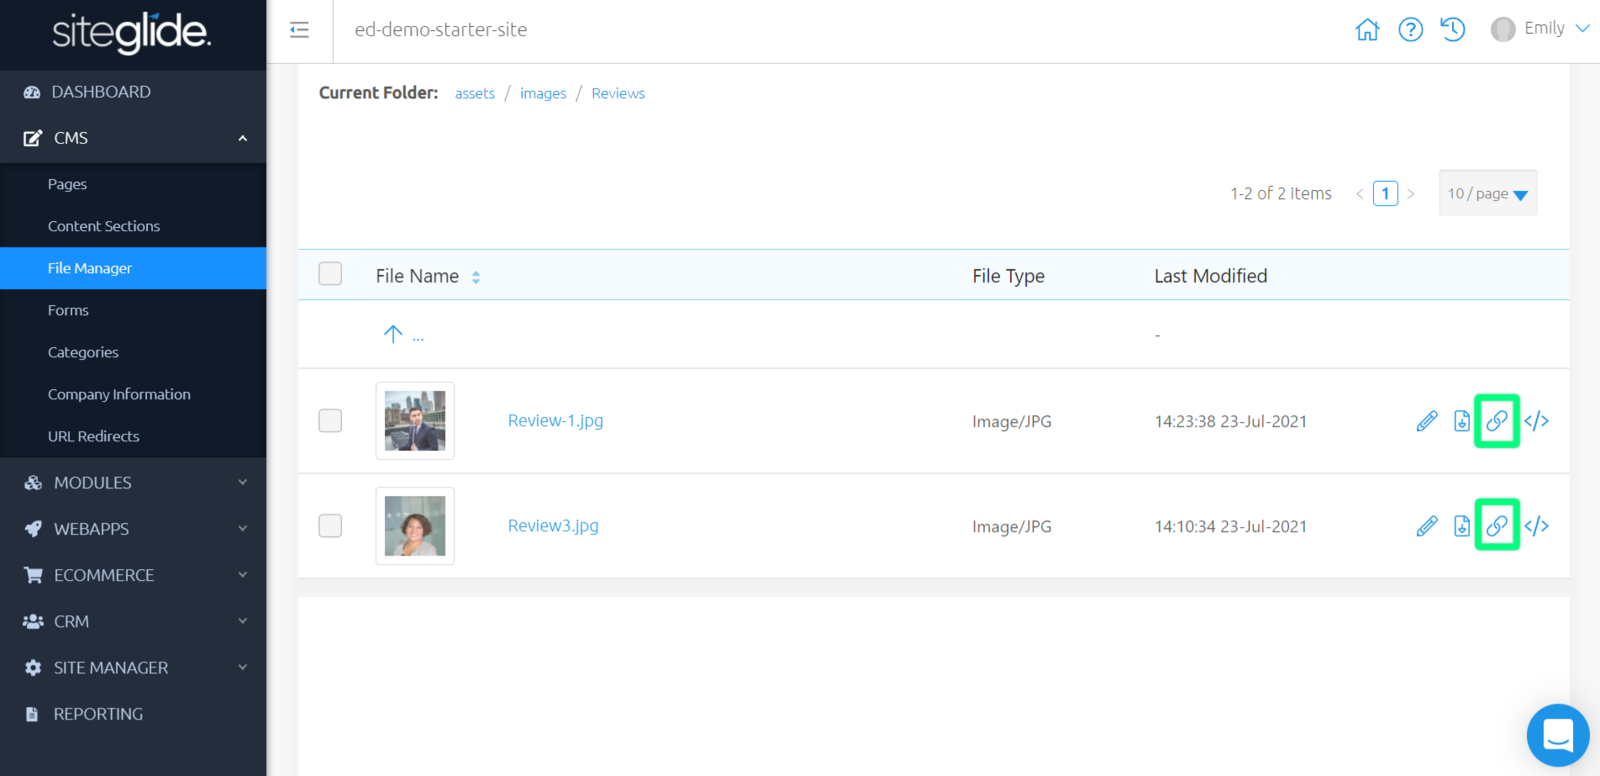
Copying Direct URLs
On the far right-hand side of a file in your list, is a link icon (the third icon along).
Click this to copy a direct URL for this file, which you now share with other members of your team.
Note: Anyone with this URL can access this file.
Copying Asset URLs For Outputting On Your Site
As assets are stored directly on an Amazon Web Services (AWS) server using a CDN, you'll need to use asset URLs to output these onto your Site.
The result is that anyone who views your website will see none other than the most up-to-date versions of your files.
For more information, see here: Assets - Introduction
On the far right-hand side of a file in your list, is a code icon (the fourth icon along).
Click this to copy an asset URL for this file, which you can use to output within Pages, Content Sections, Code Snippets, Headers, Footers, Templates, and layouts within Code Editor.
Note: You can also use the provided Toolbox in these areas to output a file.
Bulk Actions For Files
On the far left-hand side of your list of files, you'll see checkboxes. These can be used to bulk move or bulk delete files.
Moving Files
You can tick these checkboxes and select "Move Selected Items" at the top of the list. Using the dropdown provided, you can move these files to a different location.
https://image.siteglide.com/o0u7B9JQ
Deleting Files
You can tick these checkboxes and select "Delete Selected Items" at the top of the list.
A warning will appear asking you to confirm that you'd like to delete X amount of file(s) and X amount of folder(s). You can choose to cancel this process or select "I understand" to delete these items.
Note: Deleting a folder(s) will also delete any files / assets within this folder.