

Sites is where you can view and manage all of the sites that you have access to via your Agency and Clients, or by specific invitation to you from other Agencies or Clients.
Within this doc, you can find helpful information covering Sites, such as:
- Finding Sites
- Creating Sites
- Site Settings
- Site Details
- Users
- Invite Existing Users
- Modules
- Go Live and Domains
- Subscription
- Copies
- Copying Sites
- Configuration
- Test Email
- Session Timeout
- Danger Zone
Finding Sites
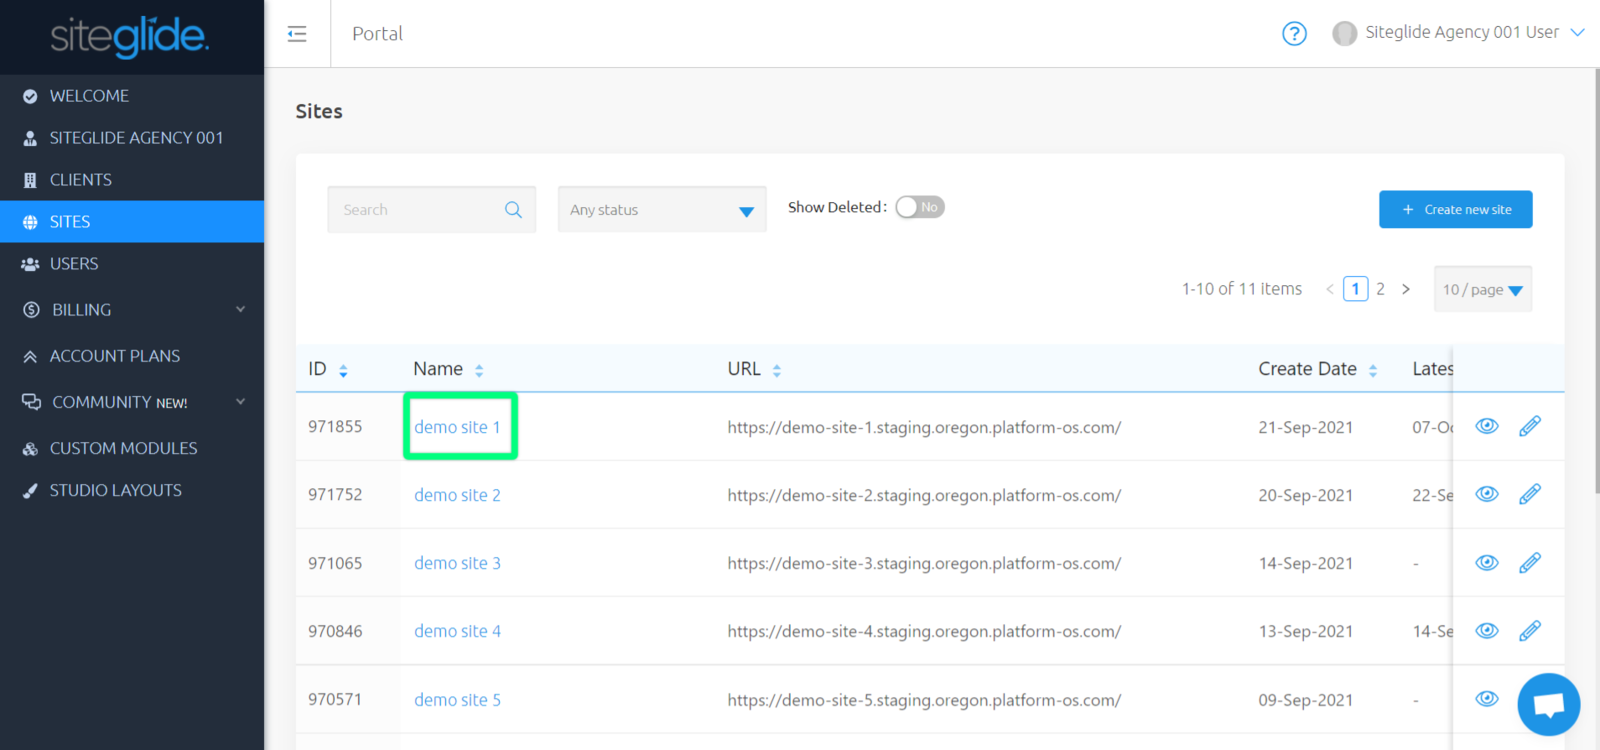
While viewing your Portal, use the left-hand menu to click "Sites" to view, manage and edit all Sites you have access to.
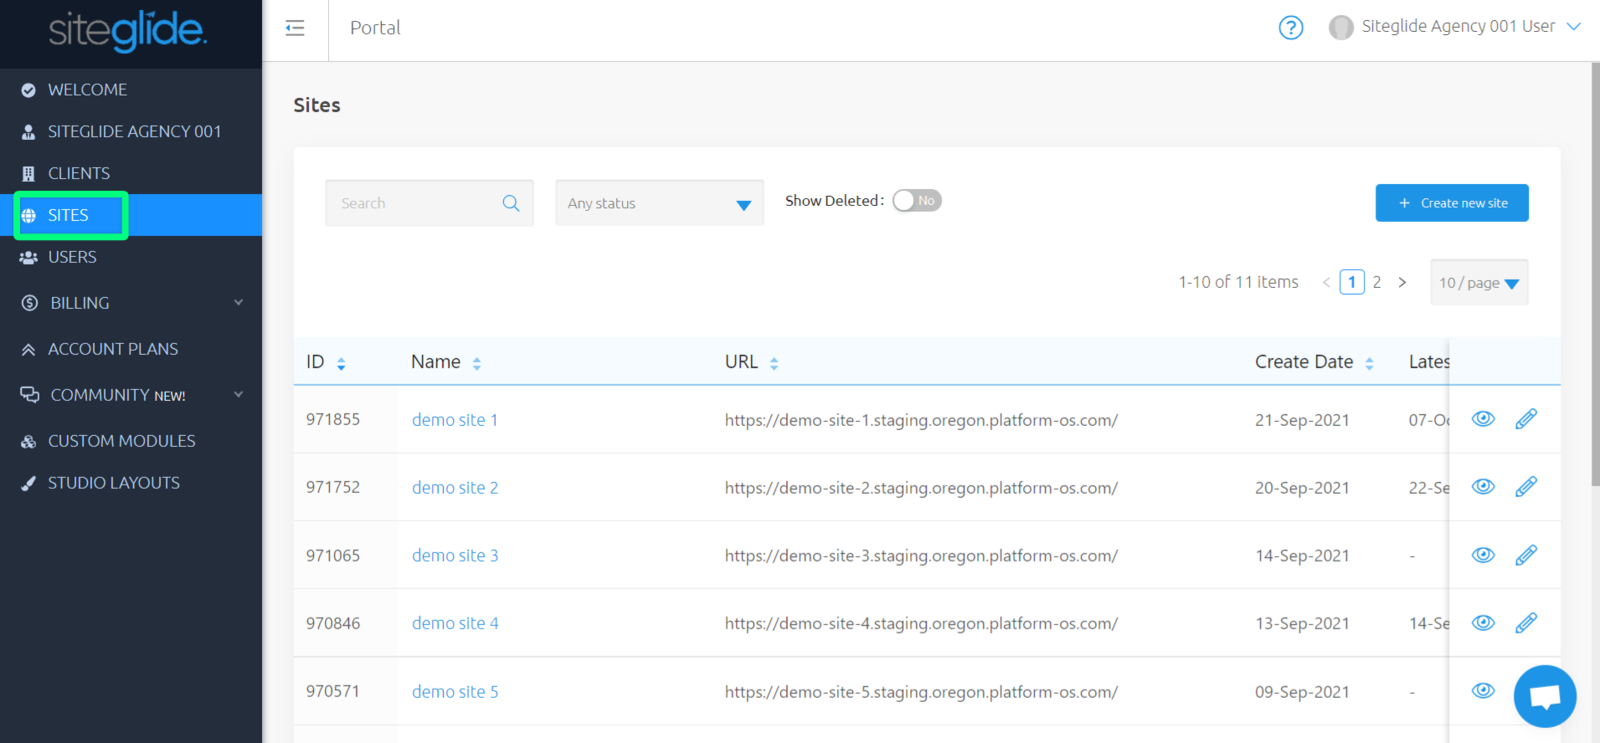
Here, you can see more information about your sites, such as:
- ID - Unique identifier for this site
- Name - Name of the site
- URL - The site's live or developmental URL
- Usage - This gives you an overview of the sites usage level. Clicking the level will show a modal with usage charts for each tracked metric._ 'N/A' (blue) - Site is in staging so usage is not currently tracked; 'Within Limits' (blue) - Usage is below 70%; 'Approaching Limits' (orange) - Usage is over 70% but below 100%; 'Over Limits' (red)- Usage is over 100%_
- Created - The date that this site was created
- Latest Activity - The date that this site was last edited
- Owner - The Agency or Client that owns this site
- Status - This will be 'Trial', 'Trial Expired - Locked', 'Trial Expired - Redirected' or 'Live'
You can view and edit any Site from this list by clicking the eye or pencil icons on the right-hand side.
Creating Sites
From your Portal, you can click "Start Building Now" to create a new Site.
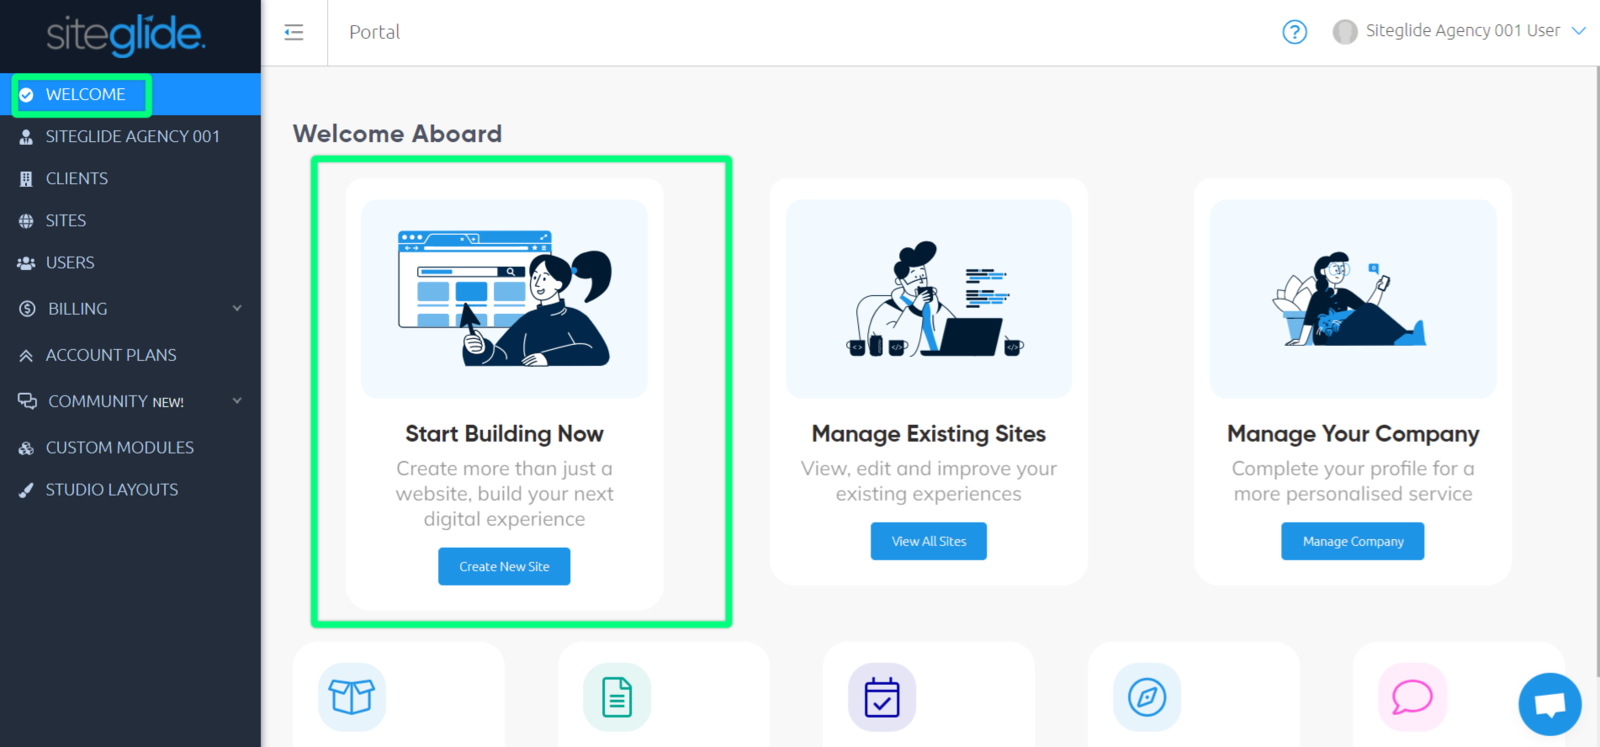
Alternatively, you can 'Create new site', to the right-hand side, above your list of Sites.
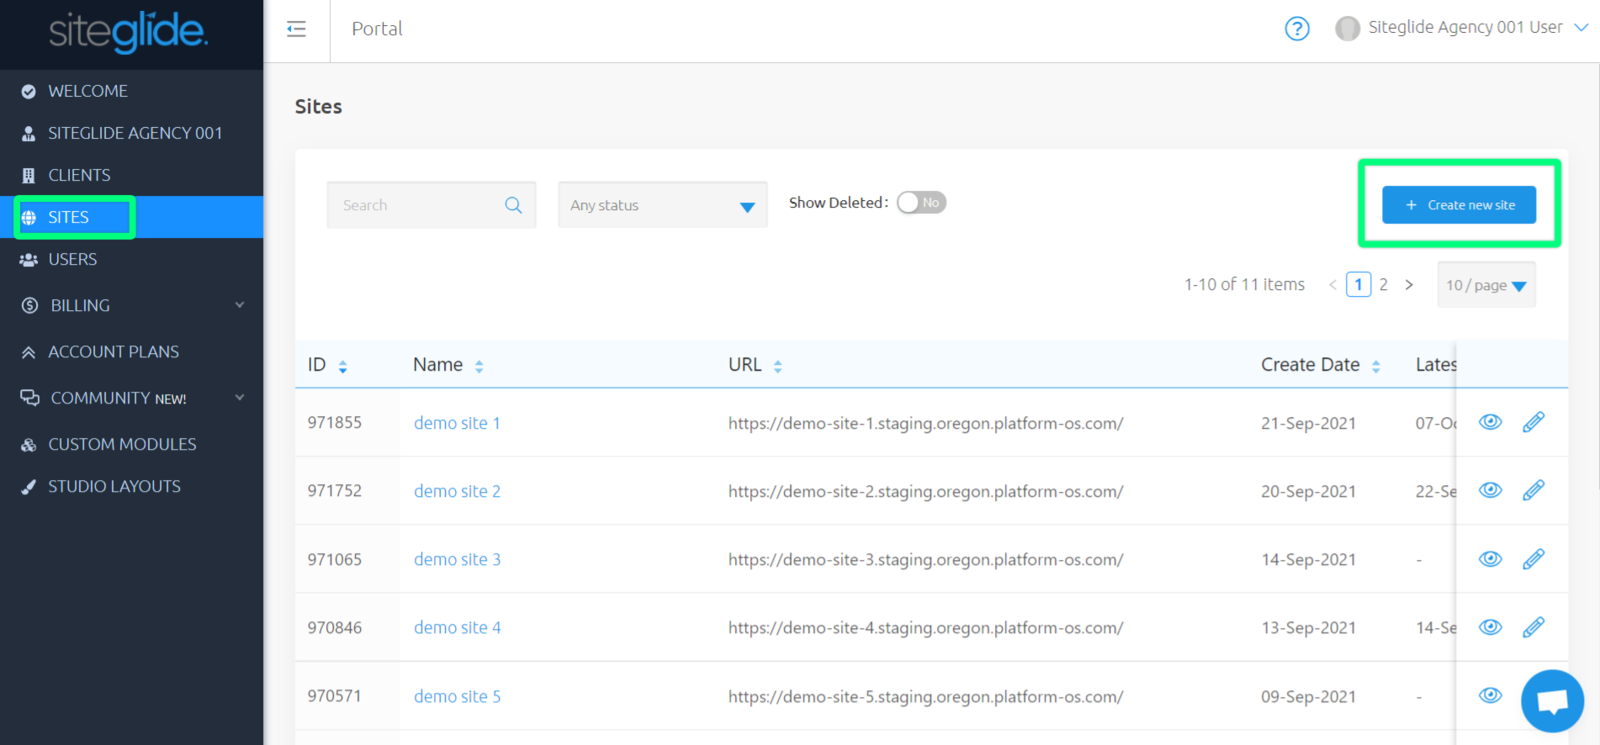
Creating a Site here means it is a Site specifically for only your Agency to access.
This opens up a modal to choose whether you'd like to create a new Demo Site, build with Studio, or build custom.
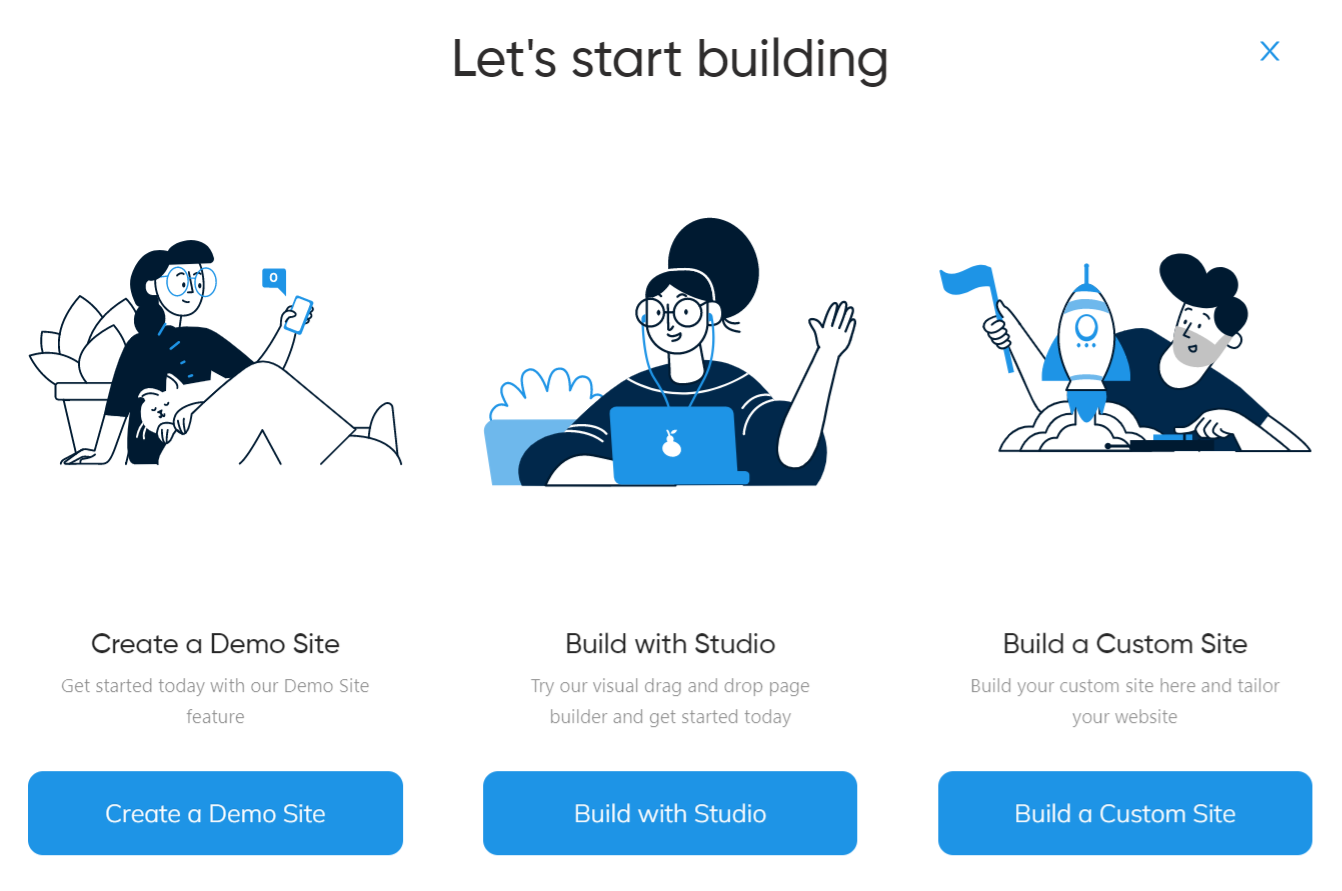
Once you have chosen which method you'd like to use, you can now enter information about your new Site.
- Site Name - Enter in a name for this new Site
- Site URL - Enter in the Staging URL you'd like this Site to have (you change your Site Name, and Site URL at any point)
- Choose to toggle on or off for Install Studio, and Install Demo Site.
Once you have done this, click 'Create Site', and this will begin to create. An email will sent out when this Site has been created and is ready for you to begin working on.
For more information on Studio, see here: Studio By Siteglide - Introduction
For more information on Demo Site, see here: Demo Site - Full Feature List
Site Settings
While viewing this list, click the name of any Site to see settings for this Site.
This redirects you to 'Site Details', the first tab in this new area.
Site Details
Site Details expands upon the information provided within your list of sites.
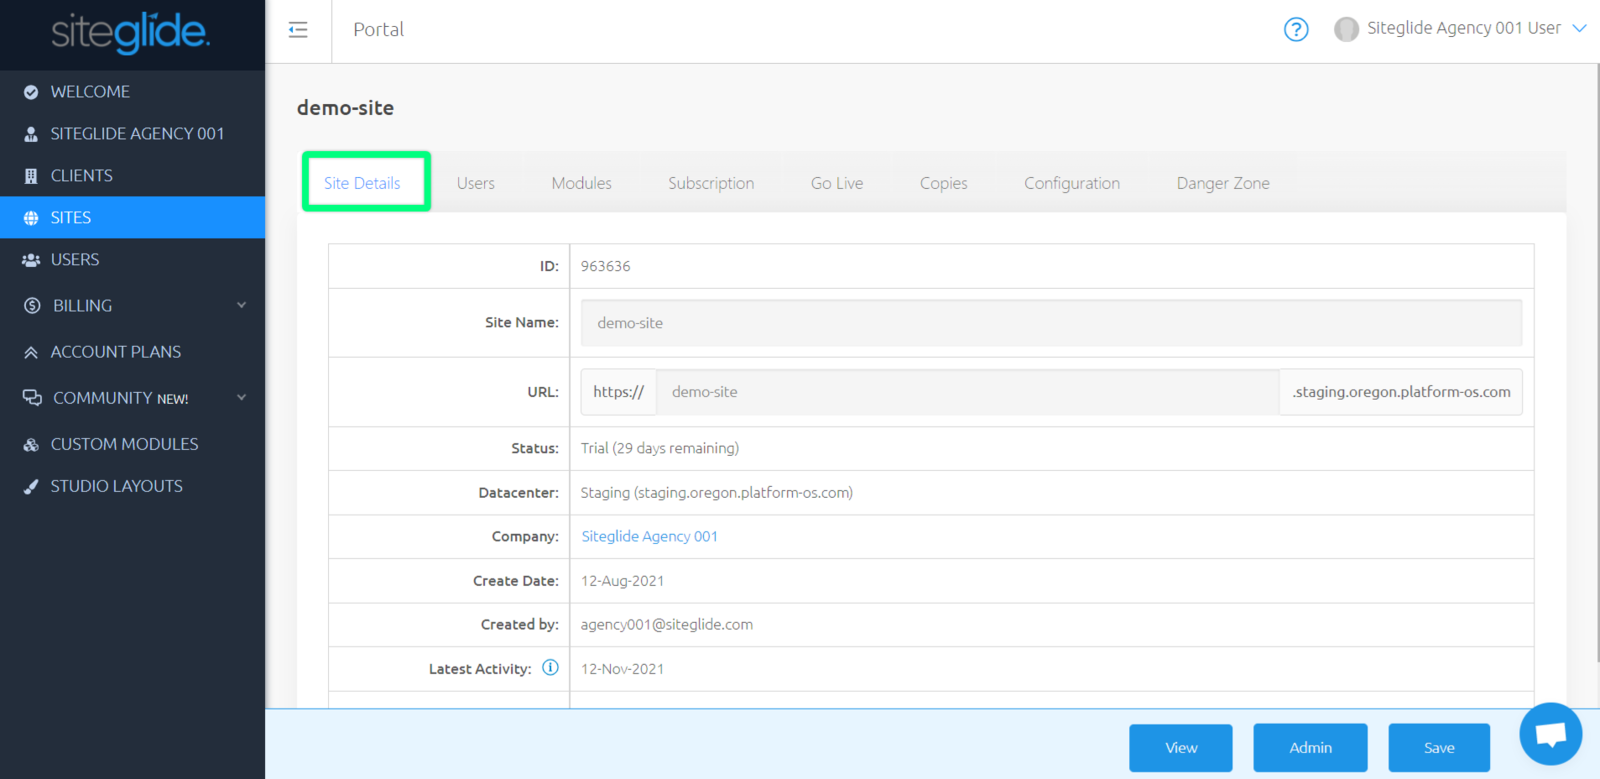
- ID - Unique identifier for this site
- Site Name - Name of the site - this can be edited
- URL - The site's live or developmental URL - this can be edited (keeping the same format. e.g. Staging/Trial Sites = https://sitename.staging.oregon.platform-os.com/ and Production/Live Sites = https://sitename.prod01.oregon.platform-os.com/ )
- Status - This will be 'Trial', 'Trial Expired - Locked', 'Trial Expired - Redirected' or 'Live'.
- Datacenter - One of three datacenters that was picked when this site was created (London, Oregon, Sydney)
- Company (listed as Owner in 'Sites' area) - The Agency or Client that owns this site
- Create Date - The date that this site was created
- Created By - Email address of the user that created this site
- Latest Activity - The date that this site was last edited
- API Key - You can click here to reveal your key
- CLI Command - A shortcut to add this Site to CLI to begin working with, e.g. siteglide-cli add staging --email agency001@siteglide.com --url https://demo-site-4.staging.oregon.platform-os.com/
Note: Here, you can also see how long is left on your trial. When your trial has reached 0, an email will be sent out to the agency who owns this site, and this site will enter the expiry flow.
- You can extend this trial in line with your Account Plan limits by clicking 'extend' next to the Status. Sites will automatically extend their trial when users visit this site's admin or connect to this site via CLI.
- After 14 days of this trial being locked and with no user extending this trial; a reminder email is sent out and this Site will now redirect to https://www.siteglide.com/ .
- After 13 days of this trial being redirected; another reminder email is sent to notify the agency owner that this Site will be deleted if no action is taken.
- After 1 day of this second email being sent out, this trial Site will be locked and greyed out in Siteglide.
- Within 24 hours of this site being greyed out, this Site will be fully deleted.
Using the buttons at the bottom, you can also 'View' this site, edit this Site's 'Admin', 'Save' any changes made to the name or URL, or 'Delete Site'.
Users
From 'Site Details', navigate to the second tab along named 'Users', to view a list of all Users that have access to this Site.
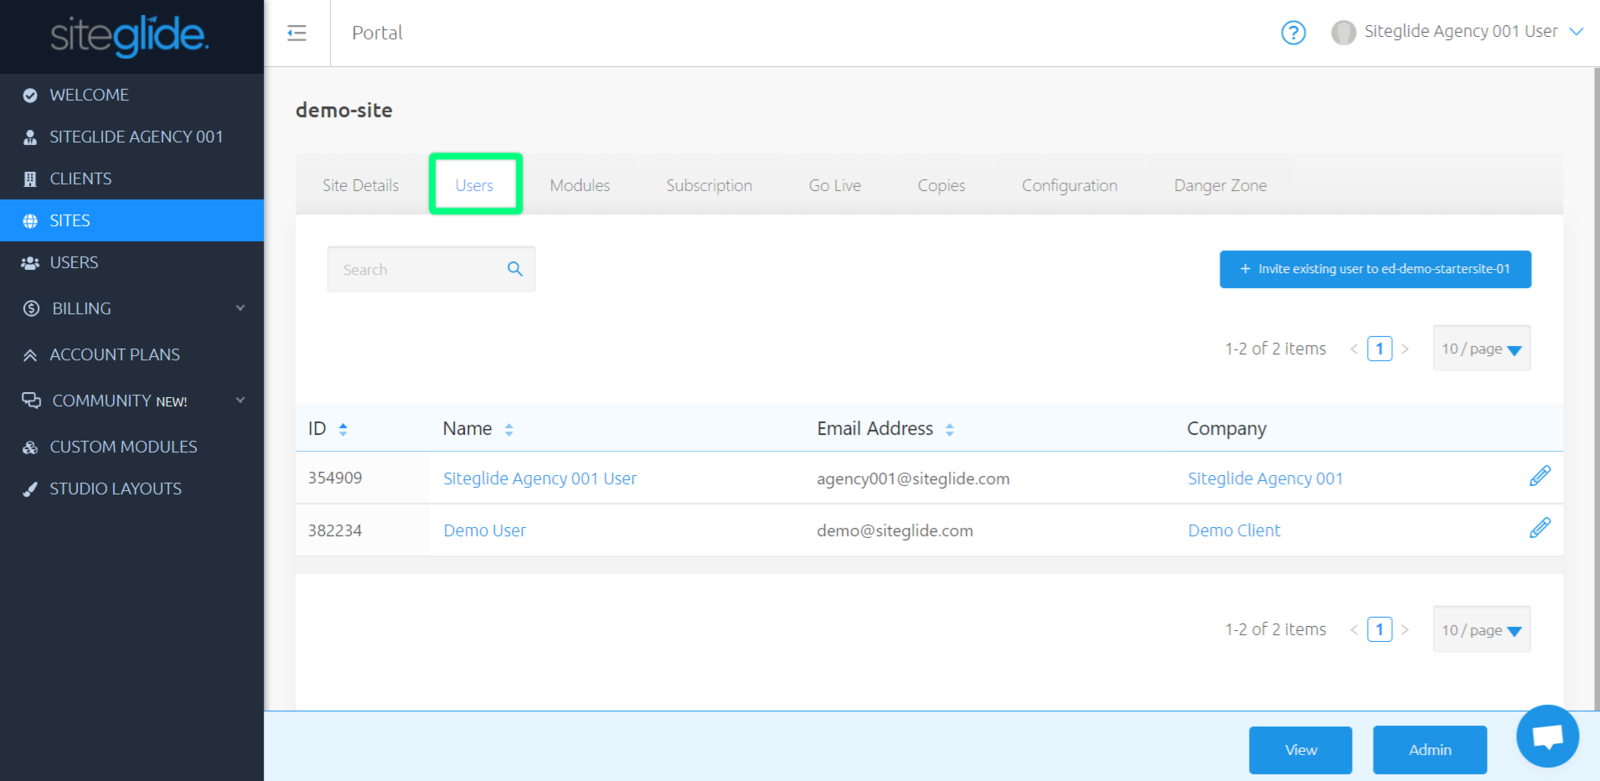
You can find out more information about a User by clicking on the name of the User or by clicking the magnifying glass icon on the right hand side of the list of Users.
This brings up two tabs:
- User Details
- Sites
Inviting Existing Users
You may wish to collaborate with Users within other Agencies or Clients.
This user must already exist within Siteglide in order to be invited here.
"Invite existing user to SITE NAME" , enter in their name and email address and confirm by clicking the blue button in the modal.
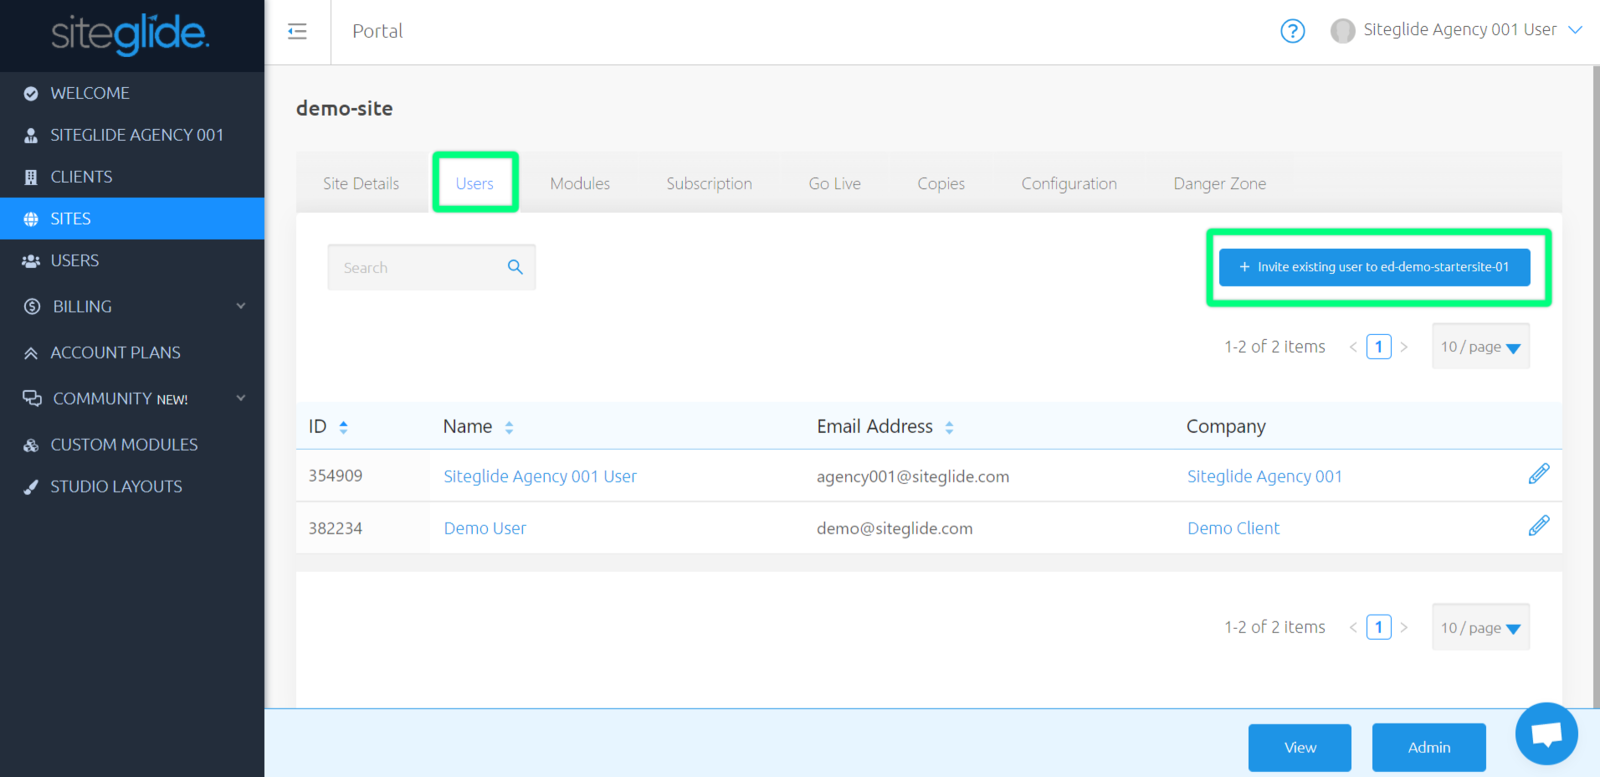
You have now invited an existing User to your Site!
Click here to find out how to invite a new user to an Agency.
Click here to find out how to invite a new user to a Client.
Modules
From 'Site Details', navigate to the third tab along named 'Modules', to view a list of all Modules available to be installed and updated for this Site.
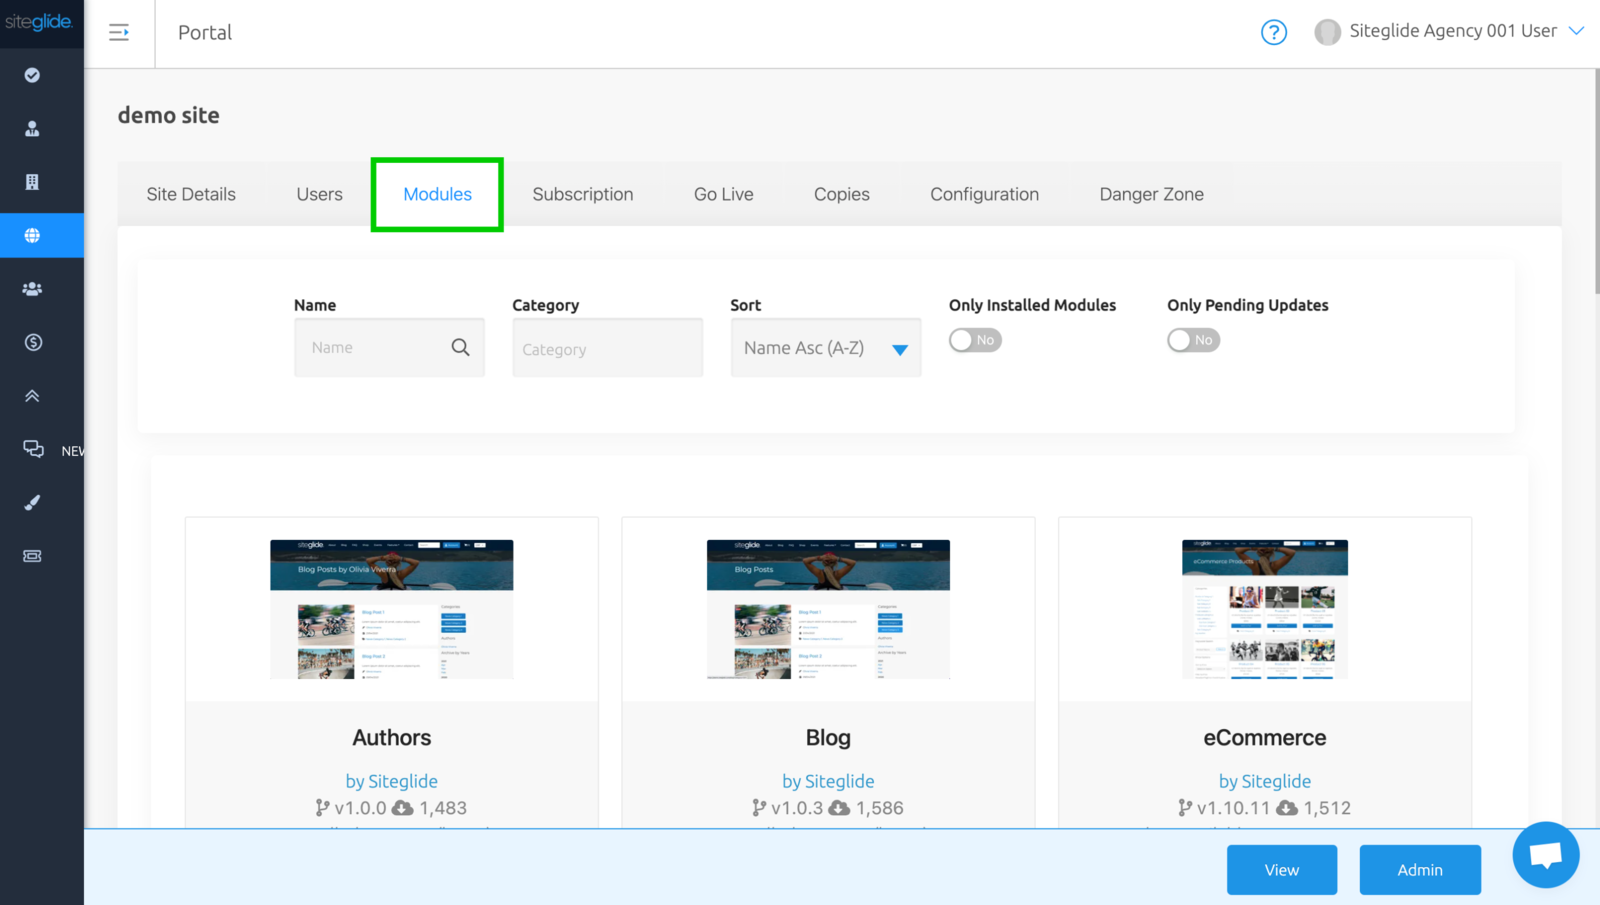
You can also see Modules made available by other Agencies here: Community > MarketplaceYou can learn more about Modules here: Modules - Getting Started
Go Live and Domains
From 'Site Details', navigate to the fifth tab along named 'Go Live' on trial Sites.
Note Once a Site is live, this 'Go Live' tab is now called 'Invoices' and is the sixth tab along. The 'Domains' tab is now visible and is the fourth tab along.
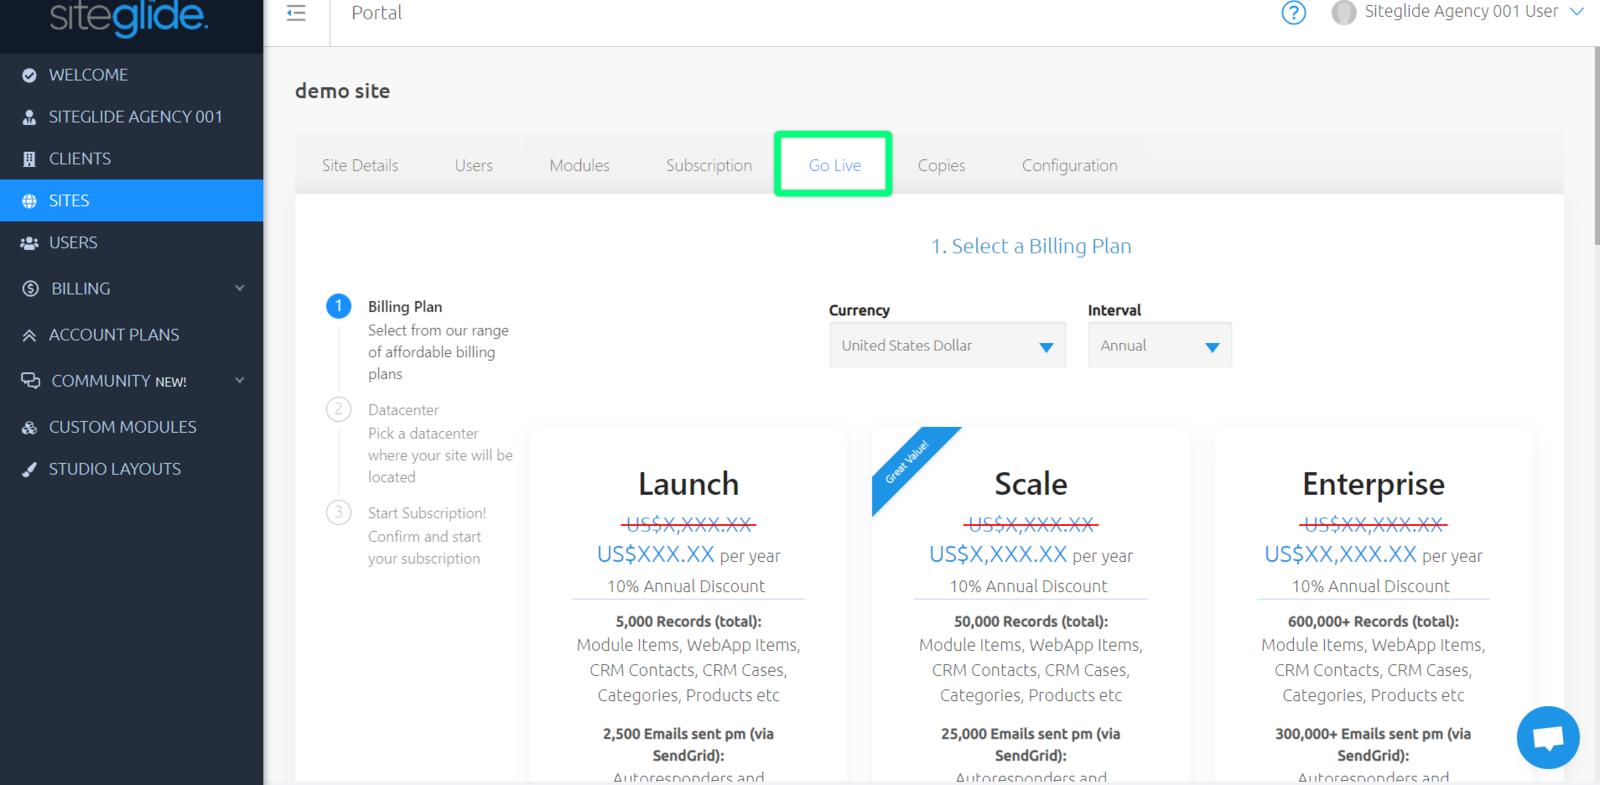
Here, you can begin the go-live process with putting your Site onto a plan and adding domains.
You can learn more about these tabs and going live here: How To Put A Site Live
Subscription
From 'Site Details', navigate to the fourth tab along on trial Sites and fifth tab along on Live Sites named 'Subscription'.
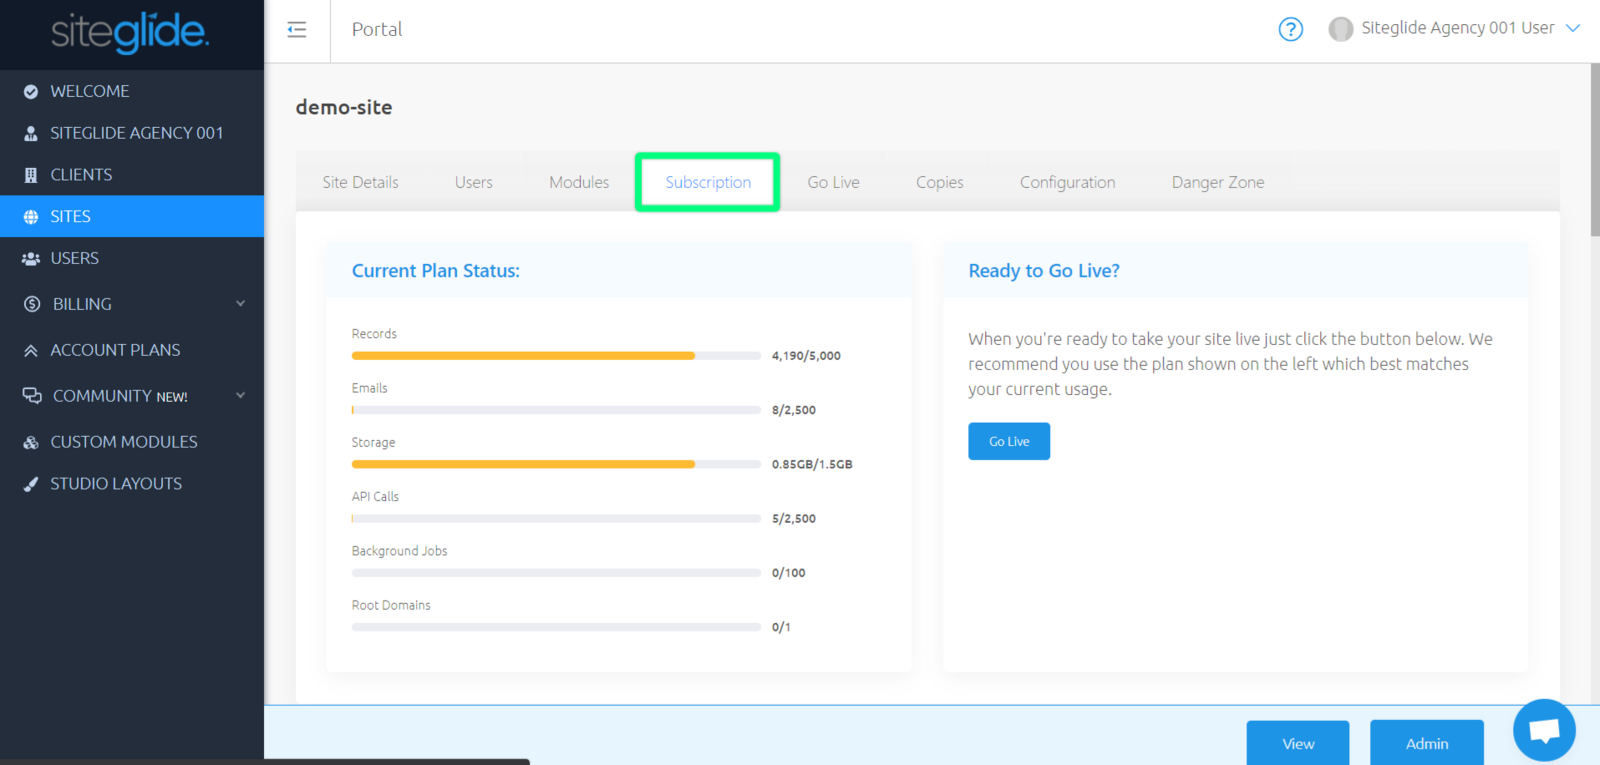
Here, you can view this Site's peak usage for the current month and how this compares to this Site's current plan's limits.
Scrolling down, you can also view a breakdown of current usage, where this is and also what has been deleted in the current month.
You can learn more about Subscription here: Subscription & Usage
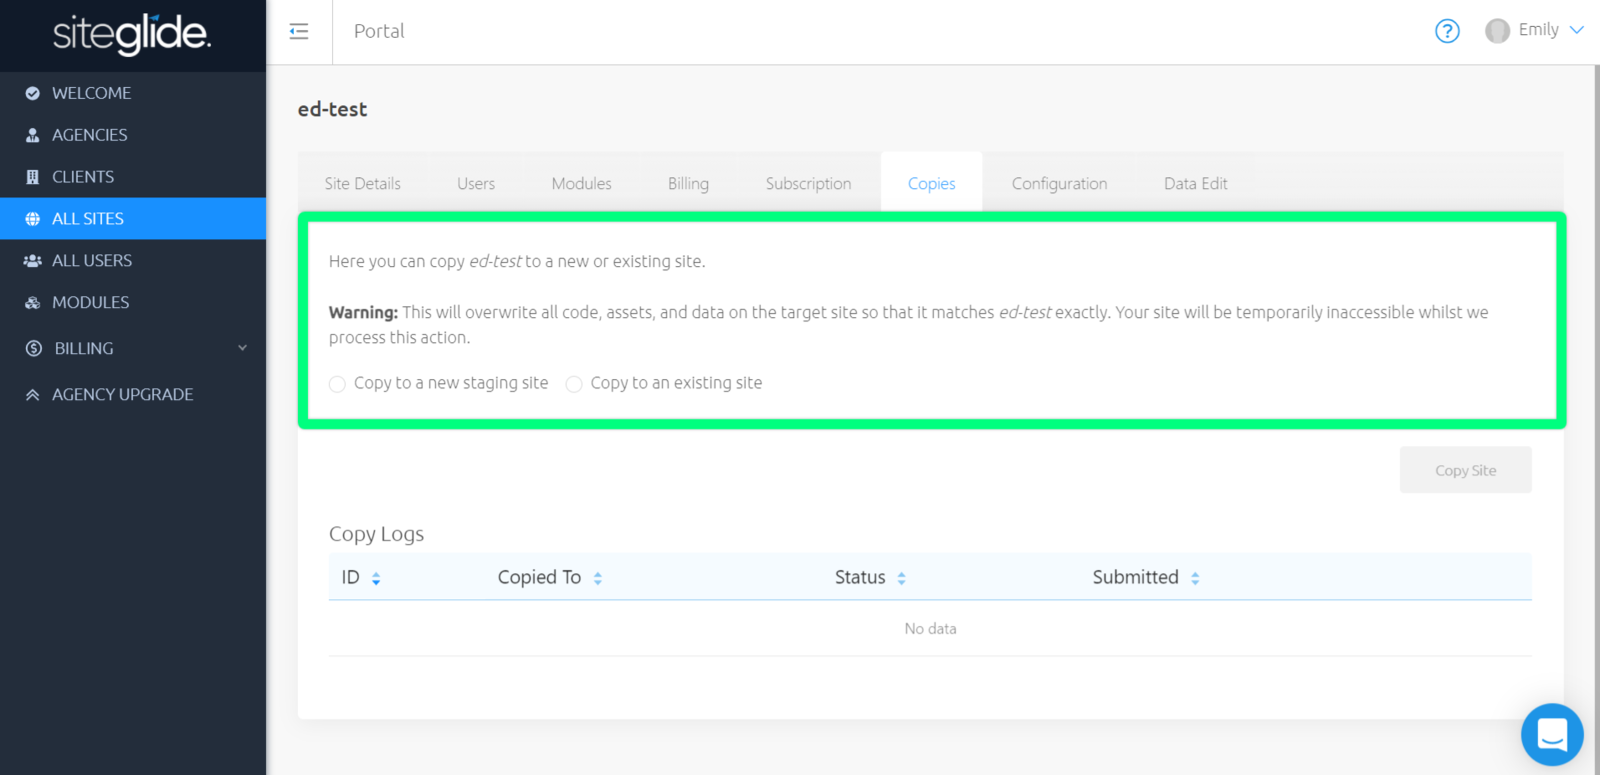
Copies
From 'Site Details', navigate to the sixth tab along on trial Sites and seventh tab along on Live Sites named 'Copies'.This is where you can duplicate an existing Site to a new staging Site, or an existing Site, and view all copies of that specific Site.

Coping Sites
Click "Copy to a new staging site".
You can then choose a Client for this Site to be under, a Site Name and Site URL for this Site. Alternatively, choose to "Copy to an existing site" and choose an existing Site using the dropdown.
Once you have done this, click "Copy Site" to begin duplicating this Site.
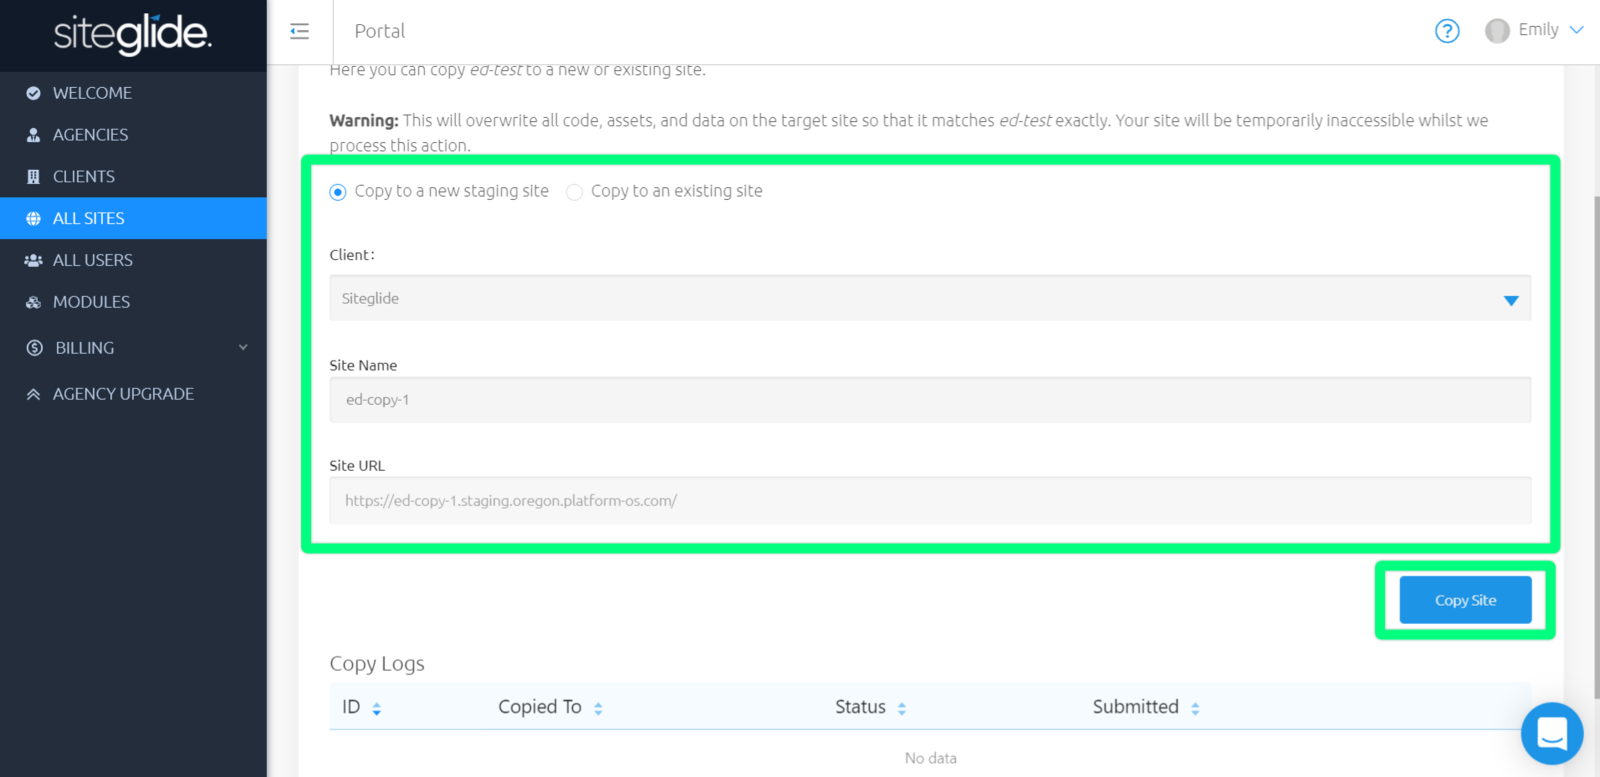
Note: _If the existing site already contains data then this site copy will fail, this should only be used to copy to existing sites that are blank.
You will receive an email once this Site copy has been done, and you can also see the status of this in the "Copy Logs" table below.

Configuration
From 'Site Details', navigate to the seventh tab along on trial Sites and eighth tab along on Live Sites named 'Configuration'.
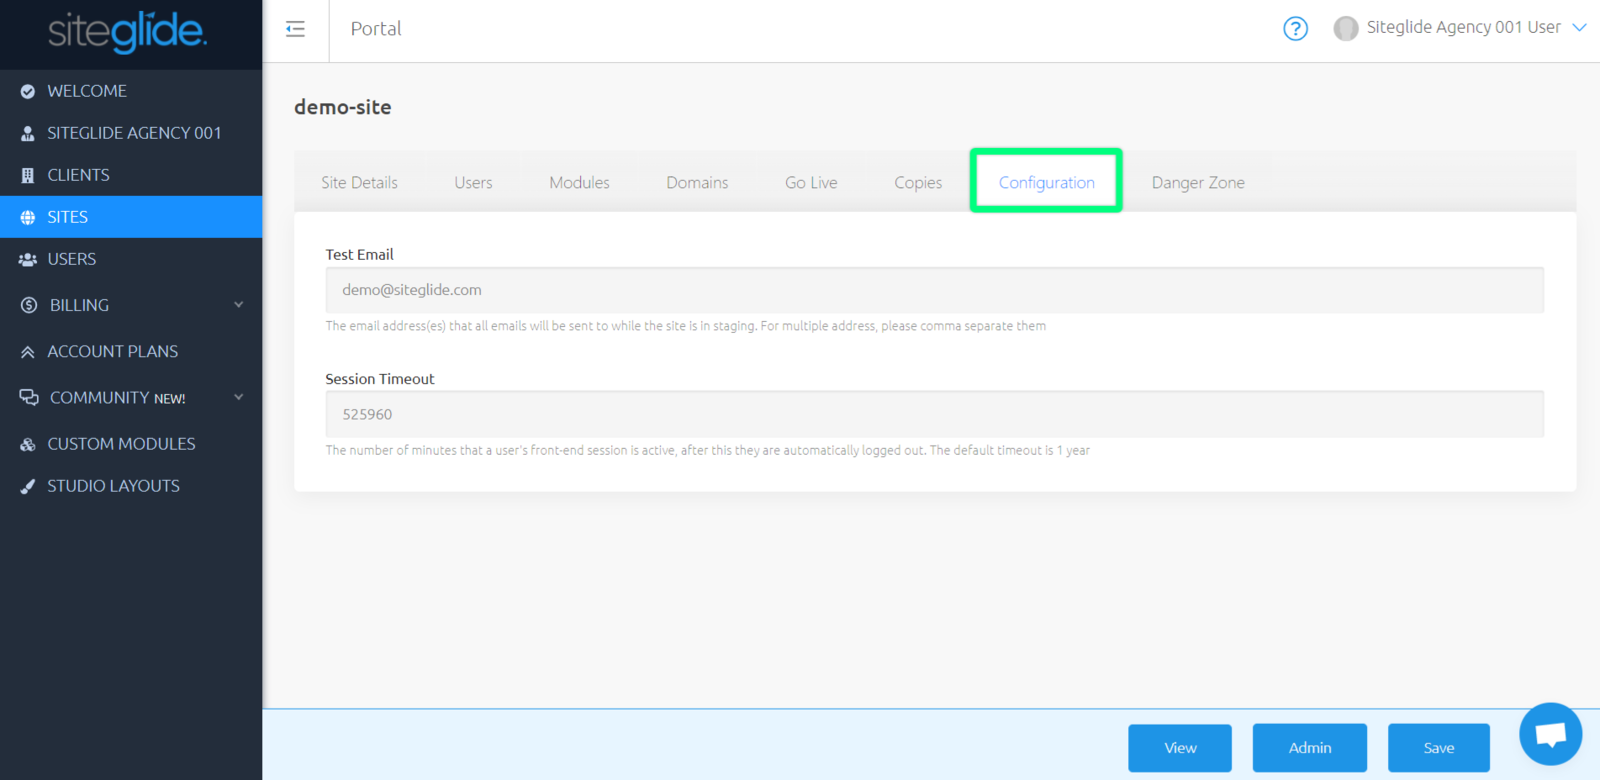
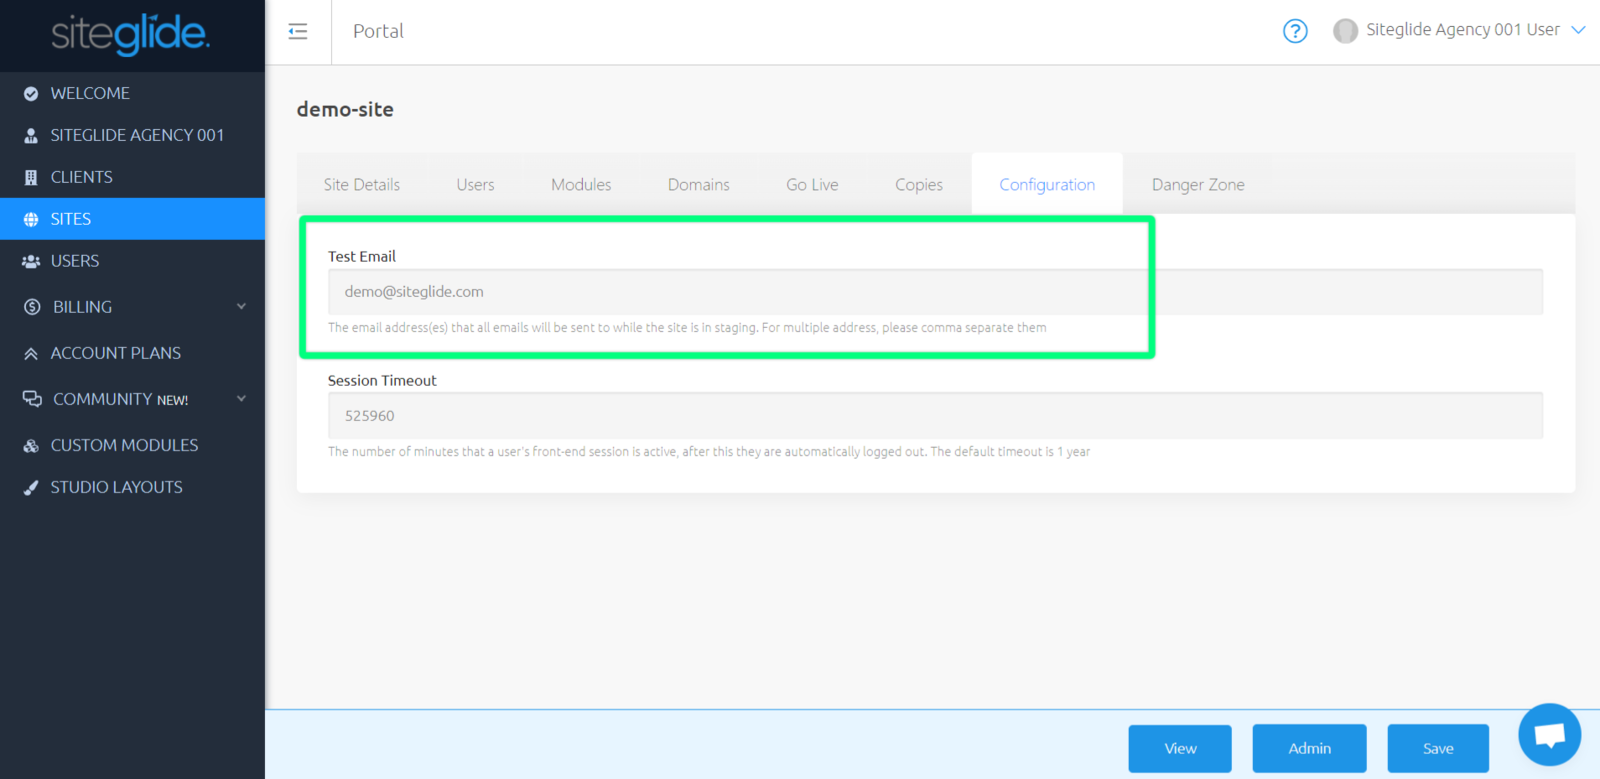
Test Email
Test Email is used when testing workflows and autoresponders on Staging Sites.
Staging Sites send all emails to the addresses that you enter here, and not to their intended recipient. We do this to prevent trial Sites being created on Siteglide and then being used to send spam.
When a Site is then made live it is converted to "Production", the production Site will automatically send emails to their intended recipient by default.
You can enter multiple addresses into this field using a comma-separated format, for example: developer@siteglide.com, client@siteglide.com
Session Timeout
You can set the time period where if logged in users on your site are inactive during this period, they will be logged out.
You can change this length of time within this field.
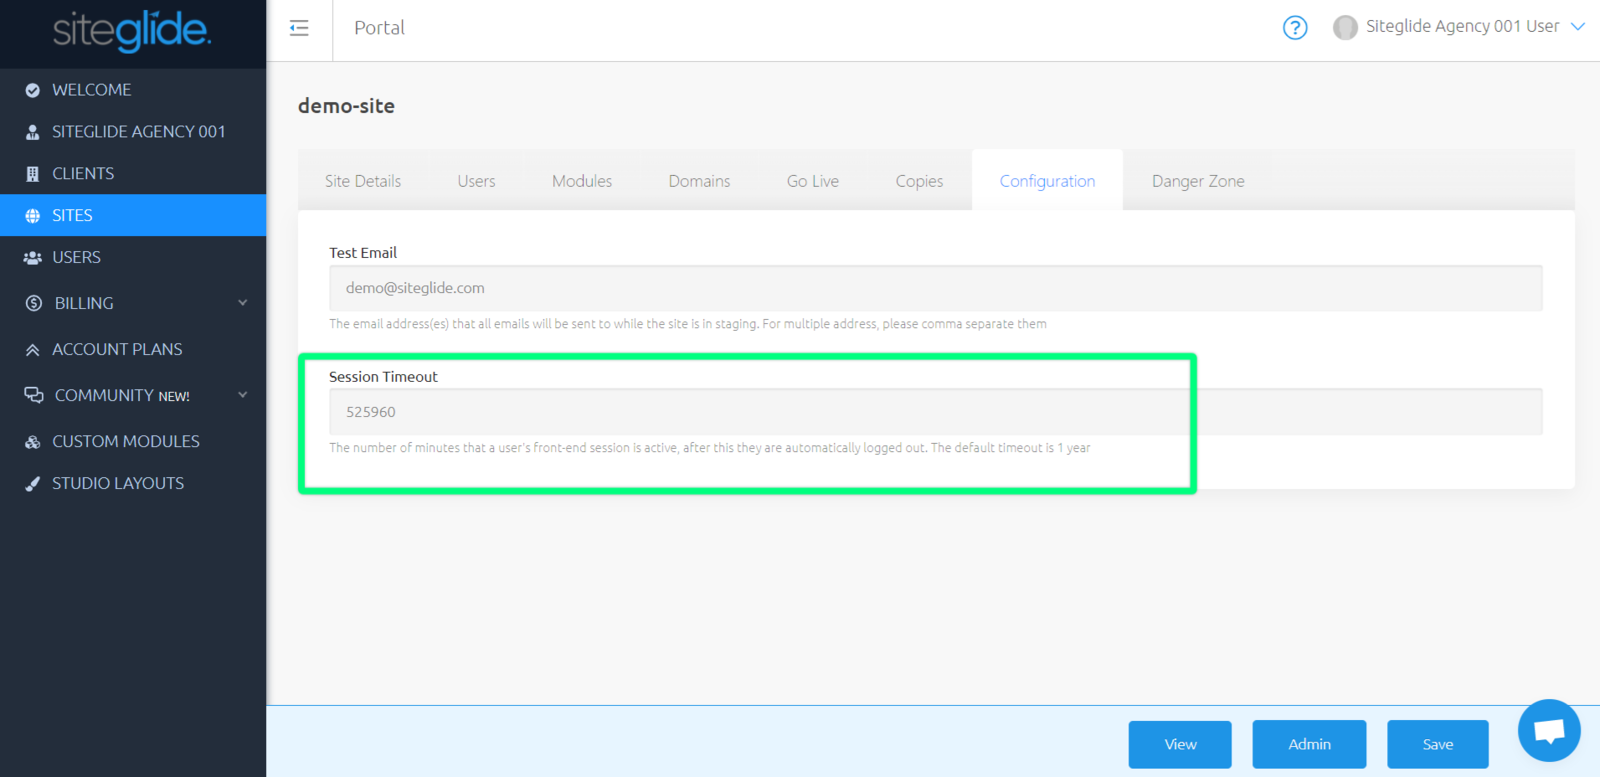
Note: The default timeout is 1 year (525960 minutes)
Danger Zone
From 'Site Details', navigate to the eighth tab along on trial Sites and ninth tab along on Live Sites named 'Danger Zone'.

This is where you can delete your Site by following the instructions provided.
Warning: This action cannot be undone!
Simply read through the information provided and type in the name of your Site to delete this Site.
