

Agency is where you can manage and edit key information about your Agency, Sites, Clients and Users. Any Users set up in your Agency can see all Sites and Clients created here.
Within this doc, you can find helpful information covering Agency, such as:
- Finding Agency
- Account Details
- Public Profile Details
- Users
- Inviting Agency Users
- Clients
- Sites
- Creating Agency Sites
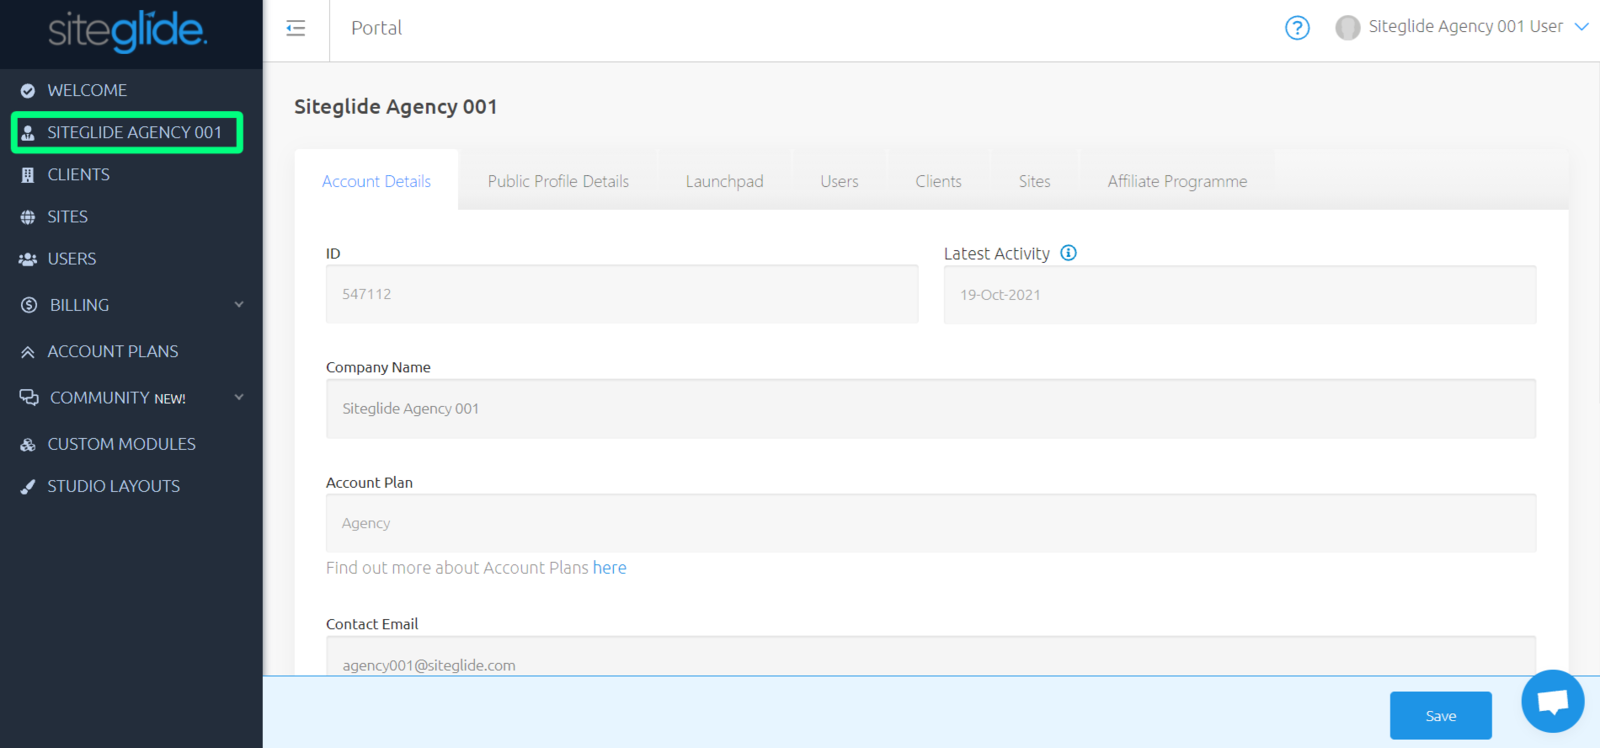
Finding Agency
While viewing your Portal, use the left-hand menu to click "YOUR AGENCY NAME" to manage and edit information about your Agency.
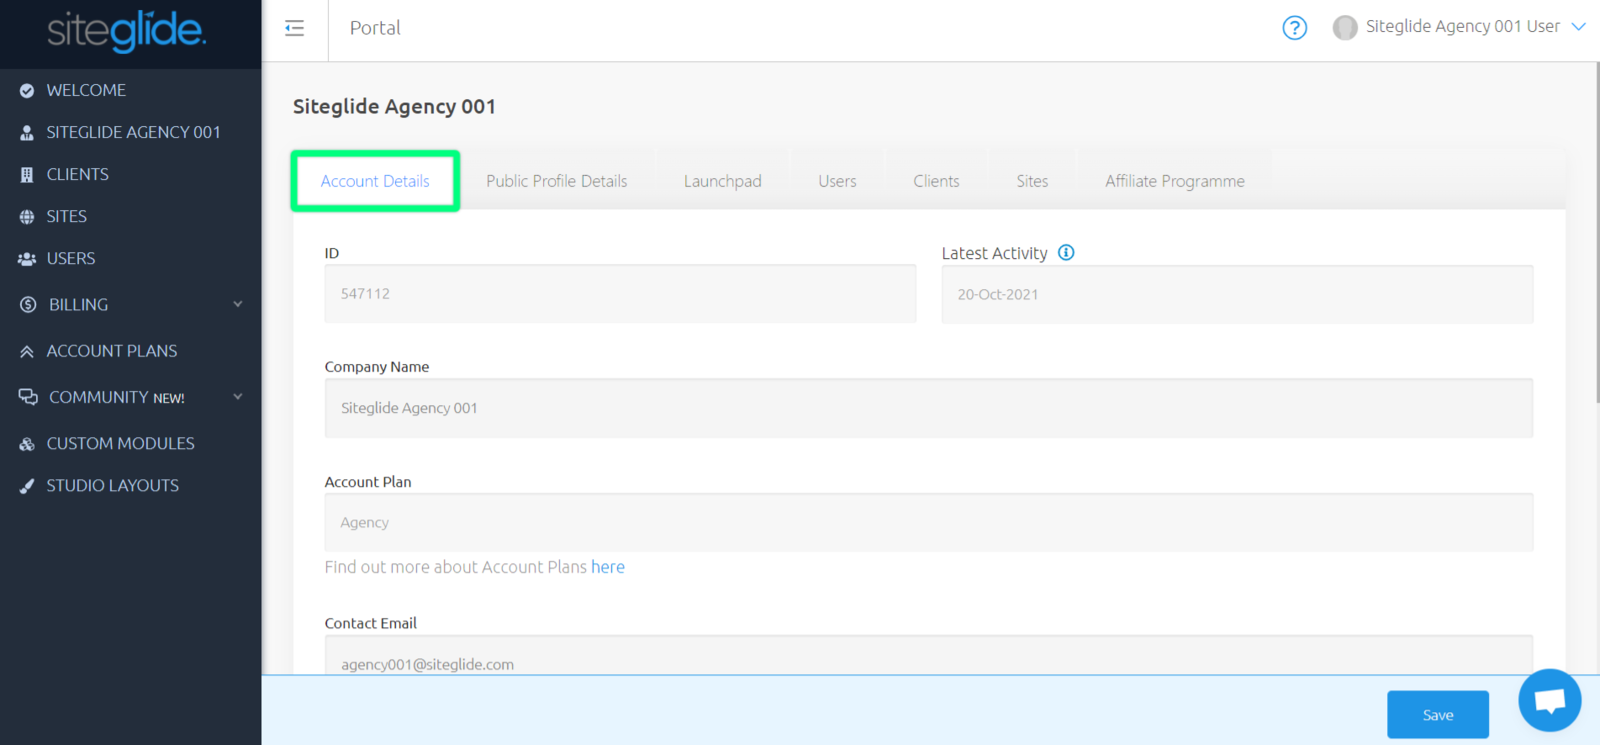
Account Details
When you first head to your Agency, you’ll begin within the ‘Account Details’ tab.
Using the 'Account Details' tab you can manage and edit key details about your Agency, such as:
- ID - Unique identifier of your Agency, the support team may ask you for this.
- Latest Activity - Last date and time this Agency was created and edited
- Company Name - Name of your Agency within your Siteglide Portal, which can be edited.
- Account Plan - The current account plan that you are on
- Contact Email - The main contact email for your Agency
- Contact Number - The main contact number for your Agency
- Billing Contact - The billing contact email address for your Agency
- What is the size of your Portfolio? - The current amount of Sites you have built
- How many sites do you build per month? - How many Sites you'll be building on Siteglide per month
- Whitelabel Logo and Whitelabel Logo (light version) - Upload your Logo to show in the top of the main menu on the left
- Show Whitelabel Logo? - If you'd like this logo to show
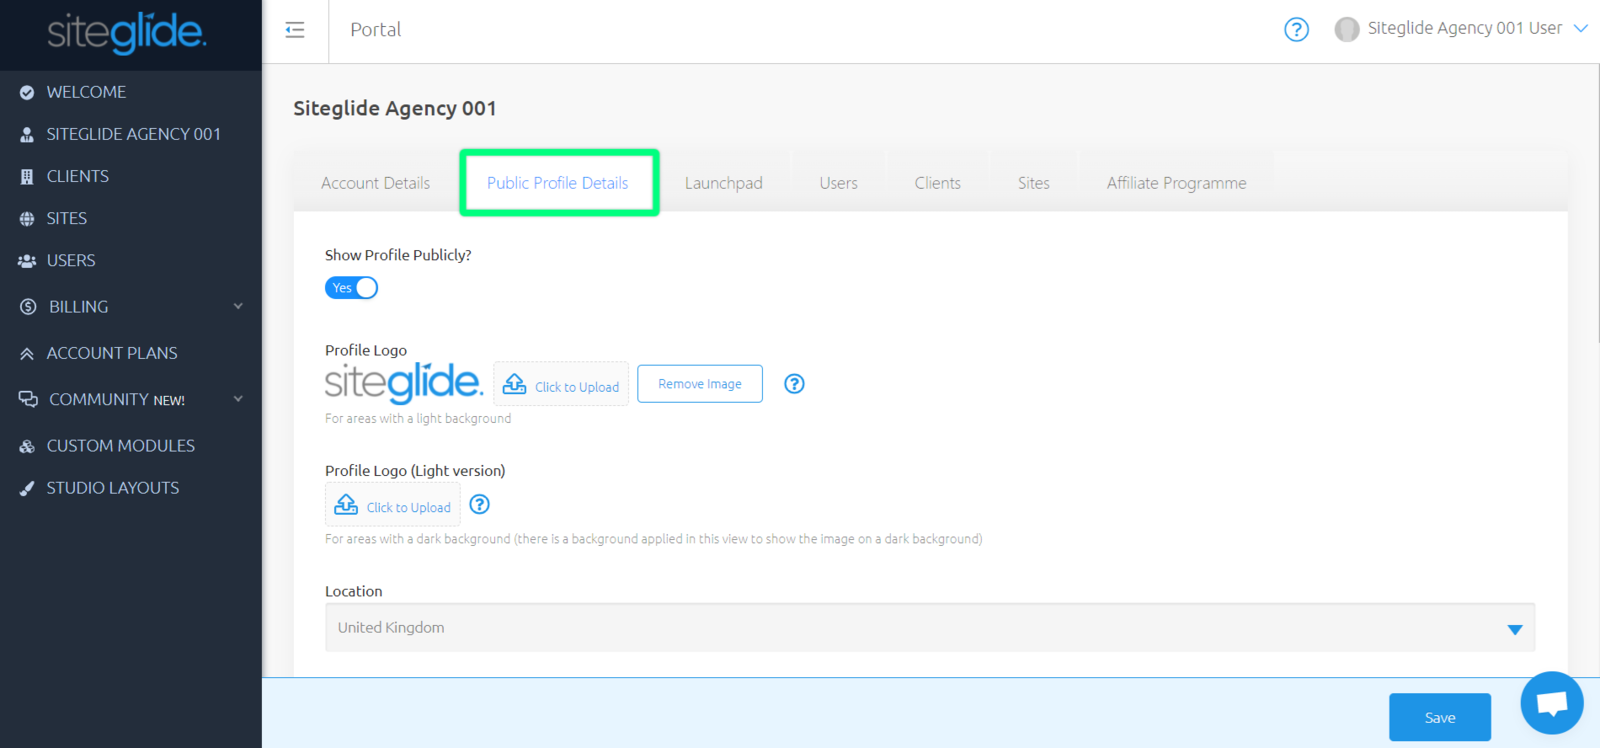
Public Profile Details
From 'Account Details', navigate to the second tab along named 'Public Profile Details'.
Here you can manage and edit information for your public profile shown in Experts, such as:
- Show Profile Publicly? - Choose if you'd like to show your Agency profile publicly
- Profile Logo and Profile Logo (light version) - Upload your logo to show in Experts
- Location - The main location that your Agency is based in
- Website URL - Your Agency's website
- Skills - Skills that your Agency can cover
- Services - Services that your Agency can provide
- What is the size of your Team? - Choose from the dropdown the size that represents your Agency
- Text Description - A brief description about who you are and what you do
- Certification Level - 'Standard' or 'Expert' - This is not editable
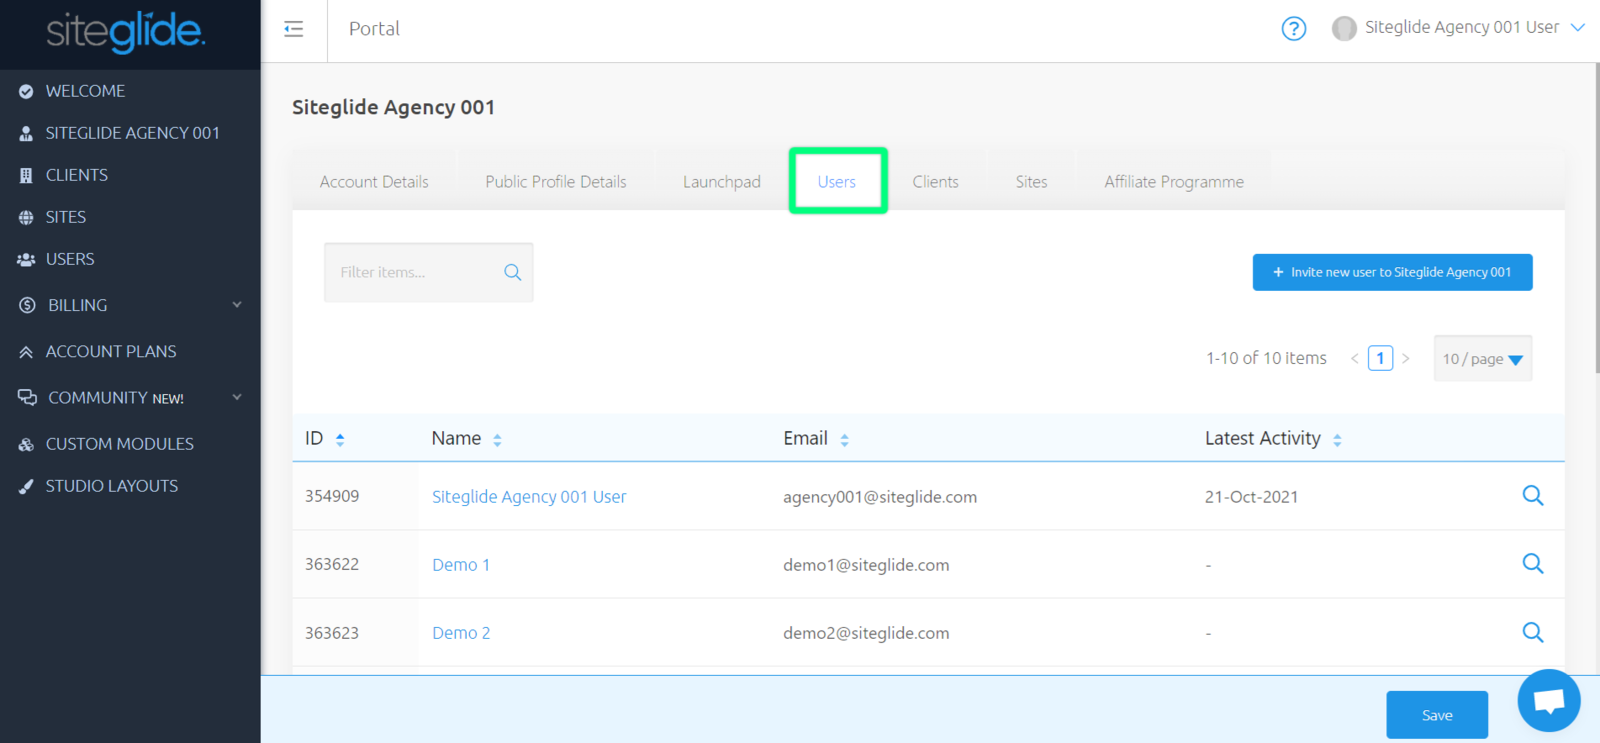
Users
Agency Users can see all Clients and Sites created within your Agency.
From 'Account Details', navigate to the fourth tab along named 'Users', to view a list of all Users within your Agency.
You can find out more information about a User by clicking on the name of the User or by clicking the magnifying glass icon on the right hand side of the list of Users.
This brings up two tabs:
- User Details
- Sites
Inviting Agency Users
Once you have signed up as an Agency, you can now invite other members of your team.
"Invite new user to YOUR AGENCY NAME" , enter in their name and email address and confirm by clicking the blue button in the modal.
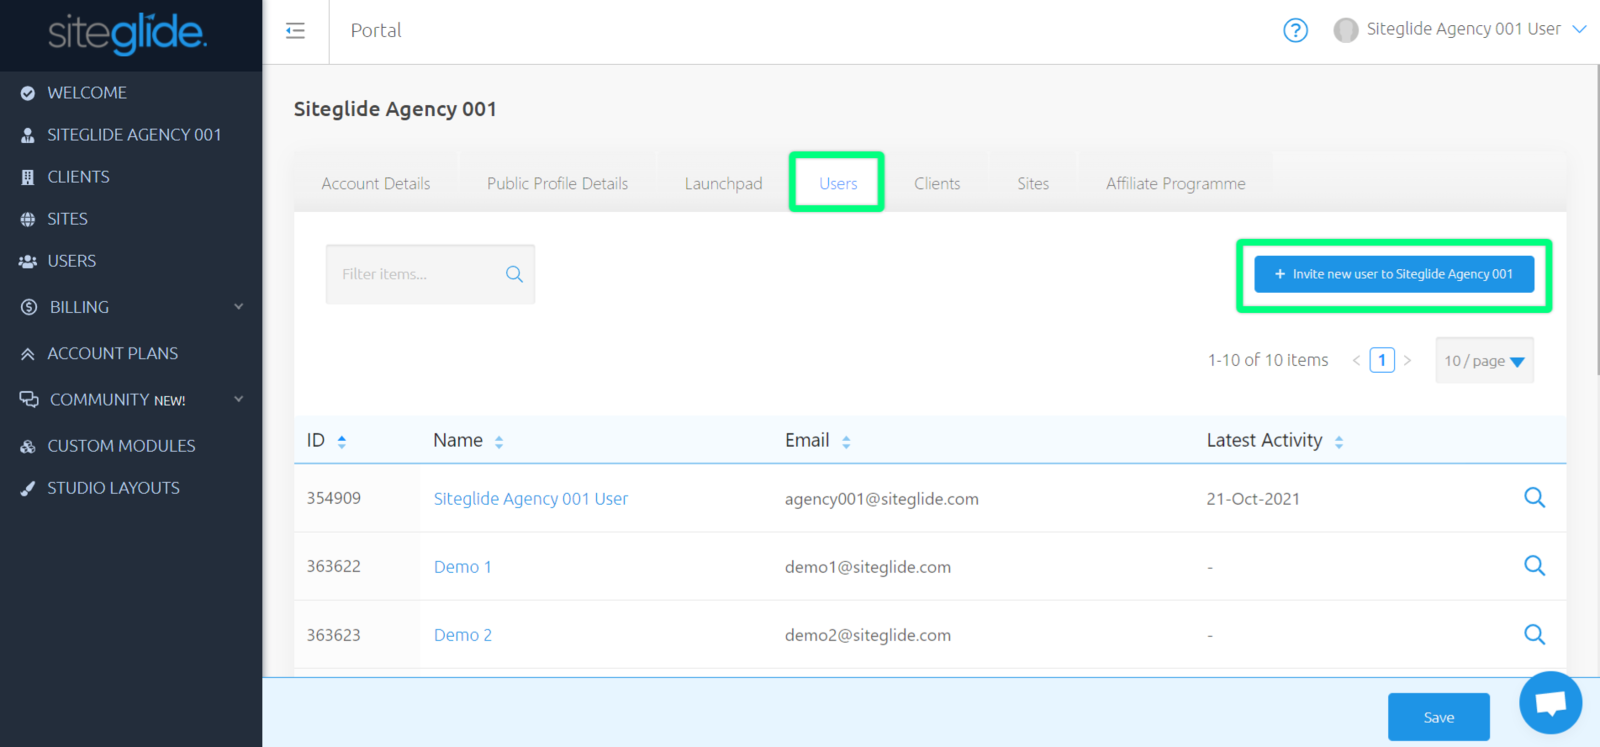
You have now invited a user to your Agency!
Clients
From 'Account Details', navigate to the fifth tab along named 'Clients', to view a list of all Clients within your Agency.
Here, you can view and manage all Clients within your Agency.
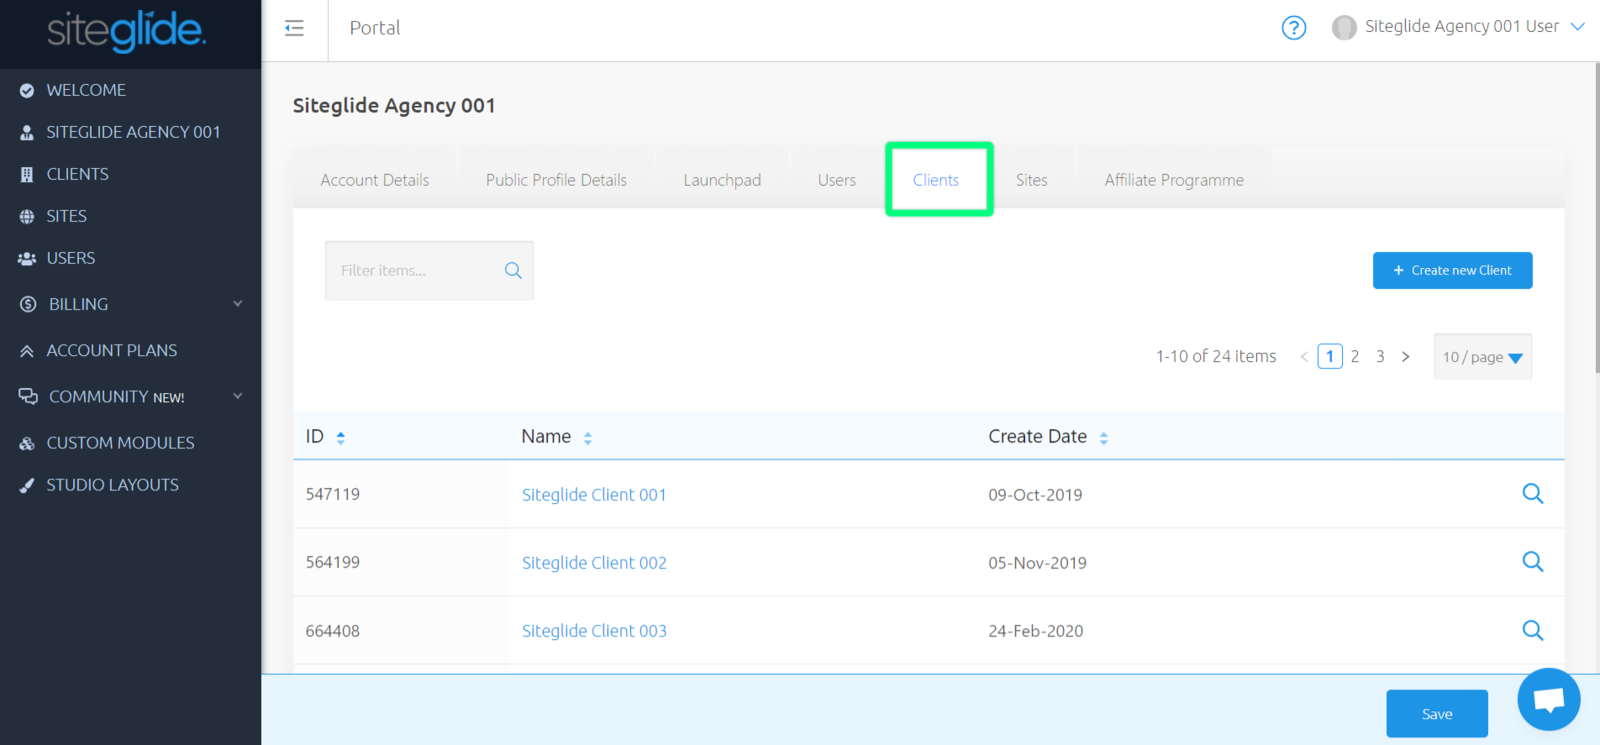
For more information on creating and managing Clients: Clients - Getting Started
Sites
From 'Account Details', navigate to the sixth tab along named 'Sites', to view a list of all Sites within this Agency.
If you create a new site here, all Users within your Agency will automatically gain access.
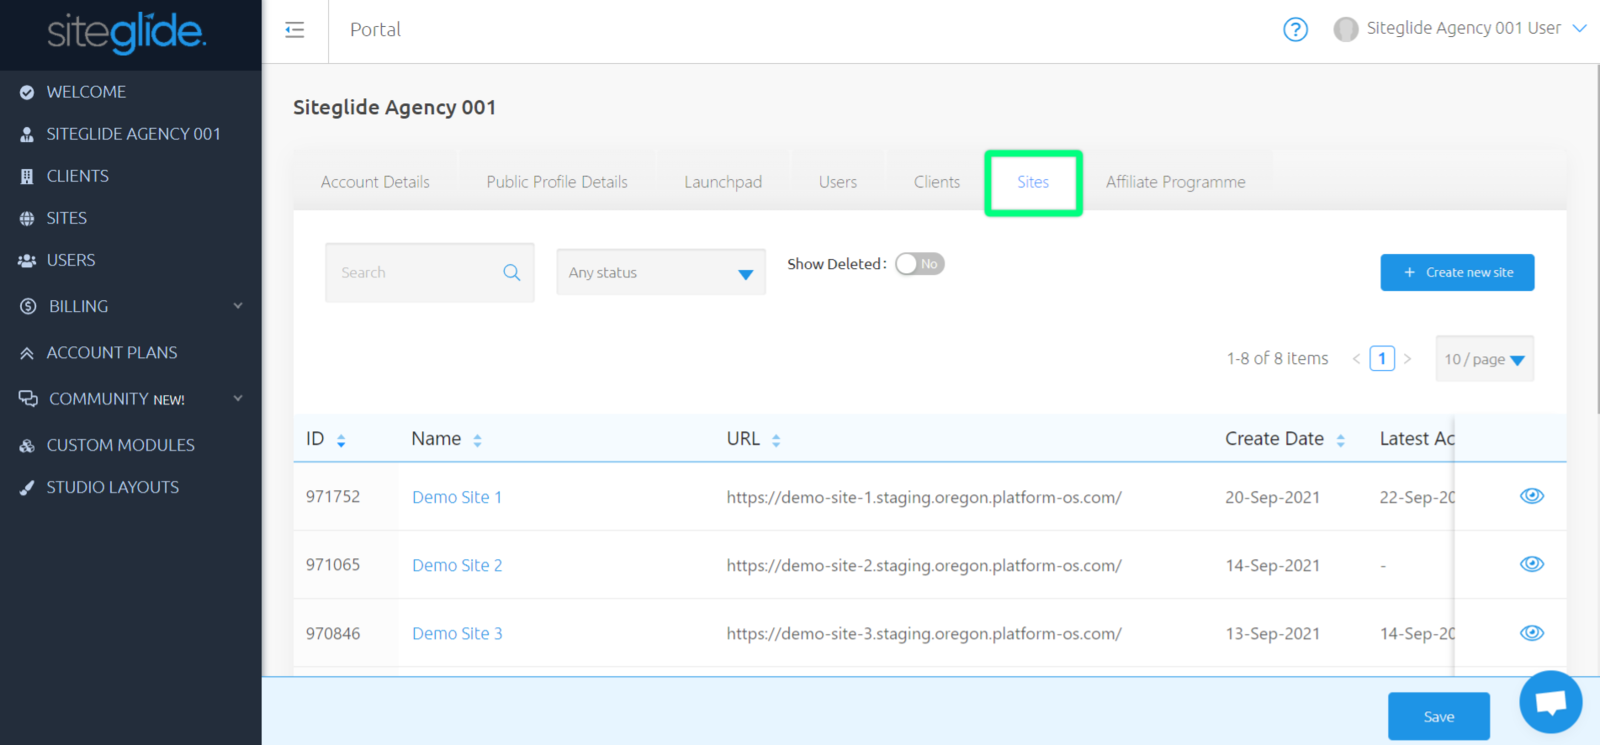
You can find out more about Sites here.
Creating Agency Sites
To the right-hand side, above your list of Sites, you can 'Create new site'.
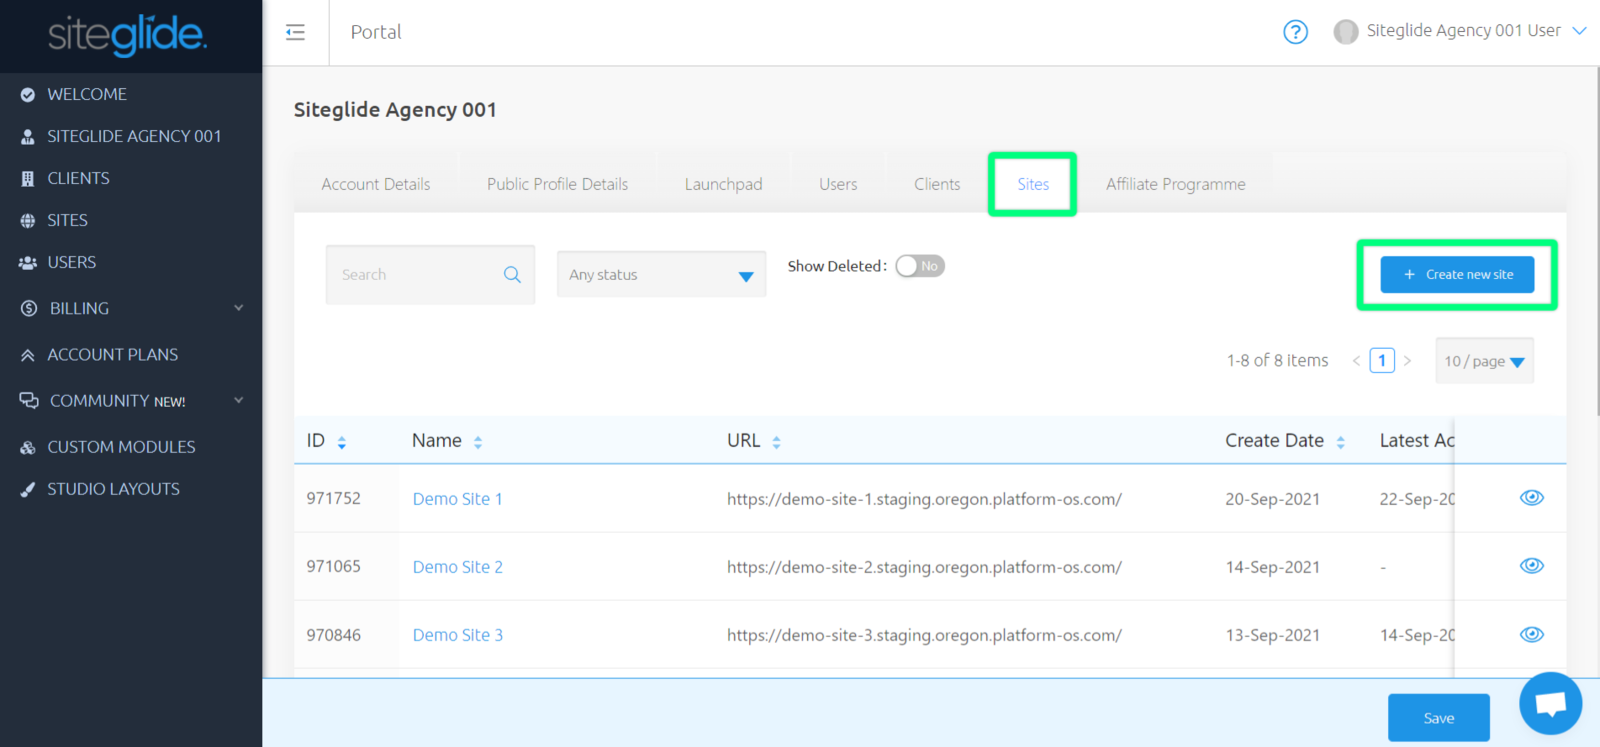
Creating a Site here means it is a Site specifically for only your Agency to access.
This opens up a modal to choose whether you'd like to create a new Demo Site, build with Studio, or build custom.
Once you have chosen which method you'd like to use, you can now enter information about your new Site.
- Site Name - Enter in a name for this new Site
- Site URL - Enter in the Staging URL you'd like this Site to have (you change your Site Name, and Site URL at any point)
- Choose to toggle on or off for Install Studio, and Install Demo Site.
Once you have done this, click 'Create Site', and this will begin to create. An email will sent out when this Site has been created and is ready for you to begin working on.
For more information on Studio, see here: Studio By Siteglide - IntroductionFor more information on Demo Site, see here: Demo Site - Full Feature List