

Secure Zones enables you to lock your content in different zones to only be accessed by users from this zone.
Within this doc, you can find helpful information covering Secure Zones, such as:
Installing And Updating Secure Zones
- Custom Layouts
- Finding Secure Zones
- Creating And Editing A Secure Zone
- Securing Items
- Securing Pages
- Securing WebApp Items
- Securing Modules
- Securing Products
- Adding A Sign-Up Form
- Adding A Login Form
- Adding A Password Recovery Page
- Adding A Form To Change Your Email And Password
Installing And Updating Secure Zones
Head over to the Site Settings area for any site: here, you can install the Secure Zones Module.
Read our Module Update Policy to find out how to update a Module.
Custom Layouts
Secure Zones include Default layouts.
If you'd like to create a custom layout, you will need to create a fresh layouts folder.
You can find these layouts within your Code Editor at layouts > modules > module_5 (Secure Zones).
Finding Secure Zones
While viewing your Site Admin, use the left-hand menu to click "Modules" and expand the sub-menu. Next click on "Secure Zones" to view a list of Secure Zones on your site.
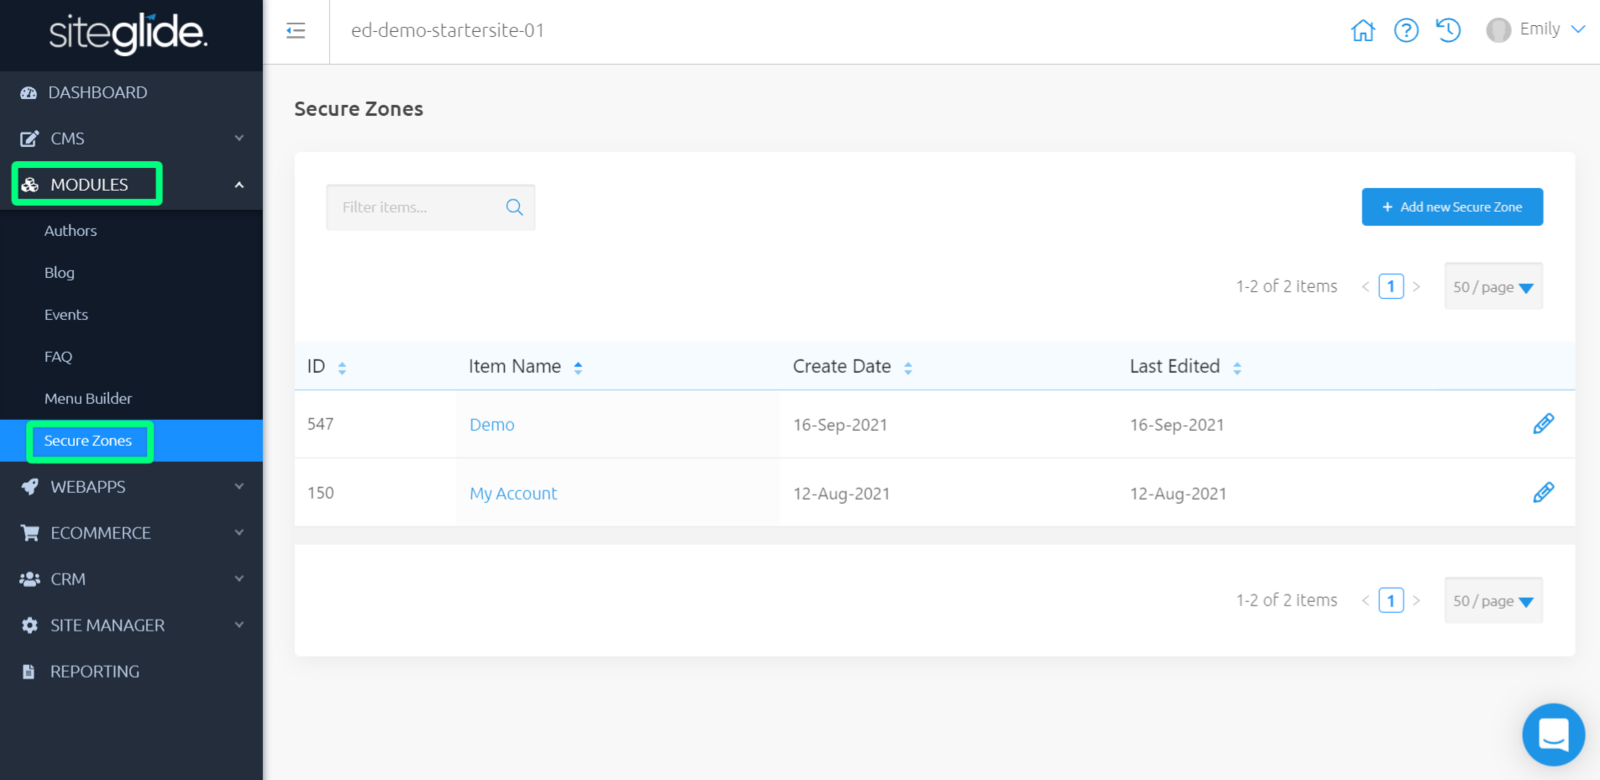
Creating And Editing A Secure Zone
On the right-hand side above your list of Secure Zones, click “Add new Secure Zone” to be re-directed to creating and editing your Secure Zone.
Here, you can manage and edit key information about this Secure Zone, such as:
- Secure Zone Name - This name will only be visible within your 'Site Admin', call it something descriptive so that you can easily find it later on.
You can come back to edit this Secure Zone later by clicking the name of this Secure Zone in your list, or clicking the pencil icon to the right-hand side.
Securing Items
Once you have set up your Secure Zone, you can begin securing items, such as: Pages, WebApp items, Module items and Products.
Securing Pages
You can secure a Page by heading to the 'Details' tab on any Page, and scrolling to the last field in this area, called 'Secure Zones'.
Using the dropdown provided, you can select a Secure Zone of your choice to lock this Page behind.
Securing WebApp Items
You can secure a WebApp item by first editing the WebApp Structure to ensure 'Secure Zones' is toggled (choose to show in list views, but 401 on detail views; or hide in list views, but 404 on detail views).
Once this has been enabled, you can edit a WebApp item and navigate to the fifth tab, 'Secure Zones'.
Using the dropdown provided, you can select a Secure Zone of your choice to lock this WebApp item behind.
Securing Modules
You can secure a Module item by first editing the Module Structure to ensure 'Secure Zones' is toggled (choose to show in list views, but 401 on detail views; or hide in list views, but 404 on detail views).
Once this toggle has been enabled, you can edit a Module item and navigate to the fifth tab, 'Secure Zones'.
Using the dropdown provided, you can select a Secure Zone of your choice to lock this Module item behind.
Securing Products
You can secure a Products by first editing the Products Structure to ensure 'Secure Zones' is toggled (choose to show in list views, but 401 on detail views; or hide in list views, but 404 on detail views).
Once this has been enabled, you can edit a Product and navigate to the fifth tab, 'Secure Zones'.
Using the dropdown provided, you can select a Secure Zone of your choice to lock this Product behind.
Adding A Sign-Up Form
Attaching Secure Zones to a Sign-Up Form will mean that completing that Form gives a User access to that Secure Zone.
Completing a Sign Up Form will also log Users in, so Sign Up Forms can optionally also be used as Login Forms.
Note: By default, anyone who lands on a Page will be able to fill out the Sign Up Form. If your Secure Zone is sensitive, you may wish to further control who will be able to access the Page the Form is on.
When creating or editing a Form, navigate to the second tab along, 'Secure Zones'.
Using the dropdown provided, you can select a Secure Zone of your choice to use this as a Sign-Up Form for this zone.
You can also utilise the Payments tab if you'd like to sell membership to a Secure Zone.
Note: Once you have done this, a password field is added automatically to the default layout. If you are using a custom layout for this Form, you should copy across this password field.
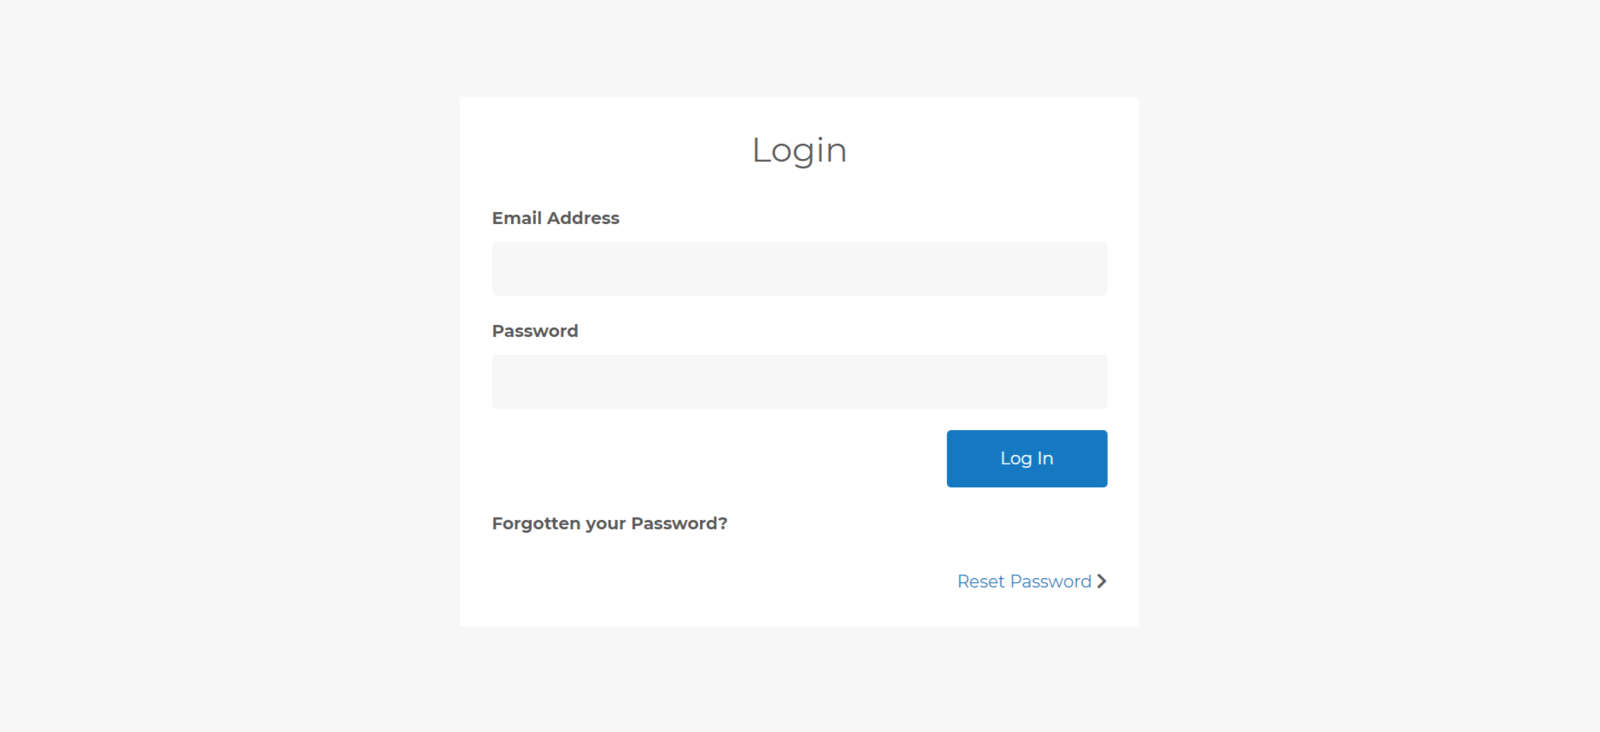
Adding A Login Form
If a User has already signed up, the same Sign-Up Form can also be used to log in.
However, you may wish to use a different Form to log in, this will allow Users to log in without giving them access to any new zones. Log in Forms can be used for all Users to log in, regardless which Secure Zone they are attached to.
You can find the Liquid for adding a Login Form here: Secure Zone Reference
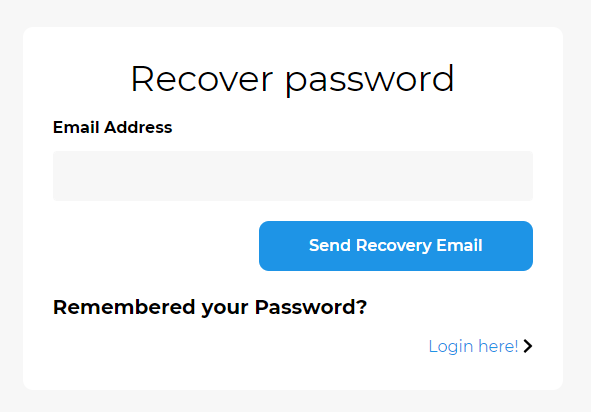
Adding A Password Recovery Page
It's helpful to add a password reset flow in the case of Users forgetting their passwords.
When you install the Secure Zone Module, two System Pages are created: 'Recover Password' and 'Reset Password'.
1) Link to the Recover Password System Page
At the bottom of your custom layout for your log in Form, you should add the following link to the Recover Password page:
<a href="/system/recover-password" title="Reset password">Reset Password</a>
Here, Users can enter their email to receive instructions on how to reset their password.
You can customise this email within System Emails, but make sure this is included for Users to be able to reset their passwords successfully:
<a href="{{context.exports.reset_password.data.reset_password_url}}">Reset password!</a></p>
2) Reset Password
From the above System Email, Users are provided with a link to recover their password and visit the 'Reset Password' System Page.
Note: If a User visits this Page without clicking the link in their email, they won't be allowed to reset their password as no token is given.
Adding A Form To Change Your Email And Password
Users may also wish to change both their email and password.