

WebApps are a fully customisable solution for storing and outputting dynamic content on your Site. Containing both a list view of all or selected items, and a detailed view showing one item in more depth, you have the flexibility to create exactly what you need for your site.
While the setup and process when working with modules is very similar, it can differ in some areas.
Within this doc, you can find helpful information covering WebApps, such as:
- Custom WebApp Layouts
- Finding WebApp
- Creating Your WebApp
- Standard, SEO, And Custom Fields
- WebApp Items
- Creating And Editing Items
- Standard Fields
- SEO Settings
- Custom Fields
- Adding Items To Categories
- Securing Items
- Adding A Location
- Saving And Editing
- Item History
- Copy Items
- Importing And Exporting
- View
- Front-end WebApp Forms
- Datasourcing with WebApps
- Adding Items To Pages
- Using With Studio
- Outputting With Toolbox
Custom WebApp Layouts
When created, each WebApp will include a Default layout for list views, details views and for WebApp item submit forms. These default layouts will only contain the name of the item, however you can use the dropdown provided to include more information about your items.
If you'd like to create a custom layout to better fit your branding, you can create a new file within the relevant folder, or create new folders.
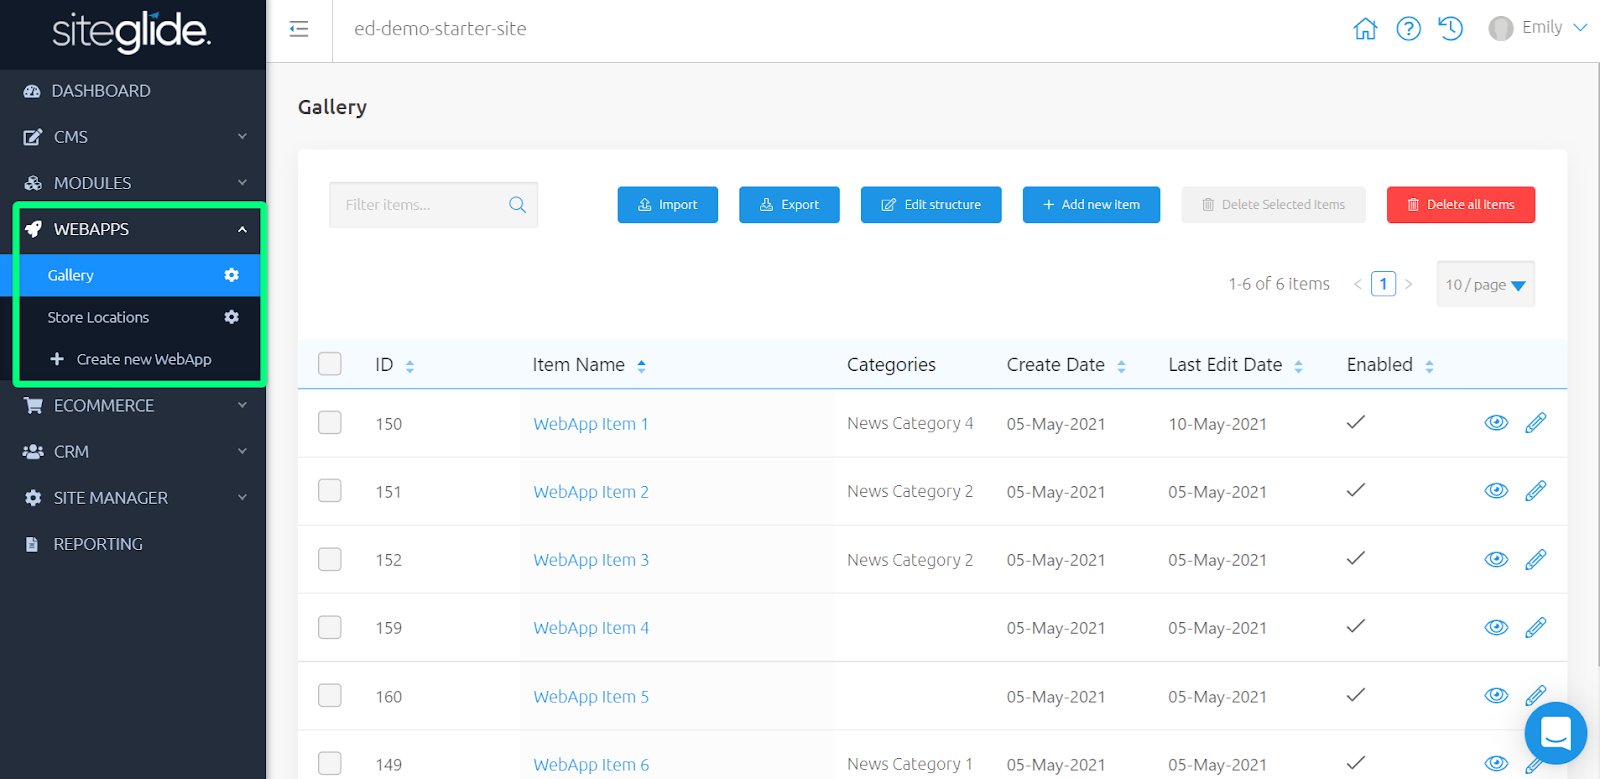
Finding WebApps
While viewing your Site Admin, use the left-hand menu to click "WebApps" and expand the sub-menu. All of your WebApps can be found here, with an option to “Create new WebApp”.
Creating your WebApp
With the sub-menu open, we can “Create new WebApp” to begin filling in basic details about this WebApp and adding essential custom fields of our choice.
- Name - Name of the WebApp displayed in Admin and front-end
- Has Detail View?- Enable or disable the detail view for this WebApp
- Slug - URL of the WebApp displayed in a browser
- Detail Page Template - See Templates - Getting Started for more information
- Detail Layout - Select a layout to use when in detail view
- Secure Zones - Enable or disable this WebApp to be secured (choose to show in list views, but 401 on detail views; or hide in list views, but 404 on detail views)
Standard, SEO, Open Graph and Custom Fields
Scrolling down, we can see a list of all of the standard and SEO / Open Graph fields you can have access to within your items. Standard and SEO / Open Graph fields are the same across all WebApps that you create.
When creating your new WebApp, you’ll want to create custom fields specifically for this WebApp. Simply scroll down to the bottom to begin adding these new fields.
Below is a list of all field types you can currently use:
- Text (String) - Single line text field, used for short text inputs.
- Text (Multiline) - Multiline text field, used for longer text inputs.
- Checkbox - Comma seperated e.g. Checkbox 1, Checkbox 2
- Radio Button - Comma seperated e.g. Radio 1, Radio 2
- Dropdown (Single Item) - Comma seperated e.g. Option 1, Option 2
- Dropdown (Multi Item) - Comma seperated e.g. Option 1, Option 2
- Datasource (Single Item) - Access data of an item from a selected WebApp or Module. Output within Detail, List or Form layouts.
- Datasource (Multi Item) - Access data of multiple items from a selected WebApp or Module. Output within Detail, List or Form layouts.
- Image (Single) - Choose an image from File Manager
- Image (Array) - Choose multiple images from File Manager
- File - Media upload field
- Folder - Choose a folder from File Manager
- Date - Select a date
- Number (Integer) - Choose between a minimum and maximum integer for each item
- Number (Float) - Choose between a minimum and maximum float for each item
- Boolean - Toggle 'Yes' and 'No'
- Custom Array - Comma seperated e.g. Option 1, Option 2
For this example Services WebApp, we have added description and datasource fields.
Once you have added all of the details needed and custom fields, don’t forget to save.
You should now see your new WebApp in the sub-menu on the left-hand side.
WebApp Items
Once we’ve created our WebApp, it’s time to start creating items.This enables us to add services, recipes, store locations, images for our gallery and so much more to our site.
Creating And Editing Items
Get started with “Add new item”.
Redirected to ‘Standard Fields’, we can fill in required fields and navigate tab by tab filling in any additional information we’d like to include, along with any required custom fields.
Standard Fields
These fields are the same across all WebApps and include the following:
- ID / External ID - Unique identifiers for each item, these appear when you have created and saved a new item and they cannot be edited.
- Name - Name of the WebApp item displayed in Admin and front-end
- Item Slug - (if you’ve enabled detail view within the WebApp structure) - URL for this item
- Weighting - Create a sort order of your choice
- Release Date - (in your timezone, outputs in UTC) - Choose a date for this item to be released
- Expiry Date - (in your timezone, outputs in UTC) - Choose a date for this item to expire
- Enabled - Choose to enable or disable this item
- Item Owner - Choose a user from your CRM to own this item
SEO Settings
Navigate to the next tab along, this is called "SEO"
SEO and Open Graph fields are the same across all WebApps and help to enhance your items and your website, achieving higher rankings.
These fields include:
- Page Title - Choose a title for this item
- Meta Description - (with an advised character length between 50-160) - Write a relevant meta description for this item
- OG Title - Choose an Open Graph title for this item
- OG URL - Choose an Open Graph URL for this item
- OG Image - Choose an Open Graph image for this item
- OG Description - Write a relevant Open Graph description for this item
- OG Type - Choose a type - article, book, profile, or website
- Twitter Card Type - Choose a type - app, player, summary, or summarylargeimage - This is required for sharing this item on Twitter. For more information on Twitter Card Types, see here
Custom Fields
Navigate to the third tab along, this is called "Custom Fields".
Any custom fields added to your WebApp will show here for you to utilise.These can be filled in, if required, or left blank for later editing.
You can also toggle to show the custom field IDs; these can come in handy for outputting in layouts. You can instead choose to output the quick liquid provided from the dropdown in Code Editor.
Adding Items to Categories
Navigate to the fourth tab along, this is called "Categories".
With a list of available Categories, you can open top levels to show the children categories.
You can choose to add an item to any parent or child category.
No categories showing?Use ‘Manage Categories’: where you can create, edit and remove any.Find out more: Create a Category
Securing Items
Navigate to the fifth tab along, this is called "Secure Zones".
With Secure Zone options set up in your WebApp Builder, you can use the dropdown to add any existing secure zones on your site to this item.
Alternatively, backspace or “x” can remove any unwanted secure zones.
If no Secure Zones are available to add, you can create some.Find out more: Creating A Secure Zone
Adding A Location
Navigate to the sixth tab along, this is called "Location".
Using “Search for an Address” to find one, manually enter an “Address” or use “Longitude/Latitude” coordinates for GeoJSON, you can enter one location to be added to this item.
For example, this could be a Services WebApp with training locations, or Galleries showcasing hot vacation spots.
This can be shown on the front-end as a list, or in a map with drop pins.
Find out more: Searching By Location - Full Example
Saving And Editing
Once you have included this information, click ‘save’, or ‘save and add new’ to continue creating more. You can then click the WebApp name to return to your list of items.
From here, you can click either the name of an item or the pencil icon on the right-hand side to edit.
Item History
Navigate to the seventh tab along, this is called "Item History".
Here, you can view and restore different versions of this WebApp item from the last 7 days.
You can view when this version was created, by who, what action was taken, and a choice to view more information about this change and rollback.
Copy Items
Duplicating items allows you to easily replicate items across your Site and have an item with different URLs.
Once you have one item set up, you can duplicate this many times to create the number of items you need or duplicate once to set up a similar item without manually creating these.
You can do this by clicking ‘Copy item’ at the bottom of any item.
Importing and Exporting
Import
Importing CSVs is great for migrating items over from other sites to Siteglide; creating new items or editing existing items in bulk.
From your list of items, you can “Import” to “Download Import Template” , which contains essential columns for you to begin populating with data; alternatively, looking at this template preview in admin will show you which columns are required, and more information about each column to help you populate correctly.
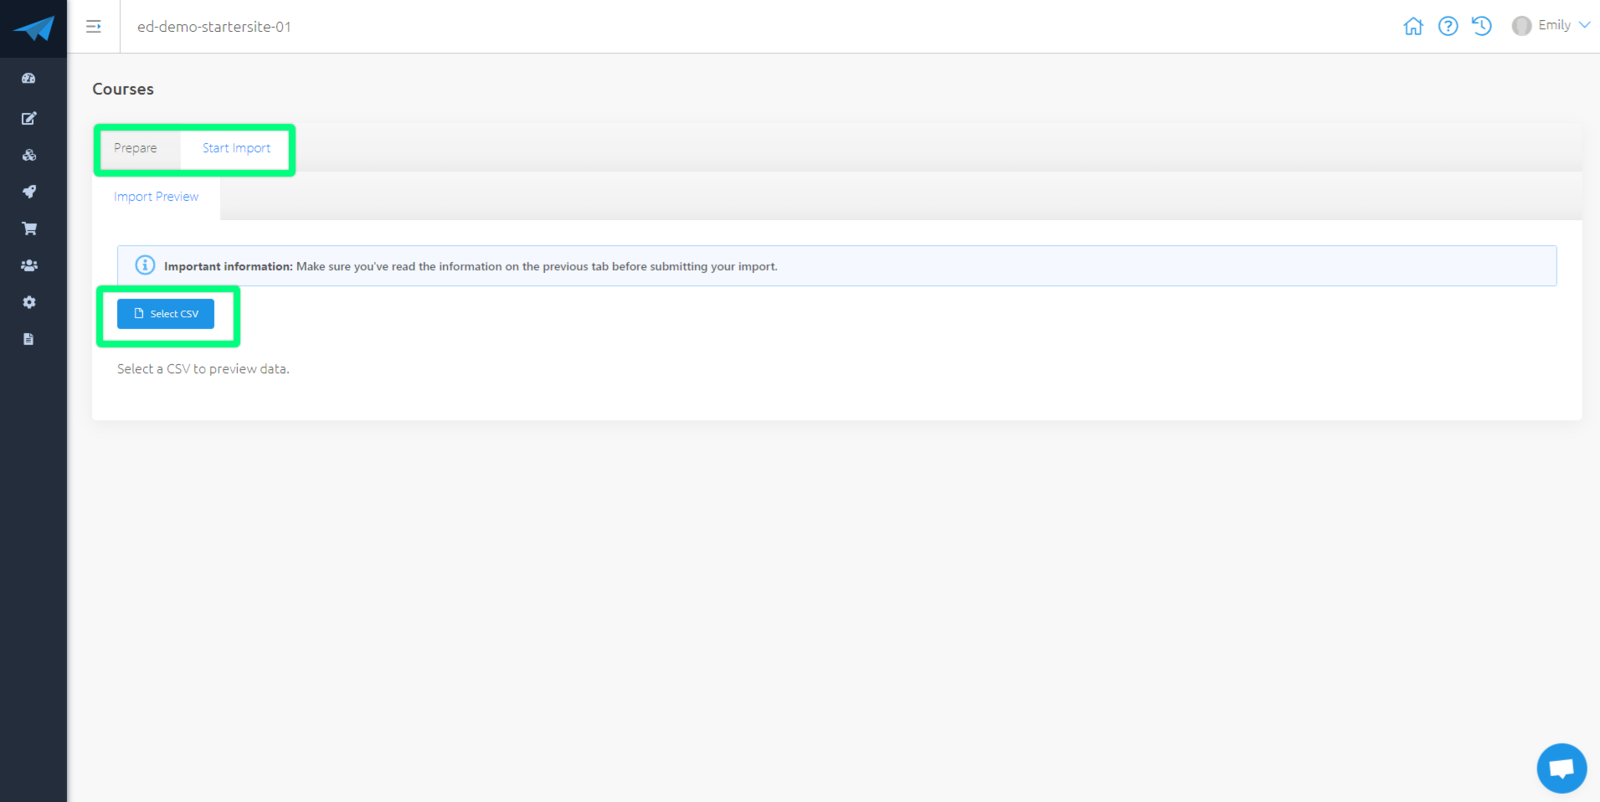
“Start Import” to “Select CSV” and begin importing your items.
A success or error message will appear in the top-right hand corner, and you will receive an email of the success or failure of each import.
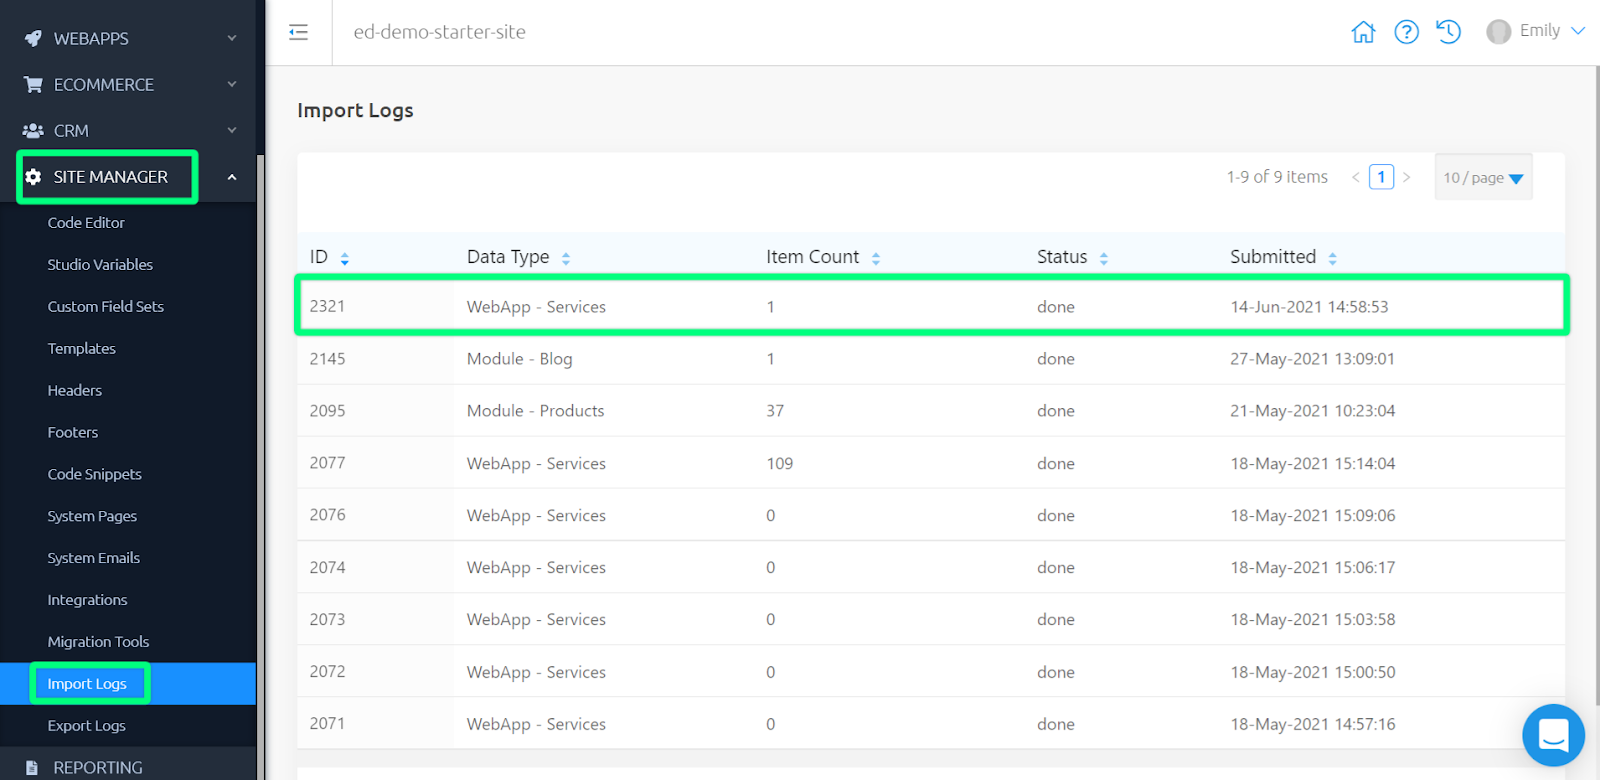
If an import fails, you can head to Site Manager > Import Logs to learn more about this failure.
Export
Exporting CSVs enables you to manage and edit all existing items (leaving the ID column as it is); or export an example item to help you import items correctly.
From your list of items, you can “Export” to download a CSV of all of your existing items for this WebApp. This will be processed in the background and you will receive an email of the success or failure of this export.
Success or fail, you can head to Site Manager > Export Logs to download this CSV or learn more about this failure.
View
You can preview any item to see what this looks like on the front-end. You can do this within your list of items by clicking the ‘eye’ icon on the right-hand side of a specific item; or when editing, click to ‘View’ from the bottom of this item.
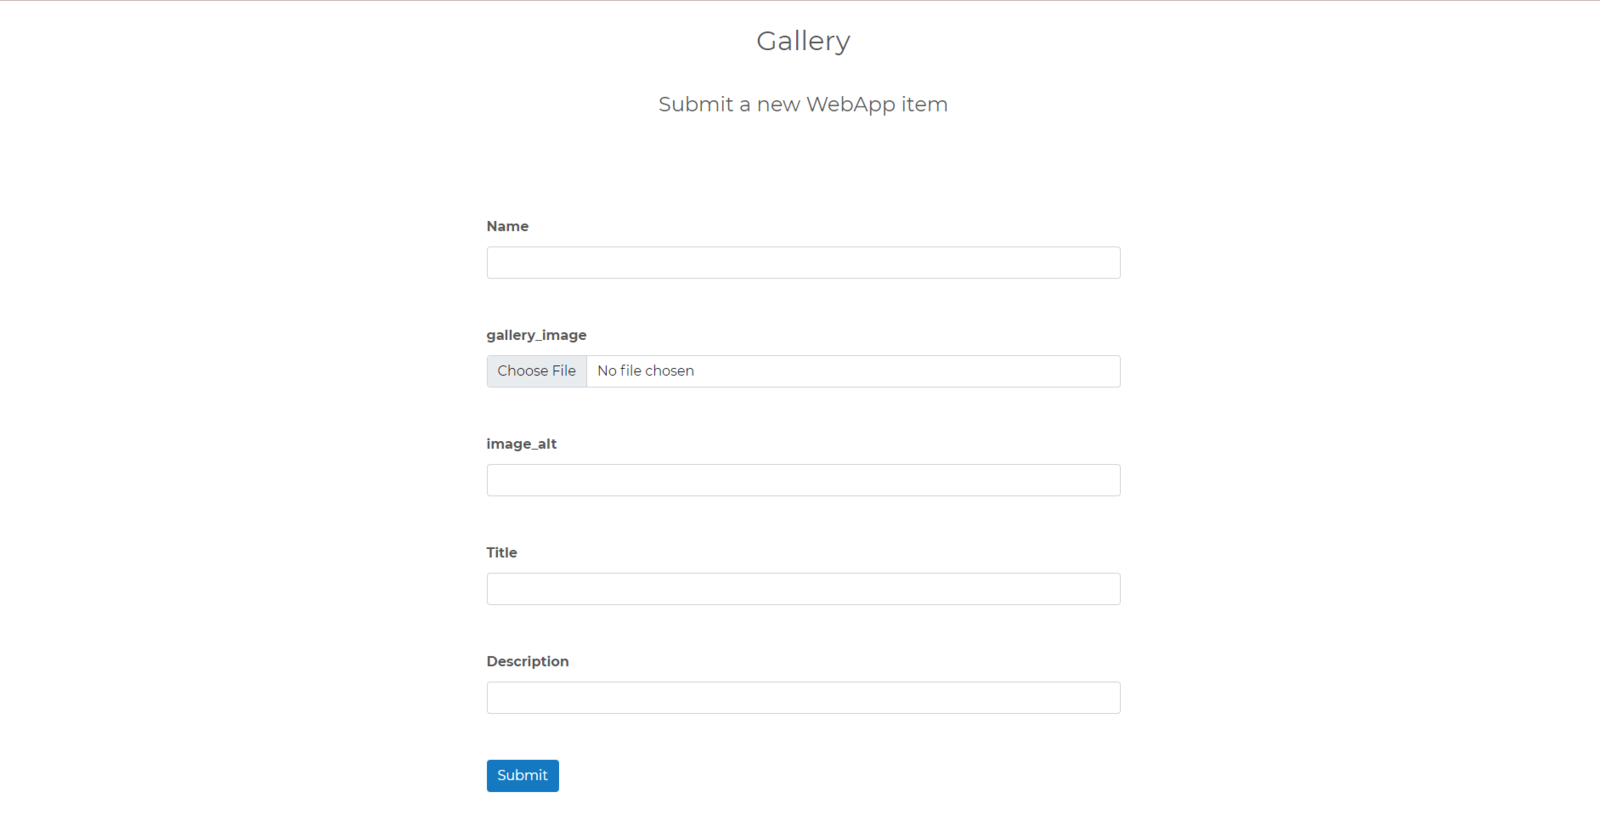
Front-end WebApp Forms
When WebApps are created, a default Form layout is automatically created. WebApp Forms can be set up and output onto Pages to enable items to be created by users. These items are added to the relevant WebApp and can be outputted using the method below.
These layouts can be edited within Code Editor at layouts/webapps/webapp_[ID]/form/default.liquid.
For more information on WebApp Forms, see: Front-end Submit WebApps
Datasourcing With WebApps
Sometimes, you'll want to build WebApp and Module Layouts which are nested inside one another. Using combinations of Layouts like this can help you create highly informative Pages that are also easily-maintainable.
Adding Datasource Fields To WebApp Structure
We begin in the WebApp that we’d like to add this to. We can “Edit Structure” to add a new datasource field as seen above in Standard, SEO and Custom Fields
Adding Datasource Items To WebApp Items
Heading to a WebApp item, we can select an item we’d like to link to this item, as seen above in Custom Fields.
Finding WebApp Layouts
Next, we can head to Code Editor to add the necessary code needed to connect these items.
Using the tree menu on the left hand side, you can navigate to your WebApp layouts which can found at - layouts/webapps/[the WebApp you’re adding this datasource to]/[list or detail view]/[default.liquid or your own custom layout]
For this example, we’re adding the datasource code to layouts/webapps/webapp_3/detail/default.liquid
Adding Datasourcing Liquid
Using the dropdown provided in the top-right corner, you can click on the name of your datasource field to insert the liquid needed.
For this example, our field is called “Find Out More”, and we have now added the following to our layout:
{% include 'module', id: '3', item_ids: this['Find out more'], datasource: 'true' -%}Optional - Choosing a layout for your datasource:
We can add to this liquid and specify a layout to use, like so:
{% include 'module', id: '3', item_ids: this['Find out more'], datasource: 'true', type: 'list', layout: ‘custom’ -%}Within this ‘custom’ layout, we can add {{this['slug']}} to enable us to link directly to our datasourced item’s detail view.
Adding Items To Pages
Once we have completed creating our items, we can start enhancing our site by outputting these onto our pages.
Optional - Using With Studio
Studio by Siteglide offers a best practice, Bootstrap 5 based, design and development process to rapidly build far more than just websites.
Find out more: Studio by Siteglide Introduction
We can utilise Studio on Pages, along with WebApps and Modules.
- We begin in Code Editor setting up the file structure for our custom layout. You can edit existing layouts or create new layouts.
Within the relevant WebApp folder (here it is ‘webapp_3 (Services)’ ), in your ‘list’ and ‘detail’ folders, create a file with a name of your choice followed by “.liquid” . Alternatively, you can use the provided default layouts.
Heading over to the Studio layout library, we can choose a layout that we’d like to use and copy.
Copy and paste Studio layouts.
From here, you can cut and paste the outer to this layout into your wrapper.liquid file, along with the item liquid you can find from an example folder/ wrapper file; remove cards two and three as card one will be repeated for all items; and swap dummy text for liquid using the dropdown provided.
Save both layouts, and you’re ready to output this to your Pages.
https://image.siteglide.com/wbu6g4bd
Outputting With Toolbox
Within any Page Code view, Header, Footer, Template, Content Section, and Code Snippet, is a Toolbox on the right-hand side.
Simply find “WebApps”, and choose "List of WebApp items" to output a list of items, or "WebApp input form" to output a WebApp submit form. Here you can customise what you’d like to output, such as:
- WebApp - Choose a WebApp to output
- Details -Here, you can manage and select what you'd like to output
- Layout - Select a WebApp layout to use
- Items - Select All or specific items to output
- Items Per Page - Default is 20 items, use the provided arrows or type to choose which items you'd like to output
- Show Pagination - Show or hide pagination
- Sort Type - Select a preferred sort type - Name, Create Date, Last Edited Date, Release Date or Weighting
- Sort Order - Sort your items by Ascending or Descending
- Categories - Filter your outputted items to only show those within specific Categories
Click “Insert” to add this liquid include to your Pages, outputting your chosen WebApp items.
You can also add additional parameters to further modify how you output your items. You can find out more information here.
Would you like to add additional functionality making this more bespoke for your needs?