

Prerequisites
- The Subscriptions feature is currently only supported if you have a Stripe Payment Gateway, and you will need to define which Payment Gateway set up to use for your Subscriptions. If you have not yet set up a Stripe Account and associated Payment Gateway on Siteglide, you can learn how here: Payment Gateways
Introduction
This Article will show all the additional steps you will need to take to set up the Stripe Payment Gateway in order to use our Subscriptions feature.
Step 1 - Activate your Stripe Account
Although you'll want to keep your Payment Gateway in Test Mode for now, you'll need to add the Live keys from your stripe account to your Siteglide account.
The reason for this, is that we'll be able to set products and plans up early so that when the time comes we'll be able to smoothly transition your Subscription Products from Test Mode to Live Mode.
The first step in doing this is to Activate your Stripe Account. https://stripe.com/docs/account This means completing a lengthy Form with information about the business that will own the account.
If you're just trying out Subscriptions, you may want to add the details of your Agency to the Stripe Account, but not put it live. If you're building a Site for a Client, it would be easiest to set up the Stripe Account for them- or to ask them to complete the Activation Form.
Step 2 - Add the Live Keys
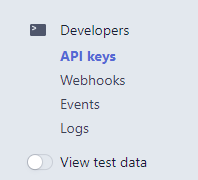
In your Stripe dashboard you'll be able to find these keys under the Developers > API keys option in the left-hand menu, once you have toggled "View test data" off:
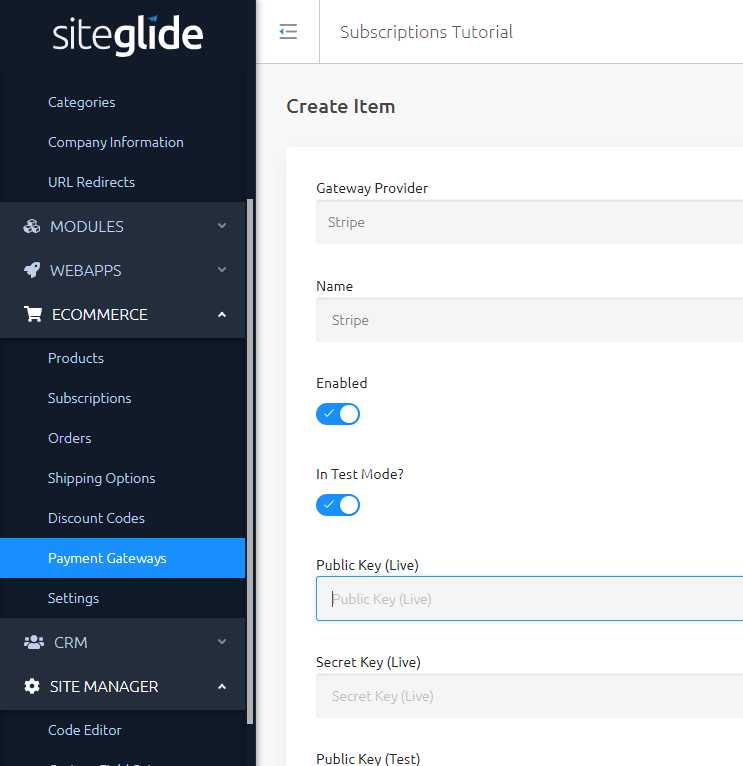
You'll need to add these keys to your Stripe Payment Gateway in the Siteglide Admin:
Step 3 - Set up the webhook endpoints in your Stripe Account
Our integration uses webhooks to get updates from Stripe on the status of your customers' subscriptions.
You'll need to set these up on the Stripe Dashboard with the "Viewing test data" toggle on. You will also need to set them up in Live mode- and you may decide to do this now so that you're ready.
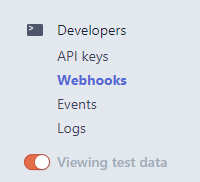
Find Webhooks in the Stripe Dashboard menu under Developers > Webhooks:
Next, use the "add endpoint" button in the "Endpoints receiving events from your account" section.

After that, fill in the Endpoint URL and Events to send fields in the modal.
- Whether setting up the test mode or the live webhook endpoint, you can start the URL with the Development domain for your Site, as I have in the example screenshot. If you're setting up the Live Endpoint, you could optionally use a custom domain.
- Add to this the following relative path:
/api/stripe/subscription_updated - For Events to send, you'll need to select both the
customer.subscription.deletedand thecustomer.subscription.updatedevents. The same endpoint will handle both types of events.
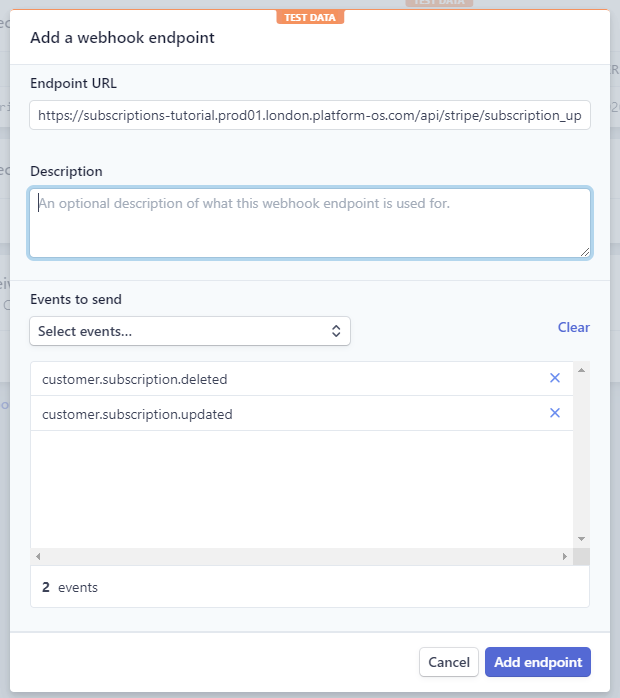
Click the "Add endpoint" button to finish. Don't forget to set up the same webhook endpoint for Live mode as well, whether you want to do this now, or before you go live.
Step 4 - Add the Stripe Webhook Signing Secret to your Payment Gateway
This secret string is used by Siteglide to validate whether the incoming webhook calls are genuinely from Stripe.
You can find your Signing Secret on the Stripe Dashboard under Developers > Webhooks. If you've already set up your Live webhook, there will also be a Live Signing Secret and this should also be added to Siteglide.

It should be added to your Payment Gateway on Siteglide.
Step 5 - Check your Siteglide eCommerce Settings
Next we'll show you the Subscription related options under eCommerce Settings.
You can find the Subscriptions Settings under ECOMMERCE > Settings in the Menu and then navigate to the Subscriptions tab.
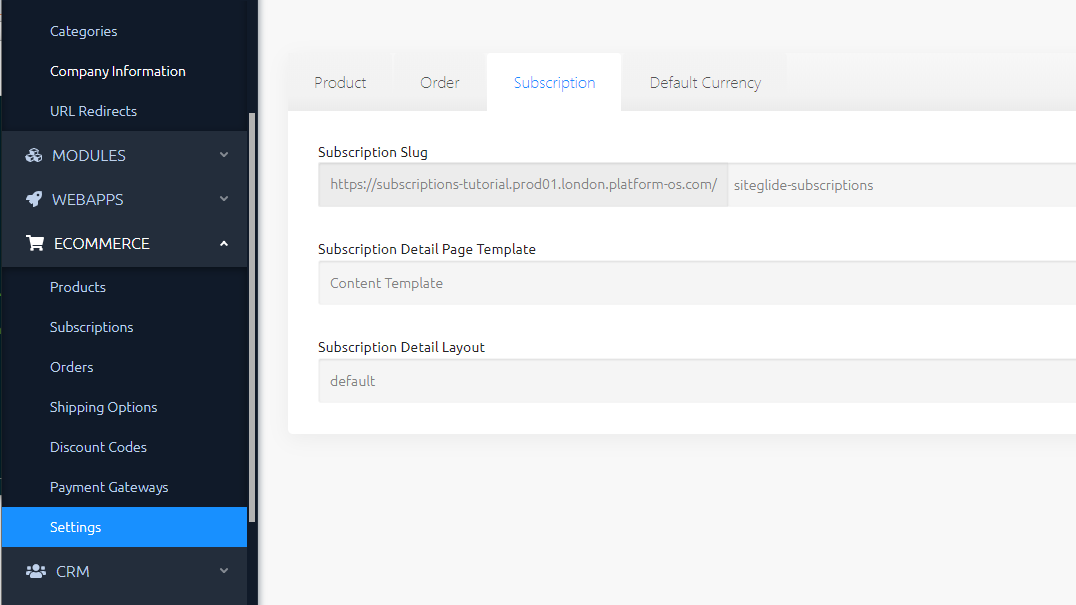
Currently, all Subscription Sign Up Forms must be outputted on a Subscription Detail page. You can use this opportunity to set the following:
- Subscription Slug - this sets the root of the URL for the Detail Page where customers will be able to Sign Up for this Subscription. The slug of each Subscription item will be appended on the end of the final URLs.
- Subscription Detail Page Template - This sets which Page Template will be used by the Detail Page
- Subscription Detail Layout - This sets which detail Layout folder will be used by the detail Page. You can use default until you decide to customise your own. These layouts can be found under
SITE MANAGER > Code Editorunder the pathlayouts/modules/module_14/subscriptions/
Step 6 - Check your Stripe Dashboard Settings
Stripe allows you a wide range of configuration options and settings you can use to enhance your experience. We'll aim to expand our integration to cover more of these options over time.
For now, we'll draw your attention to the key options which will have an impact on Siteglide.
Stripe Settings which will affect the Siteglide Integration
In your Stripe Dashboard, navigate to Settings > Subscriptions and emails
Manage Failed Payments
In the "Manage Failed Payments" Section, you can set:
Retry Schedule- which allows you to determine how Stripe decides when to retry failed payments.
Changing Subscription Status in any Section
Where Stripe allows you to set Subscription status in any section, you are free to decide the behaviour your Client needs. Siteglide's endpoint is watching for status changes in your Subscriptions and will update the Subscription Orders on Siteglide as appropriate.
3D Secure Payments with Subscriptions
In the "Manage payments that require 3D Secure" Section, Siteglide does support 3D Secure payments for Subscriptions, so you use any of the settings within.
A note on Emails
Siteglide currently sends transactional emails to customers only when their payment fails and an action is required, for example if 3D Secure authorisation is needed. We allow you to fully customise this System Email in Siteglide with dynamic content.
If you'd like to turn on any of Stripe's emails when any other event happens, these will not be connected with Siteglide and you'll need to read Stripe's documentation in order to style these.
What's next?
That's it! Your Stripe Account and your Siteglide Site are now ready to begin the integration.
Your Webhook Endpoint will send emails to customers whose Subscriptions experience payment failures or require further Strong Customer Authentication. Before going live, make sure to take a look at the System Page and System Email that will be displayed to these customers. You can learn more about these here.
We suggest that before going live with a Site that uses Subscriptions, you may wish to have a quick read of this doc again, to make sure that you've covered all the settings your Client needs.
For now, you'll probably want to get started creating Subscription Products.
Related Documents:
- Setting up your Payment Gateway for Subscriptions
- Creating Subscriptions Products
- Changing the Price and Billing Interval
- Creating a Form for Signing Up and changing Payment Details
- The Subscription Detail Layout
- Subscriptions List View
- User Subscriptions - List the logged in User's Subscription Orders
- eCommerce Subscriptions - Editing the "Subscription User Action Required" System Page and Email
- Cancelling Subscriptions
- Subscription Order Status Explained
- Terms and Conditions (Good Practice)