Visual Page Builder is a drag and drop builder tool designed to be used with Studio Module, although can be used without Studio and on any platform you choose.
Choose from an ever-growing library of layouts to design, wireframe and build website Pages quickly.
Within this doc, you can find helpful information covering Visual Page Builder, such as:
- Finding Visual Page Builder
- [Difference Between Visual Page Builder And Layout Library](#2-differences-between-visual-page-builder-and-layout-library
- How To Build
Finding Visual Page Builder
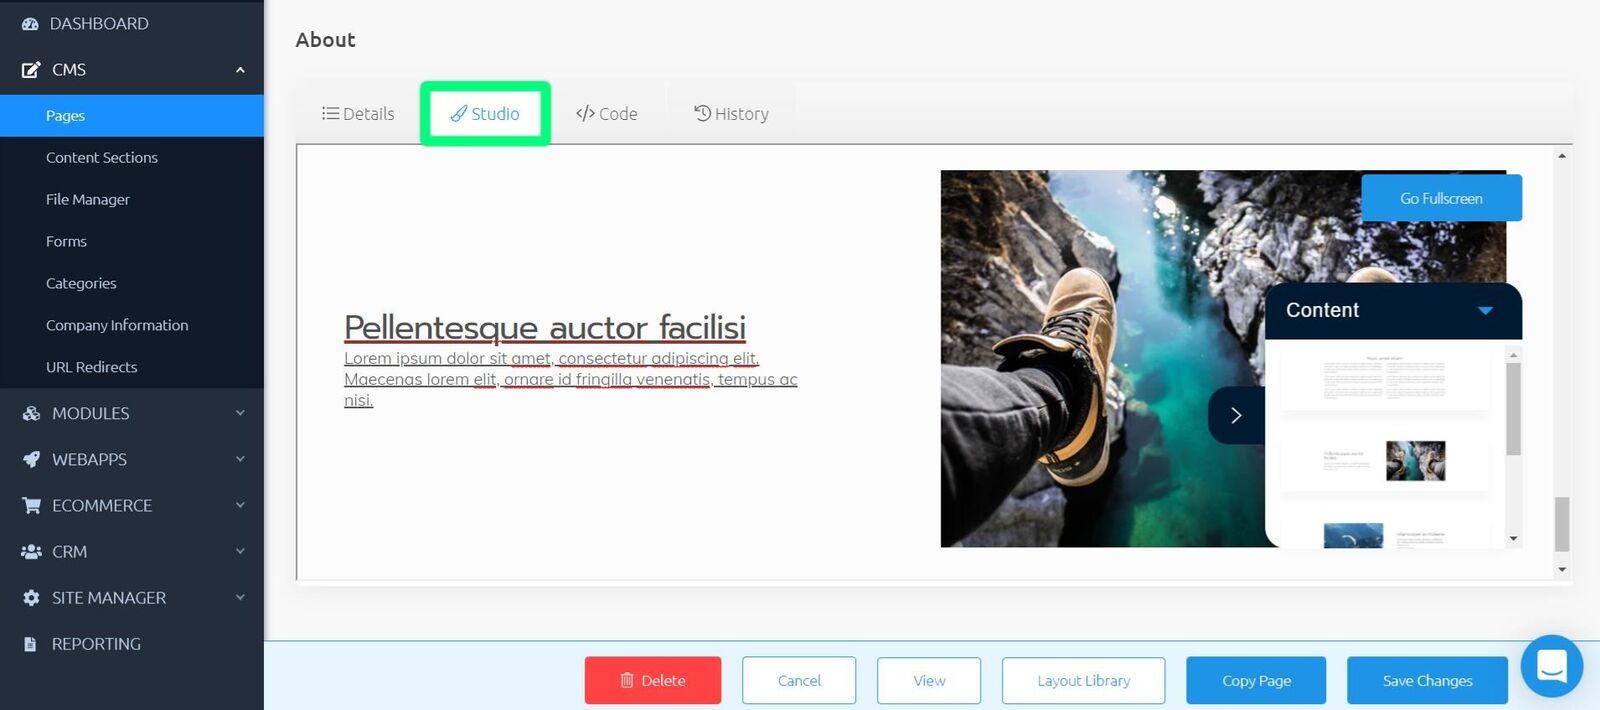
With Studio installed on your Site, and while editing a Page, click to navigate to the 'Studio' tab, or head to the Visual Page Builder demo.
Differences Between Visual Page Builder And Layout Library
Visual Page Builder is the tool used for building pages, using the drag and drop functionality to move blocks into your design. Once having built a Page, you can export the full page HTML, and paste this into pages you are building on your Site.
Layout Library is a collection of ready-made layouts for you to add anywhere on your site, be it Pages, WebApp or Module layout files. Layouts include a full library of layout Blocks as well as layout Pages.
How To Build Using Visual Page Builder
You can choose to use Visual Page Builder within the 'Studio' tab in Pages in Admin, or here.
1. Choose Studio Layout To Add
The first time you arrive at 'Studio' in admin, you will see an area where you can begin building your page, with the Snippets menu to the right-hand side.
The Snippets menu contains the full Studio Library of Layouts, including; Blocks and Pages.
Click on the dropdown at top of the Snippets menu to select which type of layout you would like; Template Block, Static Block, Module Block or Page.
Once you have chosen a type, pick the specific Layout you would like to use.
Simply drag and drop this Layout onto your page to begin using it.
To re-open the Snippets menu, click the blue arrow on the right-hand side of the page. While open, close the menu by clicking click the blue arrow to the left.
https://image.siteglide.com/Wnuk46A6
2. Editing A Layout
You now have a Block or Page layout in your Page, it's time to edit.
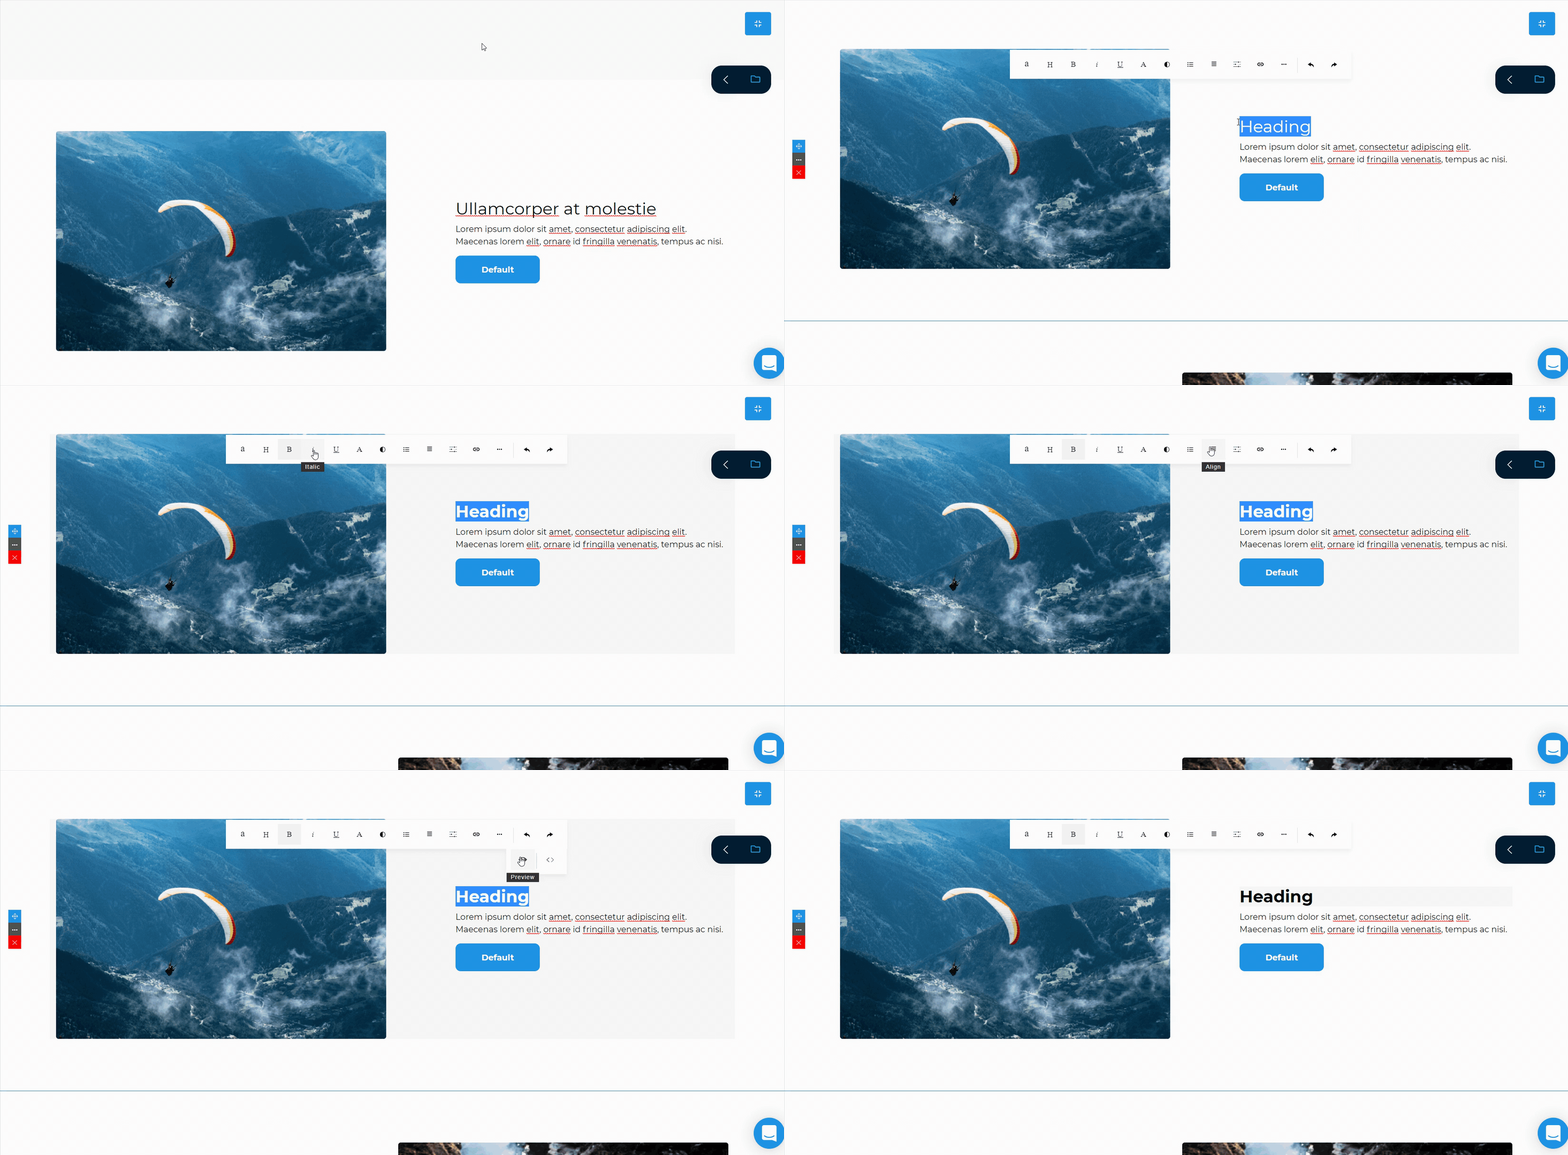
Click anywhere within a Layout to begin editing.
From here, you can do a multitude of things, including but not limited to:
- Change text size, font, colour, spacing, and format
- Previewing the page as a whole
- Editing the HTML of each Layout
- Undo and re-do on changes made
For any images that are present, you can replace them with images from your File Manager after you have pasted this page into your Siteglide Site.
Once you are done editing, you can continue to add more Layouts or export the page as it is.
Additional Block Editing Options
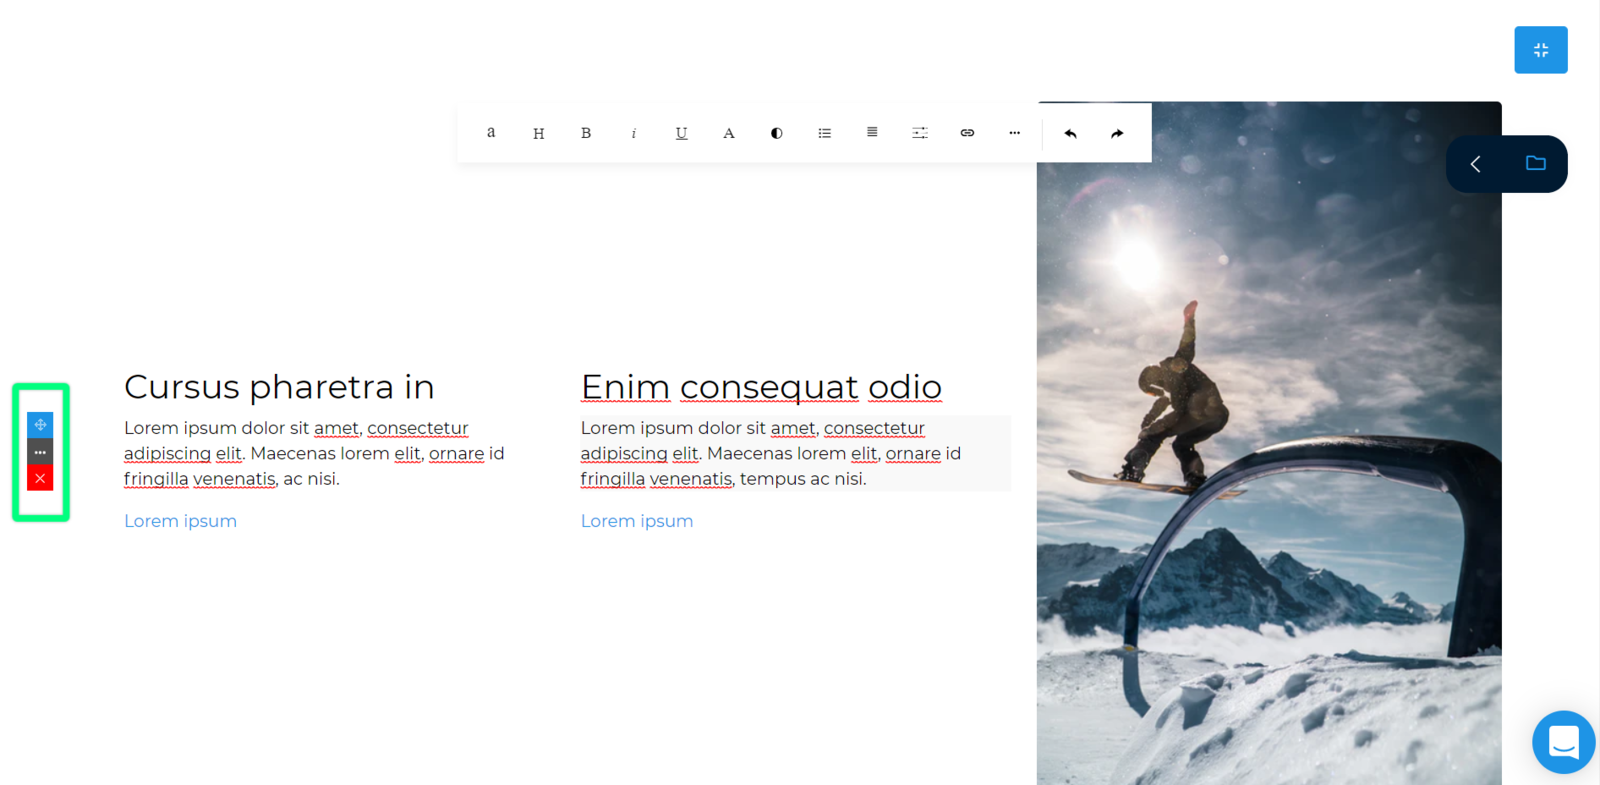
Once you have clicked anywhere on a Layout Block to begin editing, you will also see an options menu on the left-hand side of the Block.
- Click on the blue "move" icon to drag this Block to a different place within your page
- Click on the "..." to be able to choose; "Move up" to move this Block up one, "Move down" to move this Block down one, "Duplicate" to insert a copy of this Layout, and "HTML" to edit the HTML for this particular Block.
- Click the red "X" to delete this Block where you will be presented with a confirmation modal asking if you are sure you want to delete this Block. To confirm, click "delete". Alternatively, to cancel, click anywhere outside of this modal.
Editing HTML
You can choose to edit the HTML of specific Layouts or of the whole page at any time.
To edit the HTML the whole page, click the "..." in the text editing bar above any Layout and select the "< >" HTML icon.
Alternatively, to edit the HTML of a specific Layout, click the "..." on the right hand side of the Block and click the "< >" HTML icon.
Once you have finished editing the HTML, click "OK" to save any changes and go back to the builder. Alternatively, click "Cancel" to go back without your changes.
Preview Page
You can choose to preview your page at any time, to take a look at what your design will look in a browser of varying device screen sizes.
You can preview your page by first clicking into any Layout, then click the "..." from the editing bar above and select the "eye" Preview icon.
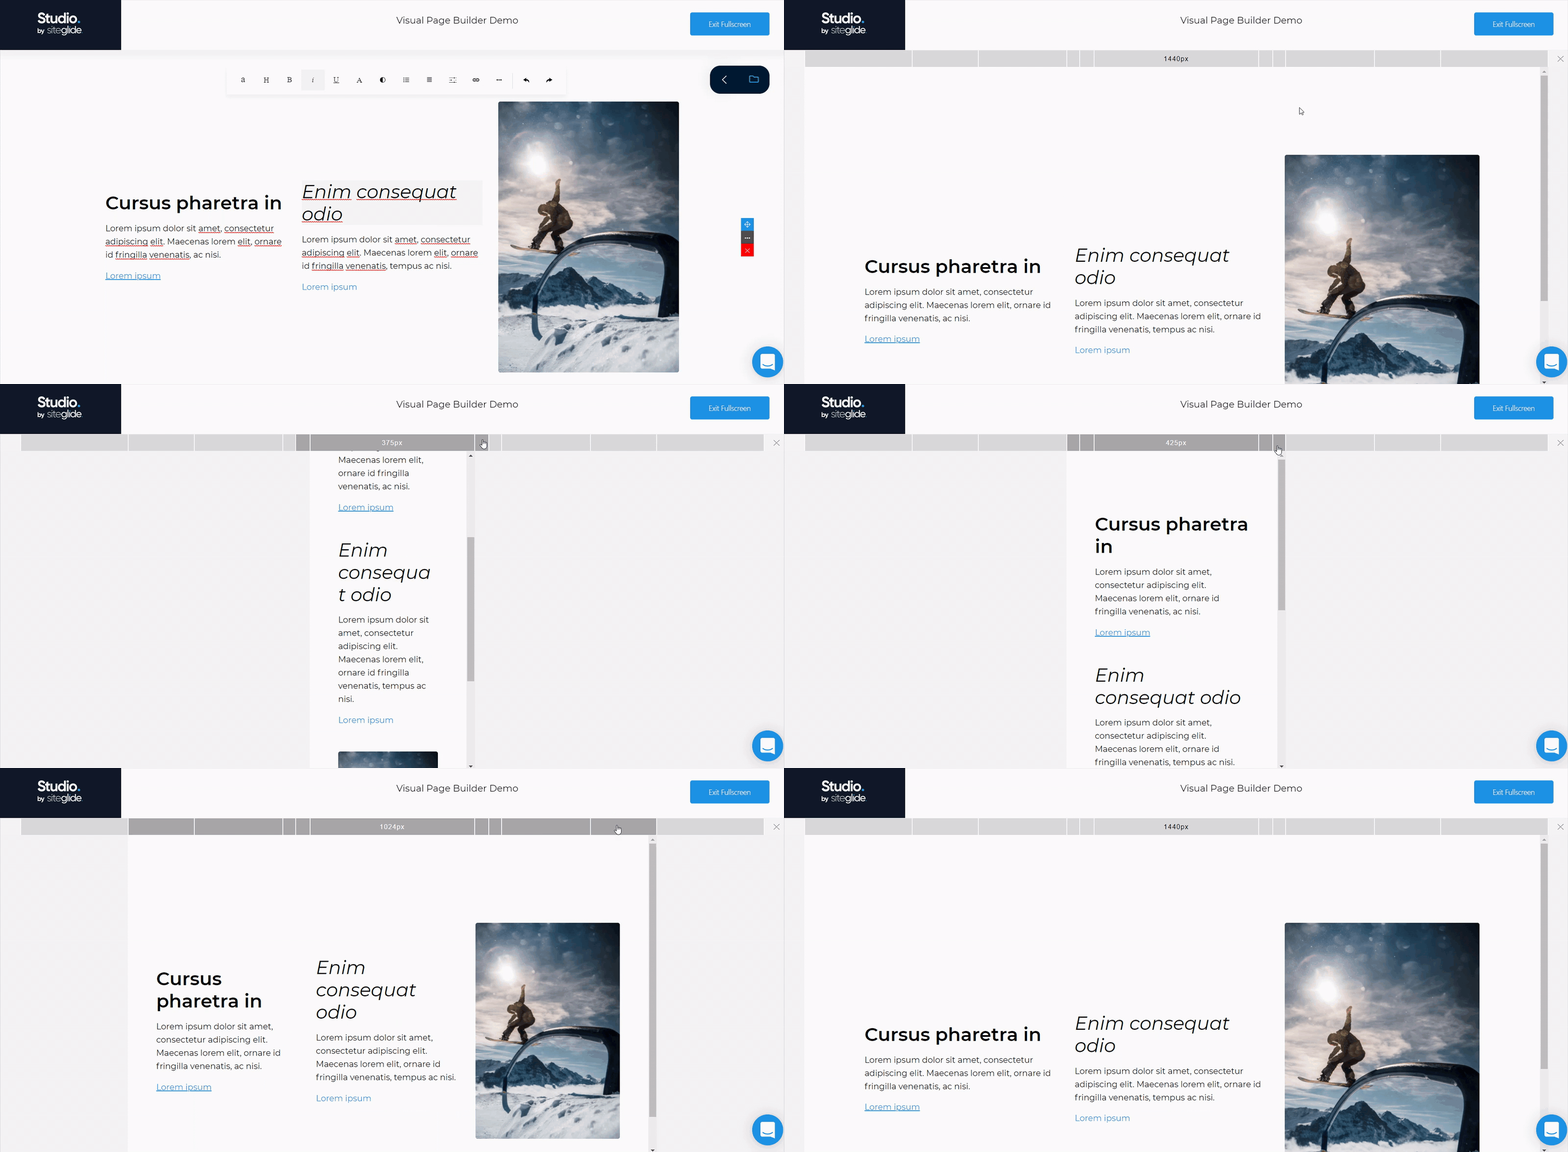
Click on different sections in the bar top of the preview page to alter the device screen size width.
Smart Phone Sizes:
- 320px
- 375px
- 425px
Tablet Size:
- 768px
Desktop Sizes:
- 1024px
- 1440px
3. Exporting Your Page (Only if using VPB Demo)
Exporting your Page enables you to copy the full HTML code. Any editing that you have done will be included as inline-styles and will over-write any global Studio variables where relevant.
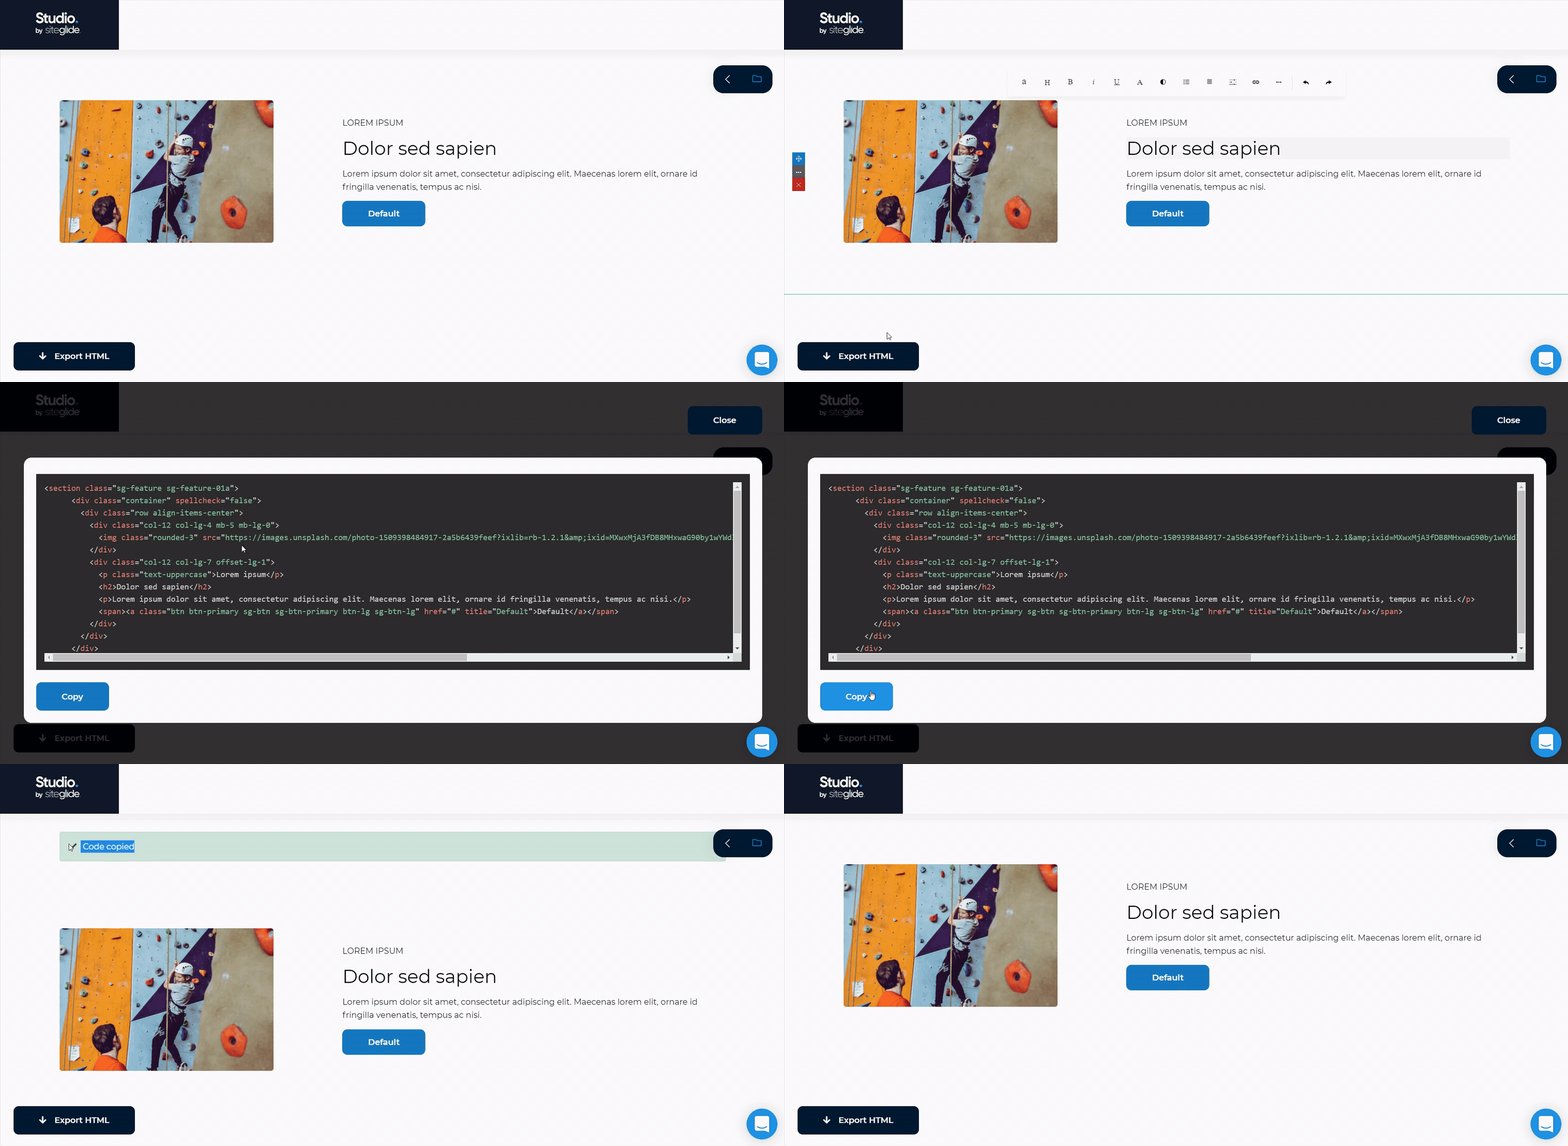
Click the white "Export HTML" button in the bottom left-hand corner to open the export modal where you can preview all of the current HTML.
Click the blue "Copy" to copy the code. Head over to your Siteglide site paste the code into a Page.
4. Customising In Siteglide (Optional)
Once you have pasted the exported HTML code into a Page in your Siteglide site, use Toolbox to further customise the page content including replacing images and adding liquid shortcuts.
You can also customise the design of the page further by using Studio - Variables within Code Editor.
Note: Be sure to tick the checkbox for "Studio" in the template you have applied to this page.


