A URL redirect is a web server function that sends a website visitor from one URL to another. If you remove or disable a page on your website without setting up a redirect, website visitors will reach a 404 error page. Setting up a redirect can help visitors find the content they are looking for more easily.
Within this doc, you can find helpful information covering URL redirects, such as:
- Creating And Editing URL redirects
- Setting Up Different URL Redirects
- Page And WebApp URL Redirects
- Custom URL Redirects
- Importing
Creating And Editing URL Redirects
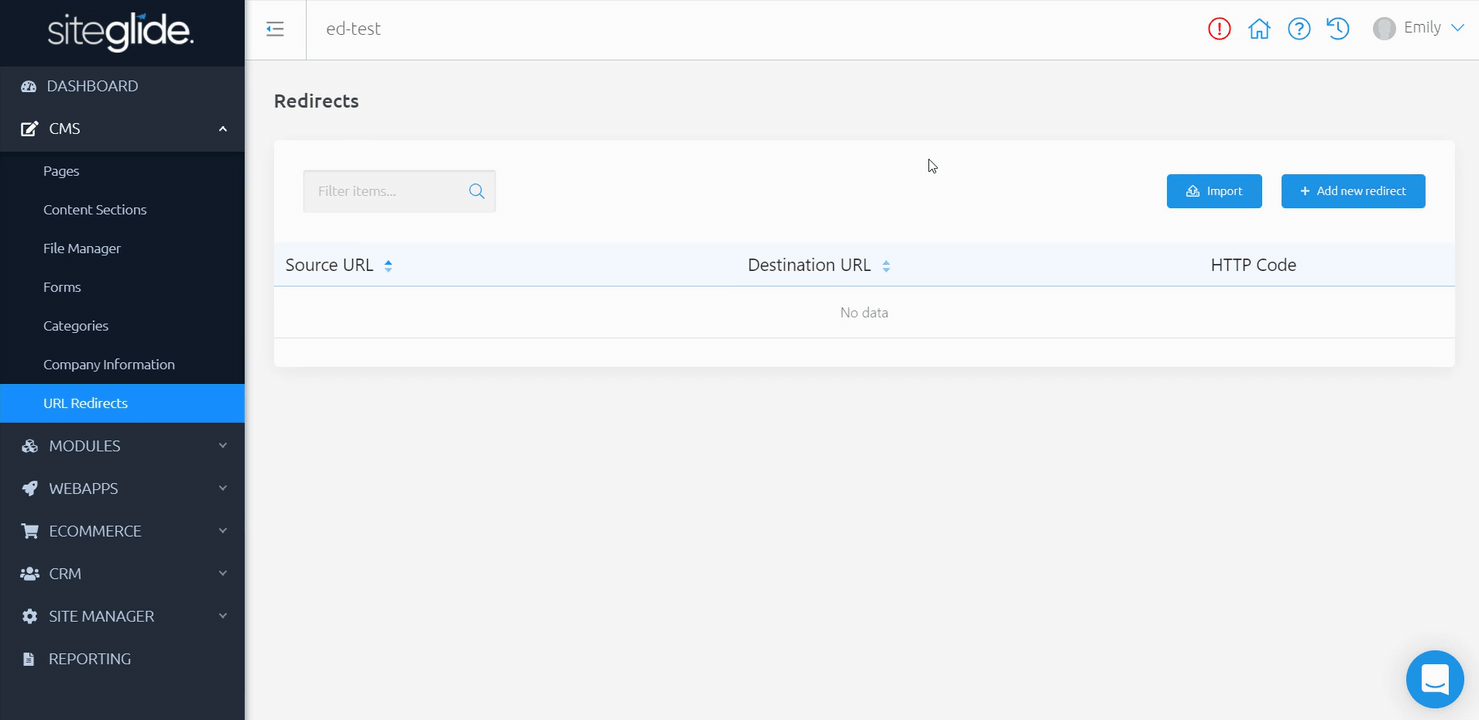
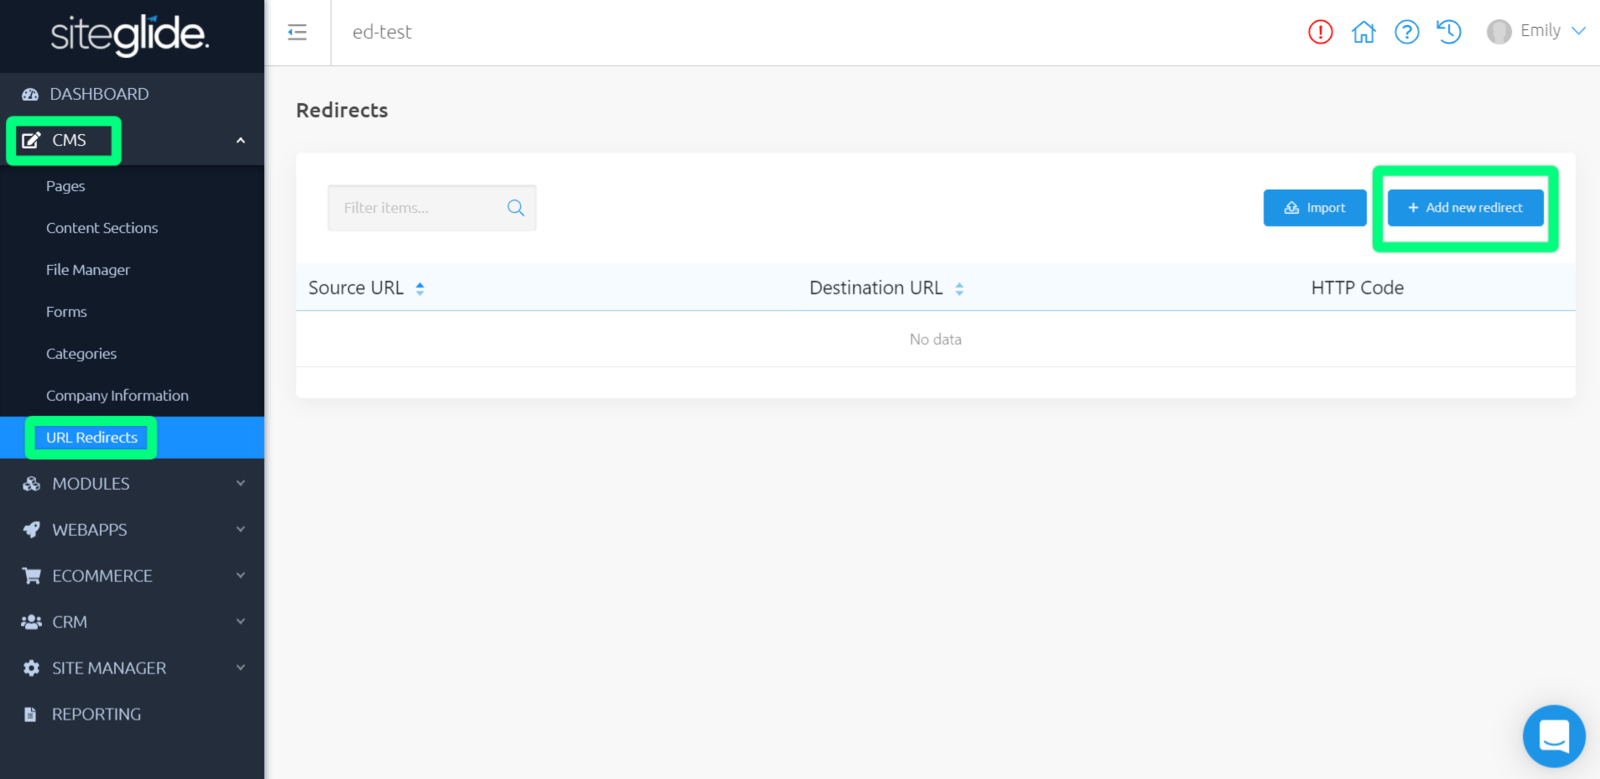
You can create a new URL redirect by navigating to “URL Redirects” within “CMS” on the left-hand menu and clicking on the “+ Add new redirect” button.
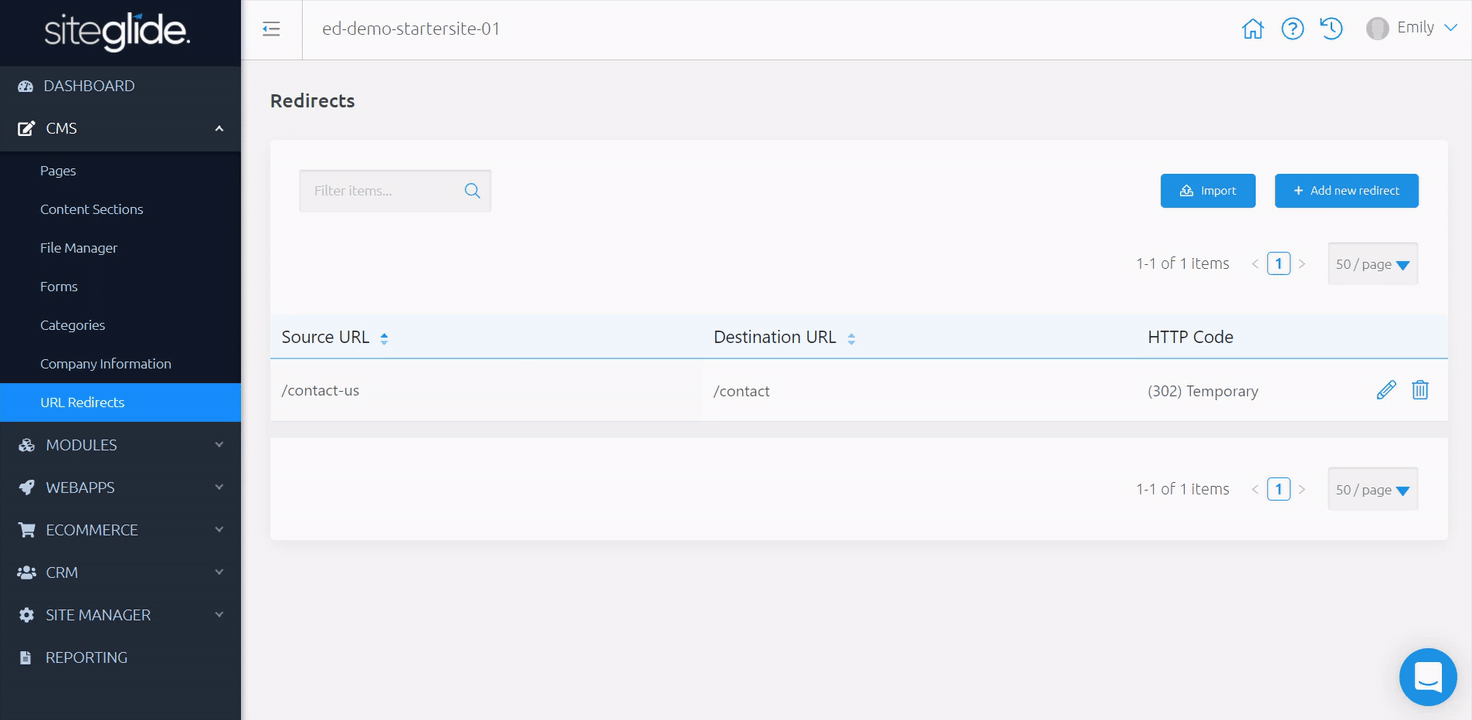
Once you have set up a URL redirect, you can use the pencil icon on the right-hand side to edit.
Setting Up Different URL Redirects
Redirect to a Page or WebApp on your Site
- Specify the source URL (i.e. 'contact-us')
- Select "Custom" from the dropdown
- Specify the destination URL (i.e. '/contact' - the slug for the Page or WebApp you'd like to redirect to)
- Choose to make this a '(301) Permanent' or a '(302) Temporary' redirect.
- Click Save
Redirect to a custom URL
- Specify the source URL (i.e. 'home')
- Select "Custom" from the dropdown
- Specify the destination URL (i.e. 'https://www.google.co.uk/')
- Choose to make this a '(301) Permanent' or a '(302) Temporary' redirect.
- Click Save
Importing URL Redirects
Importing URL redirects can be a faster way to define and implement multiple redirects at once, rather than manually creating each in Admin.
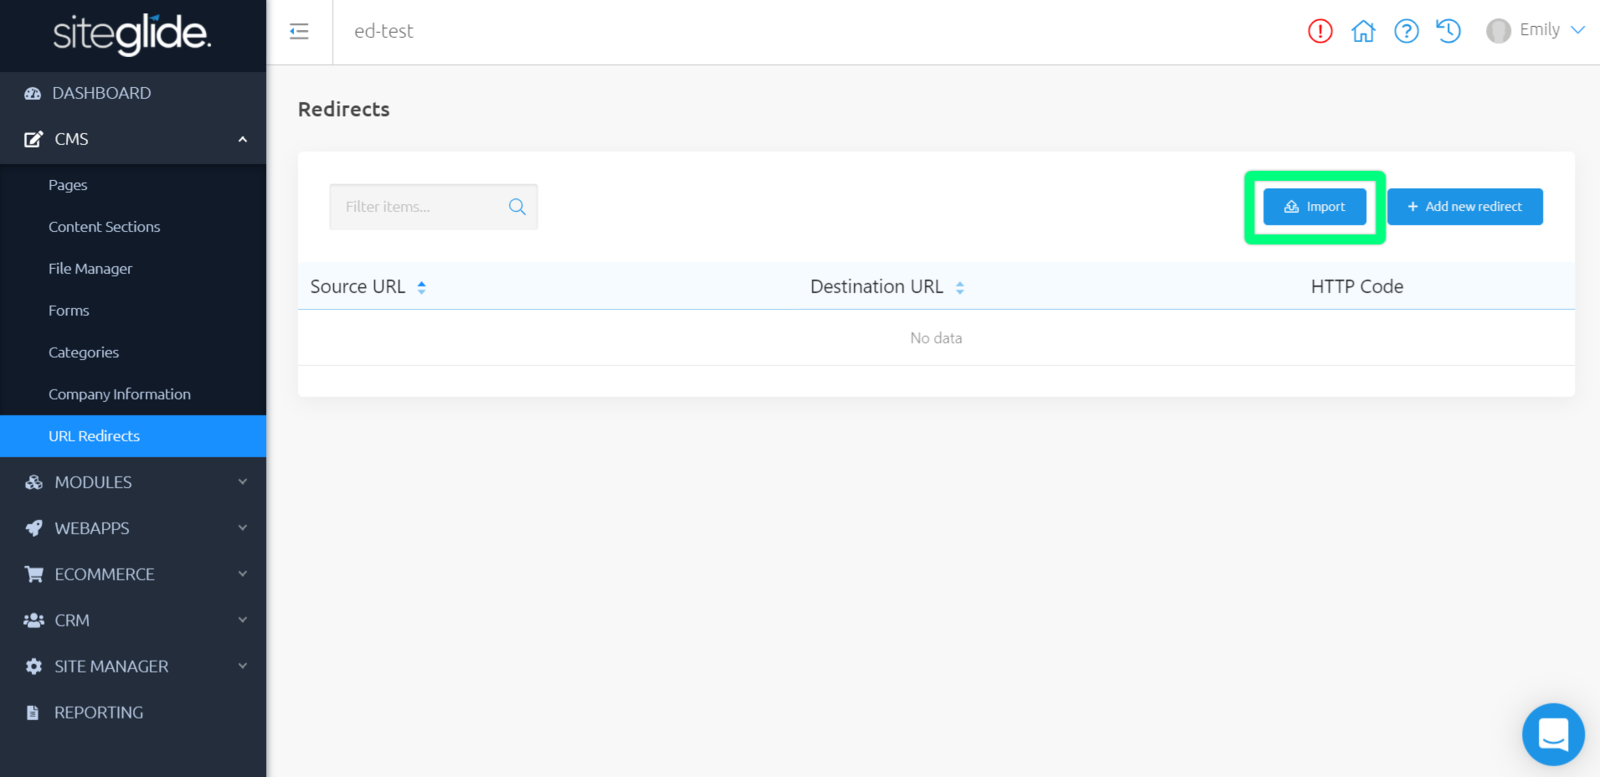
On the right-hand side, above your list of URL Redirects, you'll see a blue button that says "Import" .
How do you import?
You can import data to URL Redirects, either by creating your own CSV file using the correct column headers or by downloading the import template and populating it with data. Click "Import" to redirect you to an area where you have two tabs, "Prepare" and "Start Import".
Clicking on "Prepare" will enable you to create your own CSV file using the correct column headers or by downloading the import template and populating it with data.
Click on "Start Import" when you have a CSV file prepared, and click "Select CSV" to choose your file and begin importing into Siteglide.
A success message will show in the top right-hand corner when this process has been completed for you.