Capture and control data on your sites to meet your client's business objectives.
You can create reports for your Site filtering the data by date, secure zones and more. Once a report has been created, you can use the bulk actions available or download this report as CSV.
Within this doc, you can find helpful information covering Reporting, such as:
* Creating A Cases Report
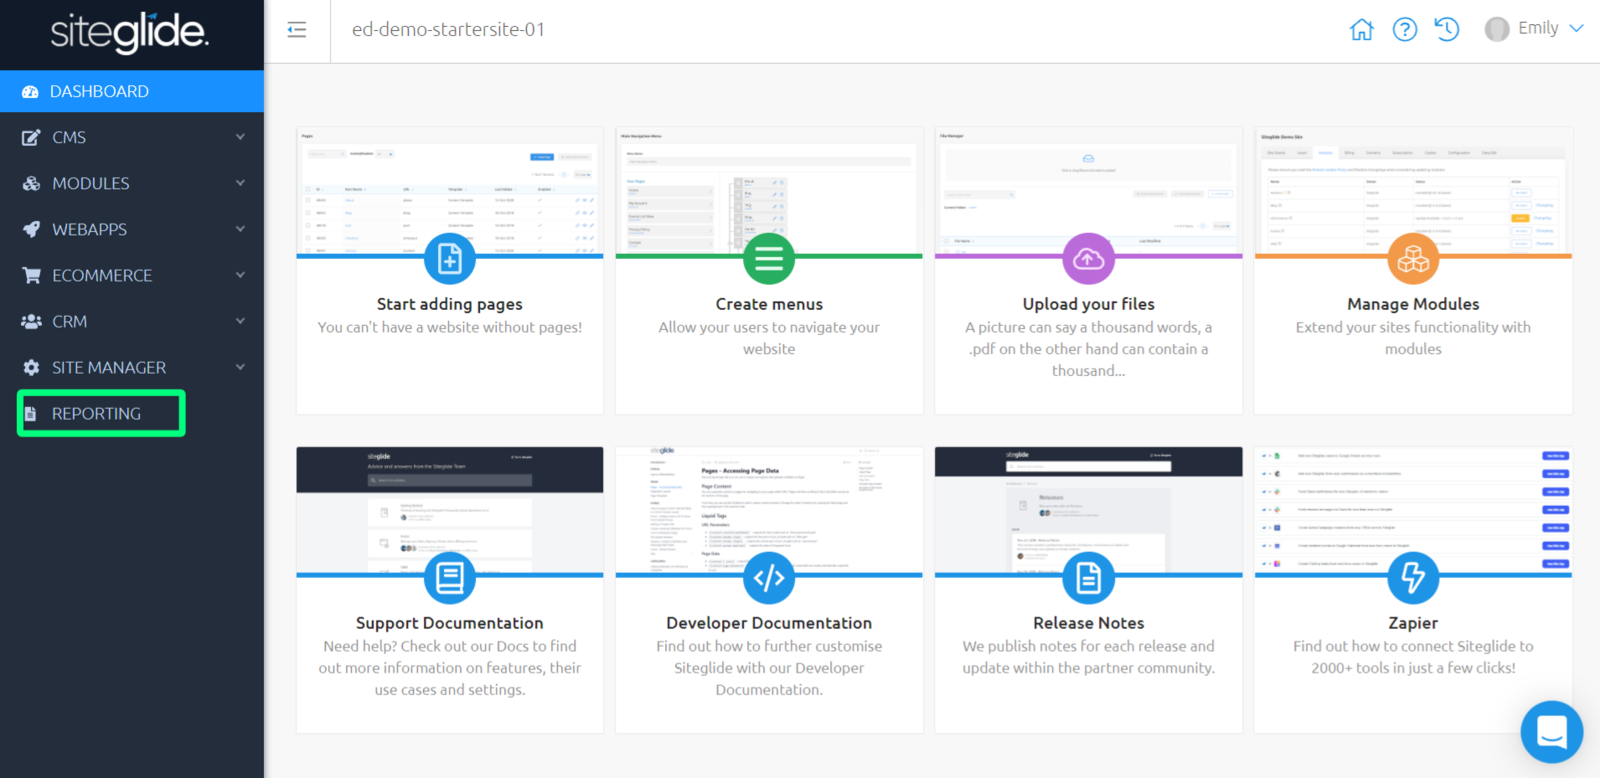
Finding Reporting
While viewing your Site Admin, use the left-hand menu to click "Reporting".
Creating A Report
You can create reports for your Site filtering the data by date, secure zones and more. Once a report has been created, you can save this; use the bulk actions available and download this report as CSV
You can do this by heading to Reporting to "+ Create Report".
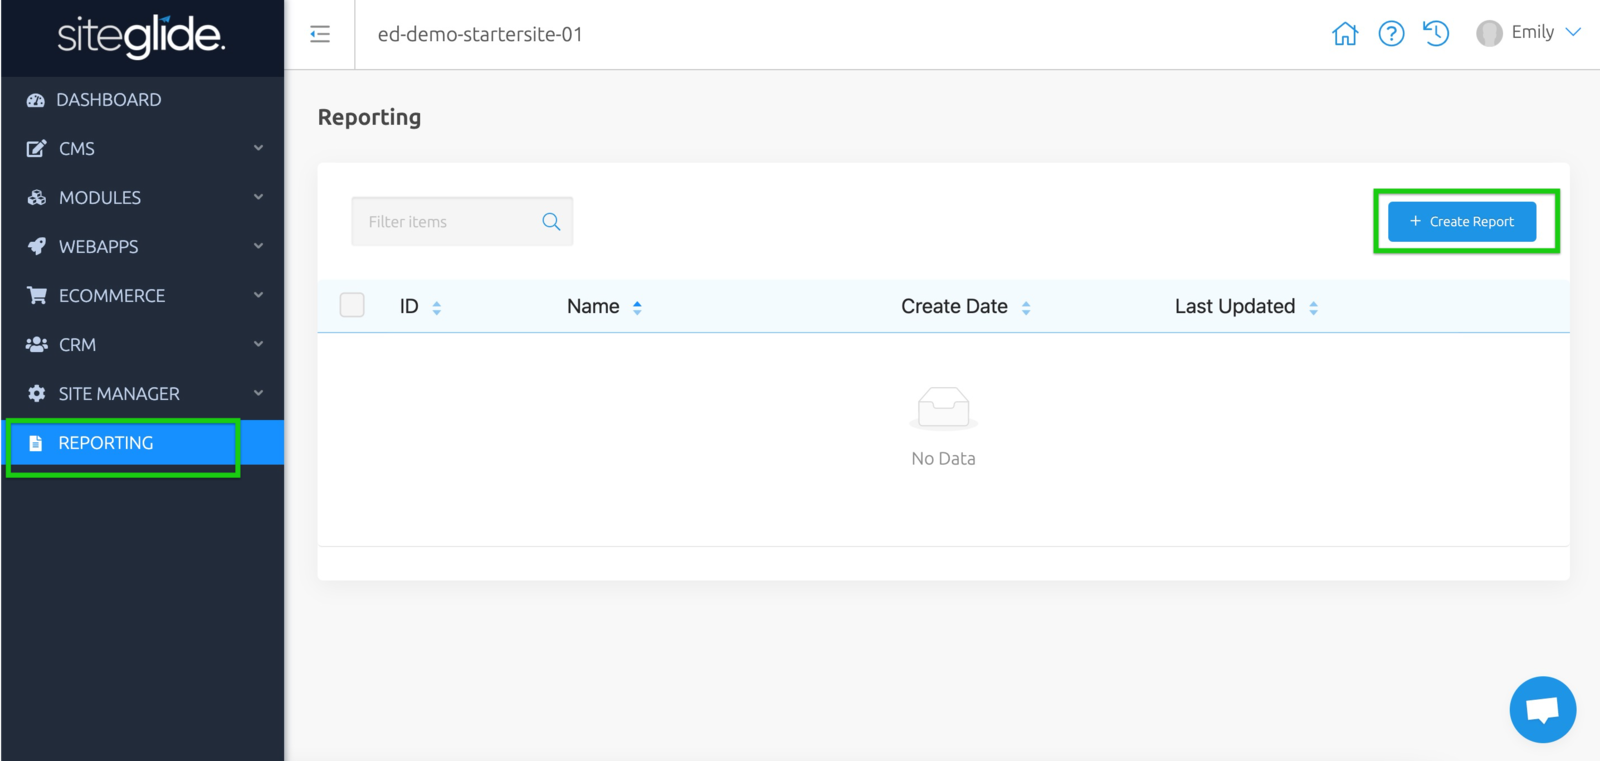
From here, you can name, customise, run and save your report.
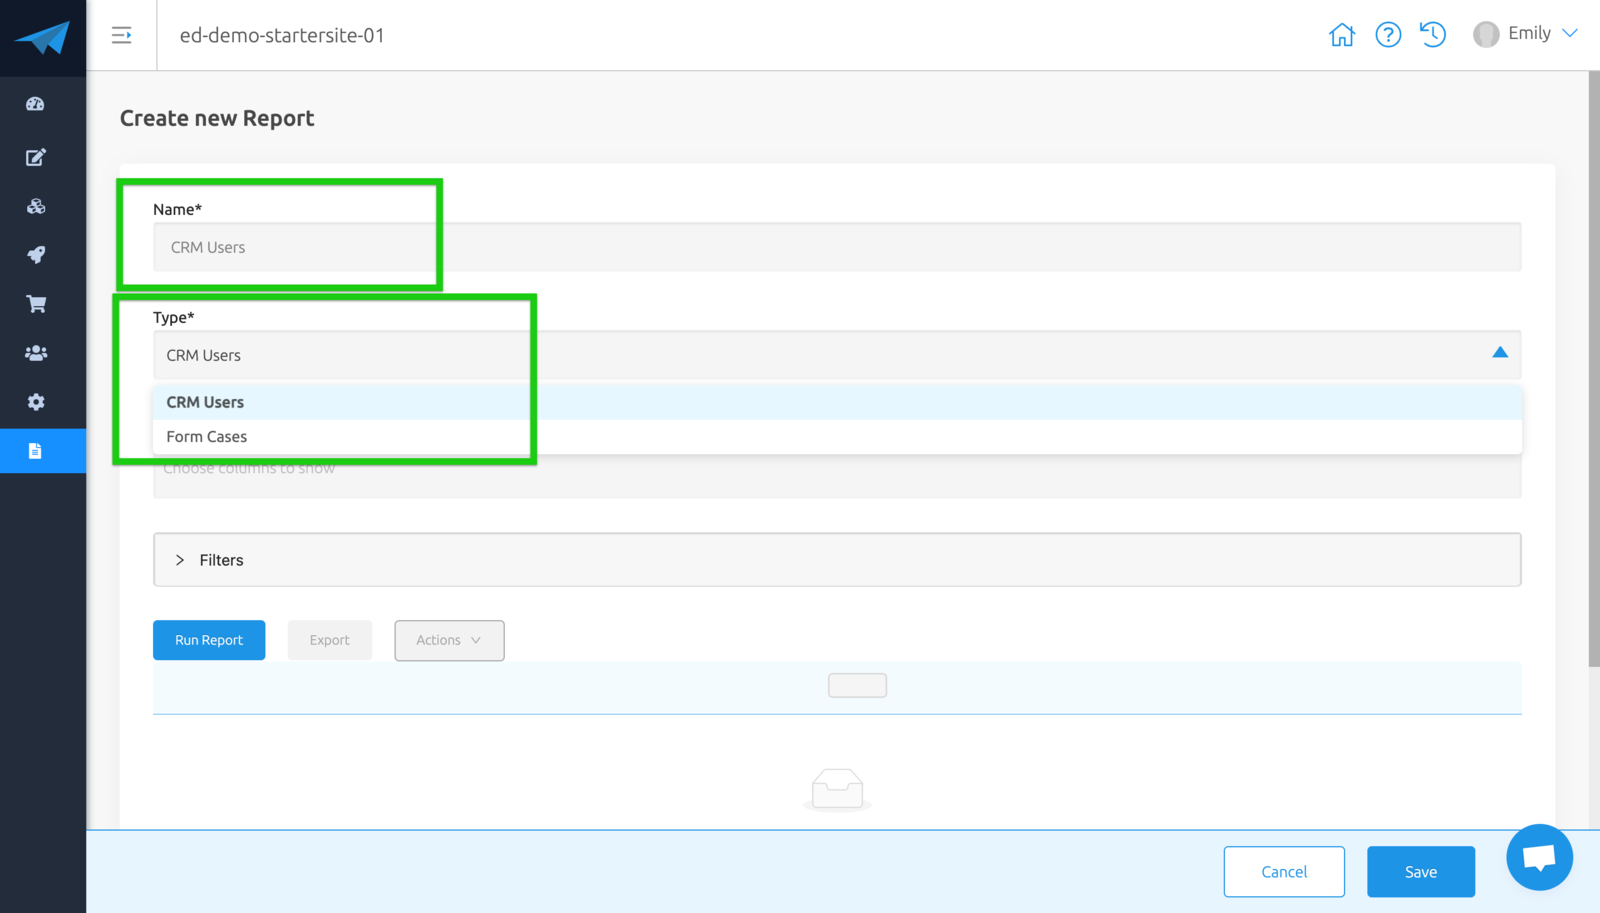
Creating A User Report
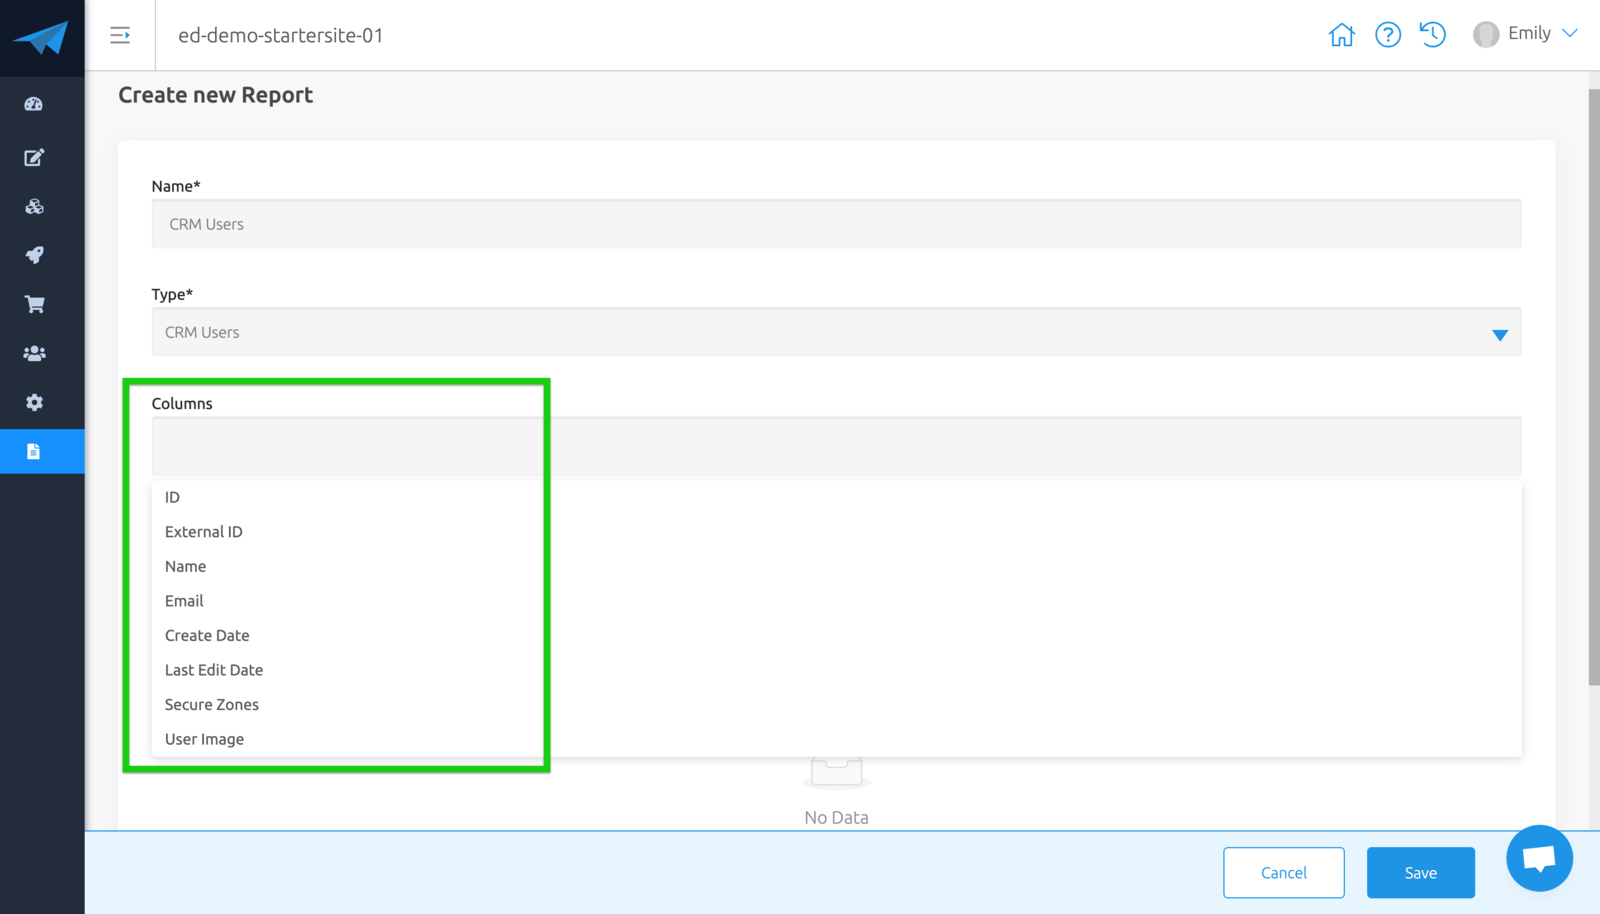
- Once you have named your report, you can choose the type to be 'CRM Users'.
- Choose columns to show
These will be shown in your report. Use the dropdown to pick and choose which columns you'd like to show - ID, External ID, Name, Email, Create Date, Last Edit Date, Secure Zones.
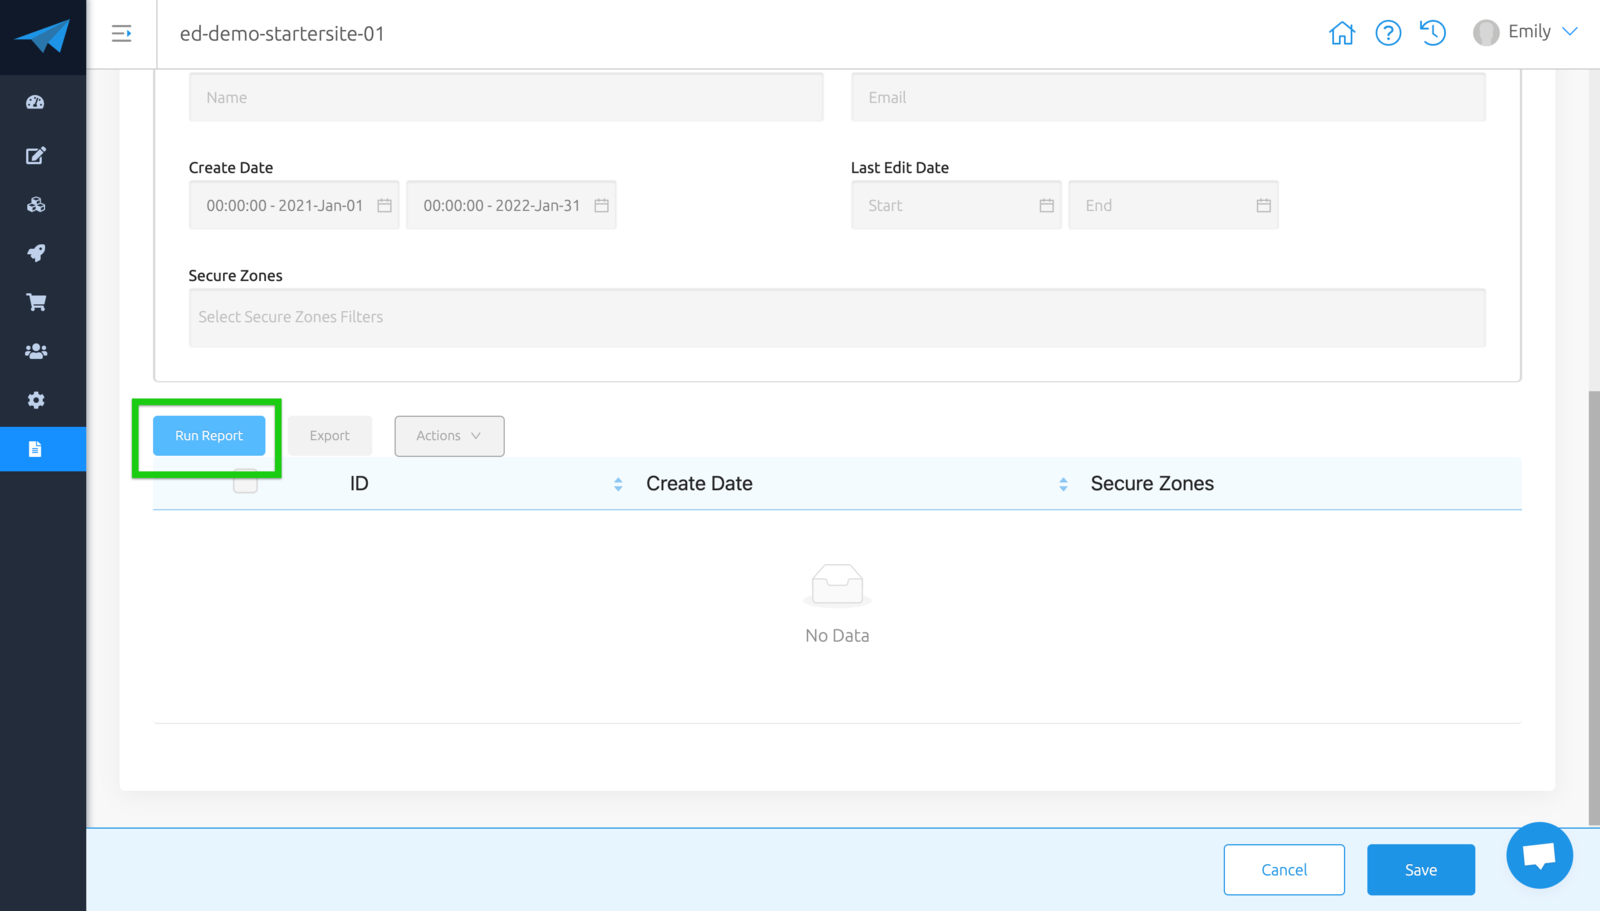
- Filter your data
You can choose to filter your data by Name, Email, Create Date (start and end of custom dates), Last Edit Date (start and end of custom dates), Secure Zones.
Click the arrow to open this section and select how you'd like to filter your Users.

- Run Report
Click "Run Report" to create your Users report.
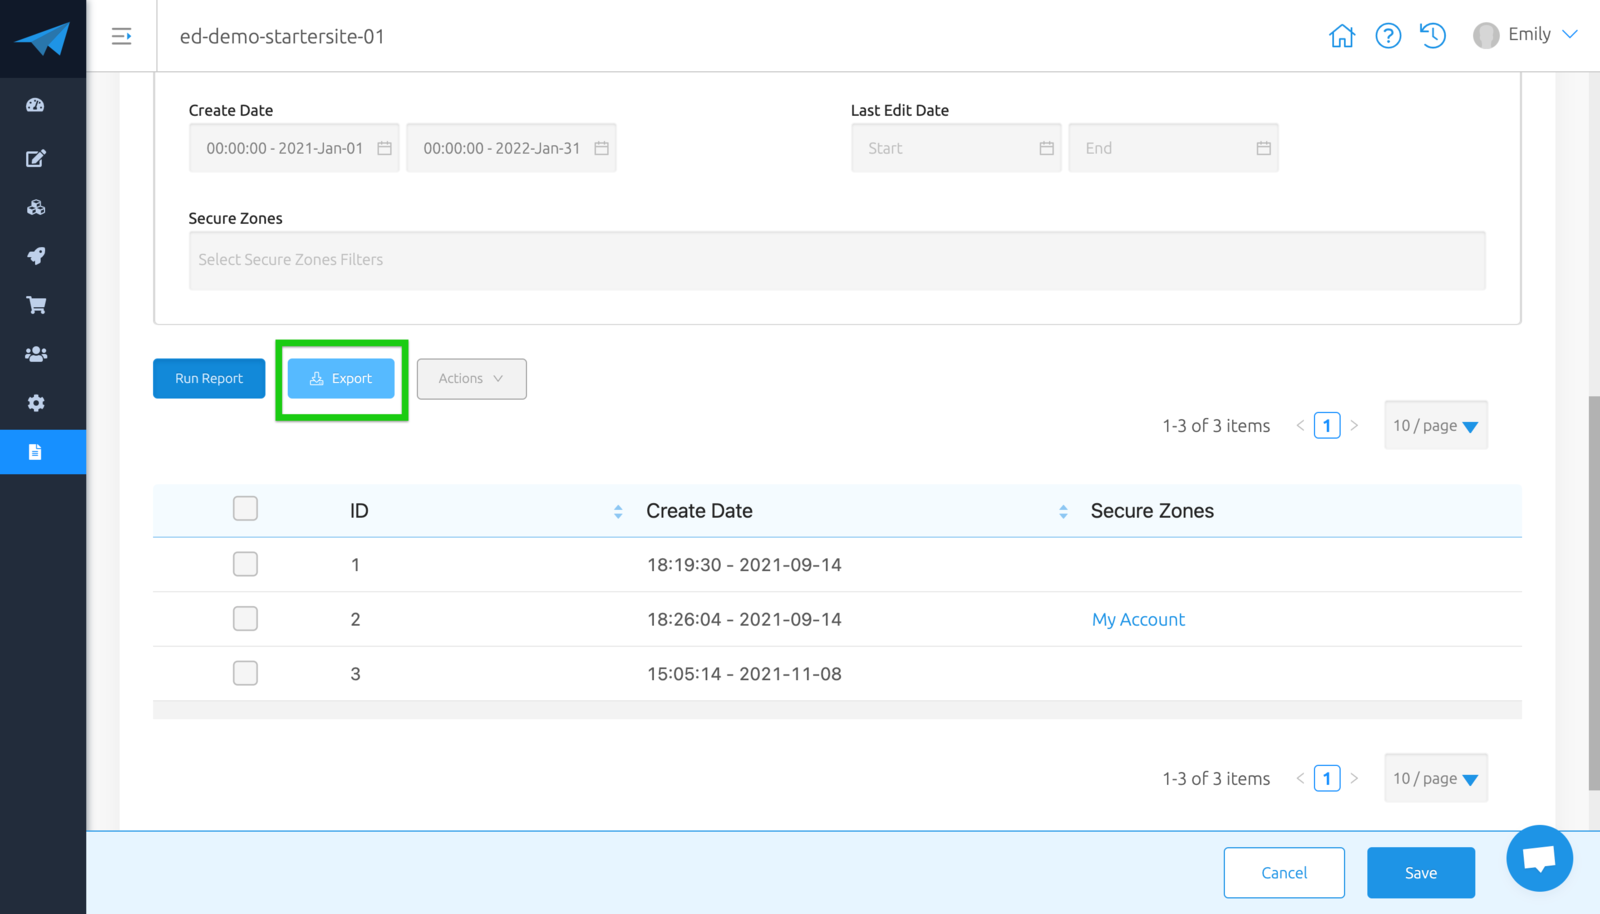
- Download Report
Click "Export" to the right of "Run Report" to download a copy of this report.
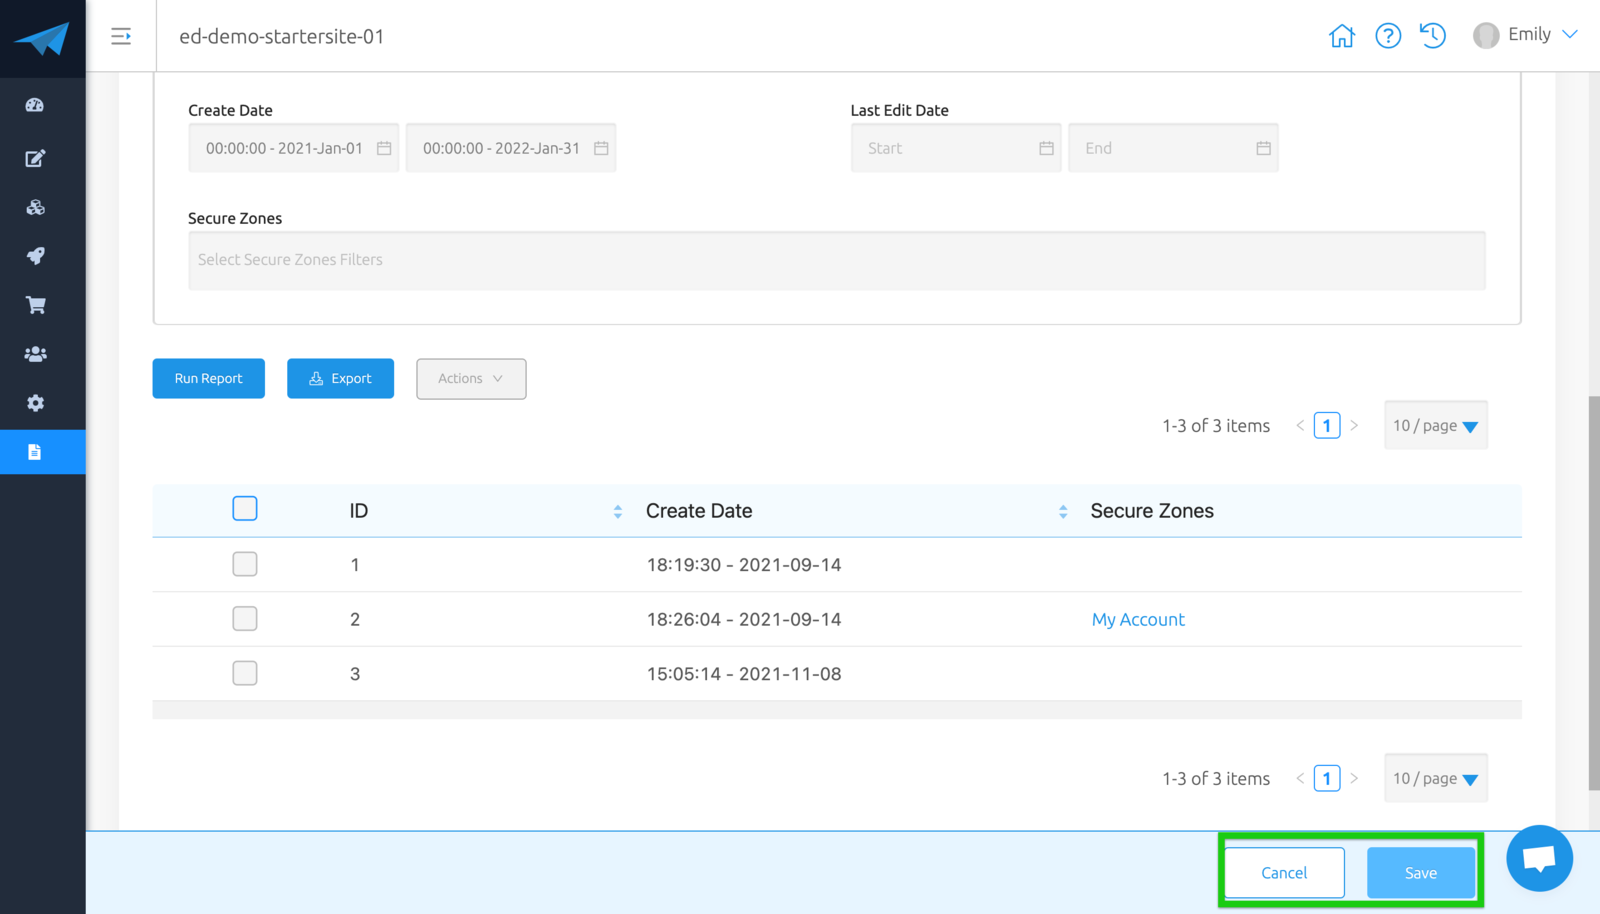
- Optional - Use Bulk Actions
Tick the box next to the User(s) that you'd like to action on, and choose an action from the dropdown "Actions" to the right hand side of "Export".
Choose either to "Delete Selected Users" or "Add To Secure Zone".

- Once report has run, you can choose to save this report to be used later on.
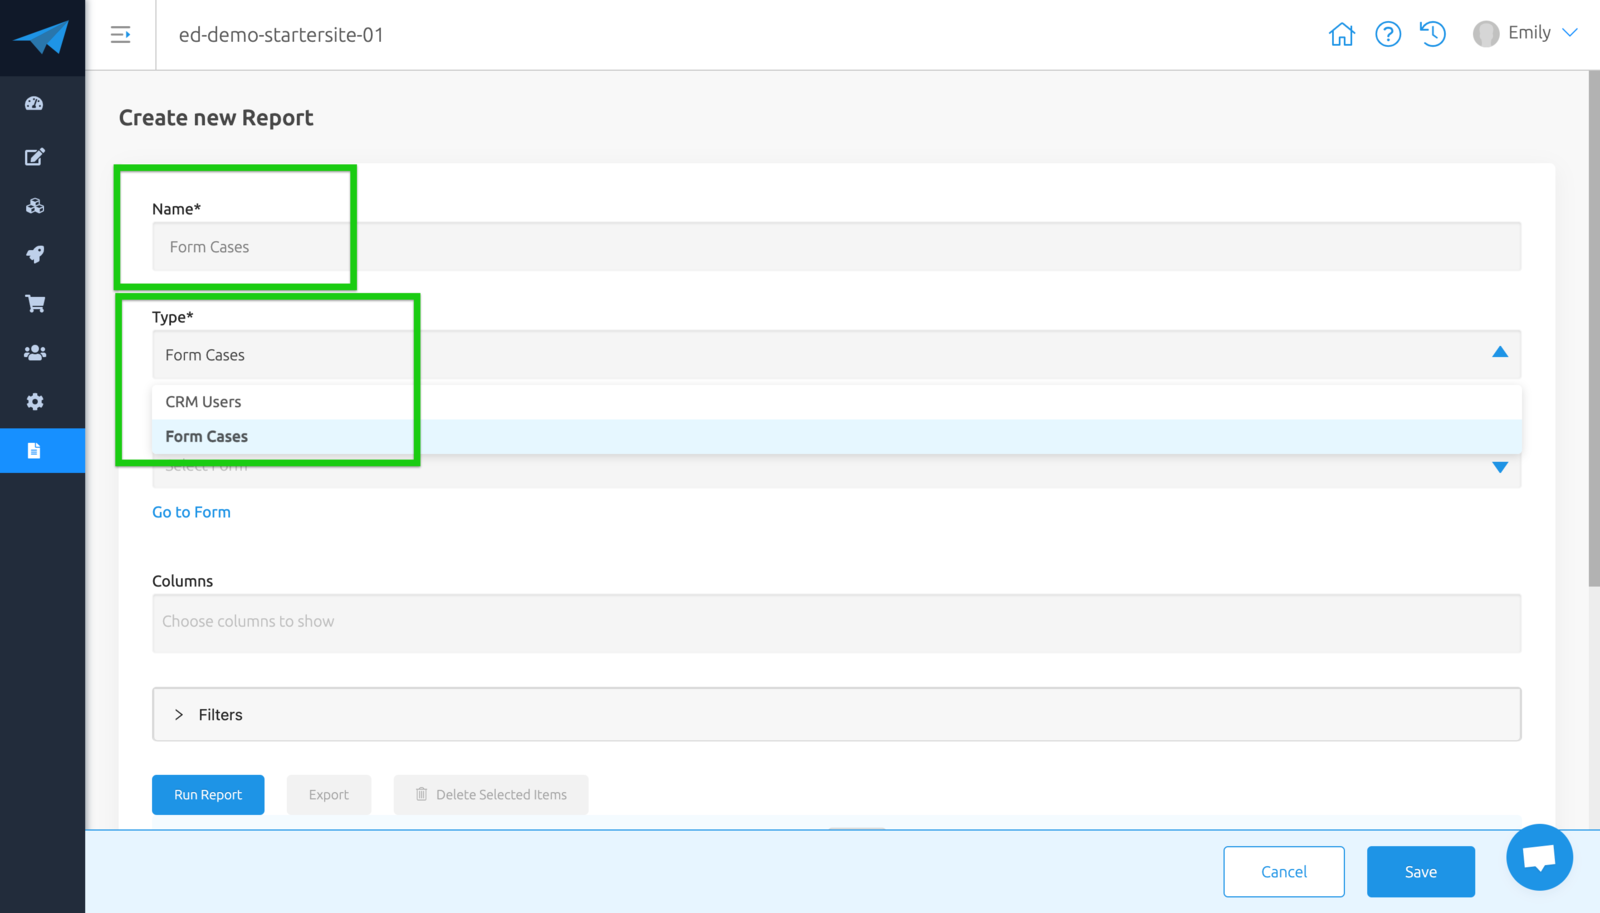
Creating A Cases Report
- Once you have named your report, you can choose the type to be 'Form Cases'.
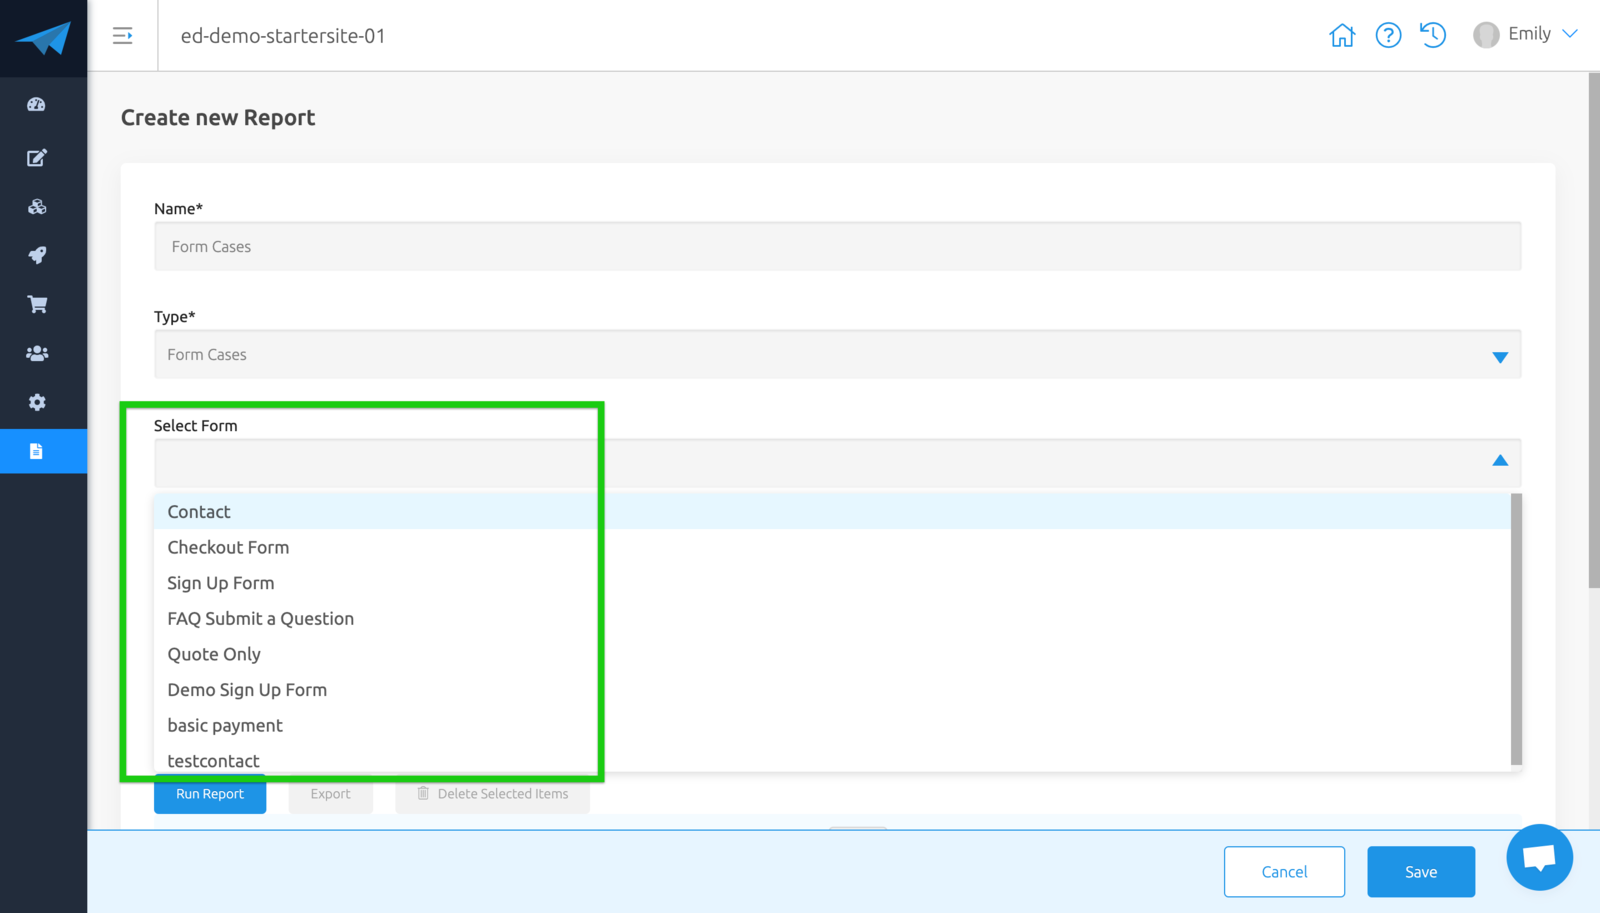
- Select Form
Choose a Form using the dropdown to display Cases for this specific Form.
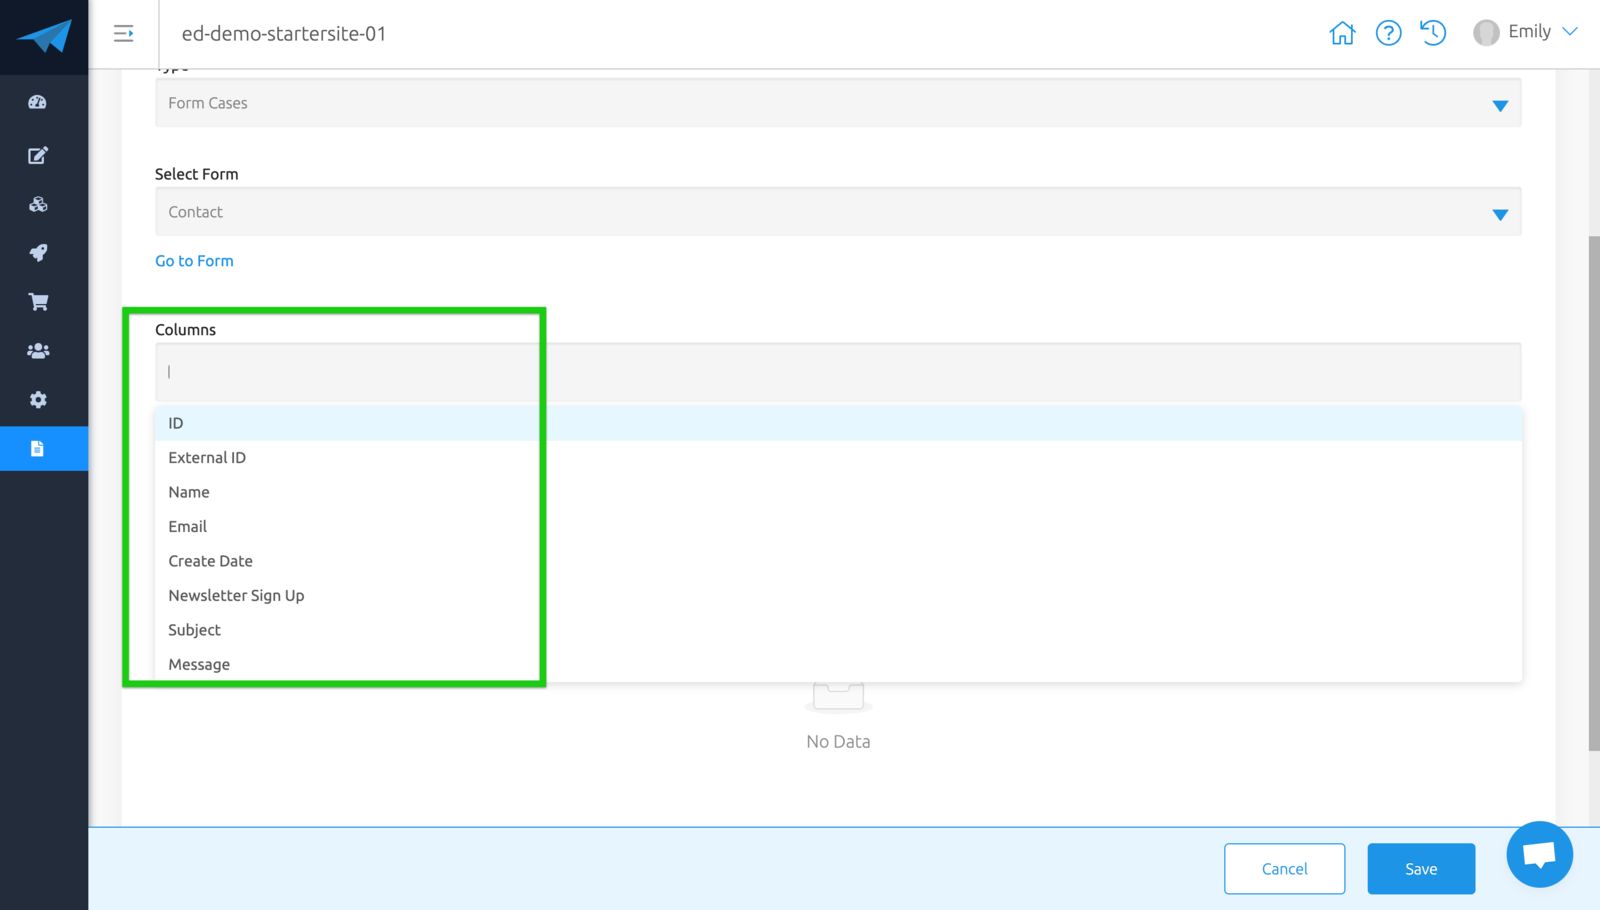
- Choose columns to show
These will be shown in your report. Use the dropdown to pick and choose which columns you'd like to show - All Forms will have a choice of the main columns of ID, External ID, Name, Email, Submission Date; but will also have any custom fields that you have added to your Form.
- Filter your data
You can choose to filter your data by Create Date (start and end date).
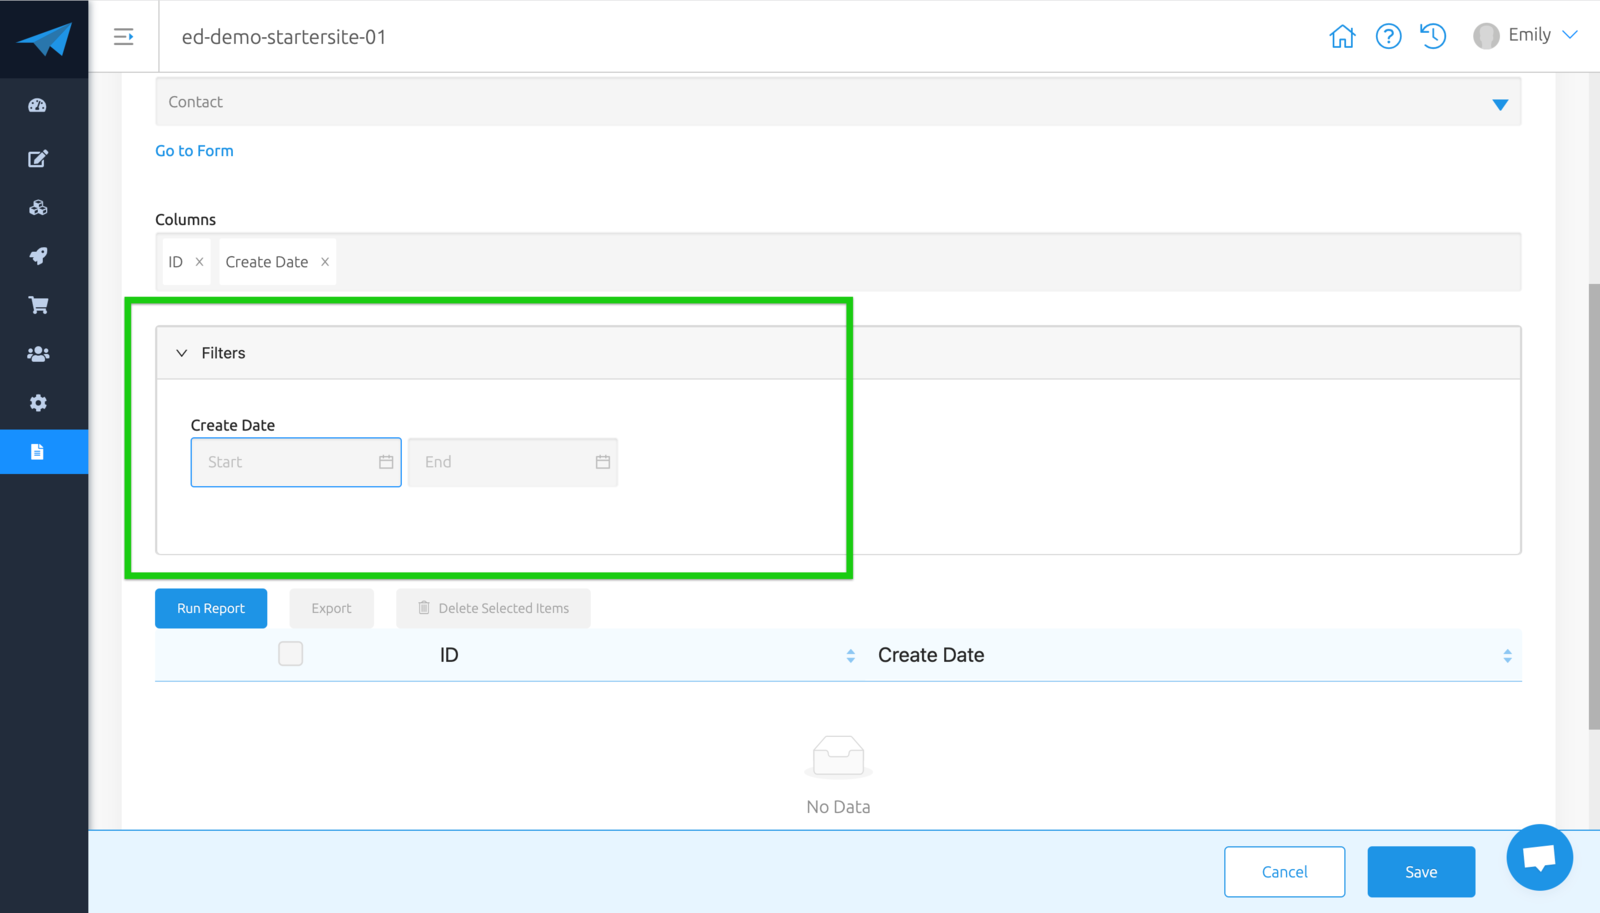
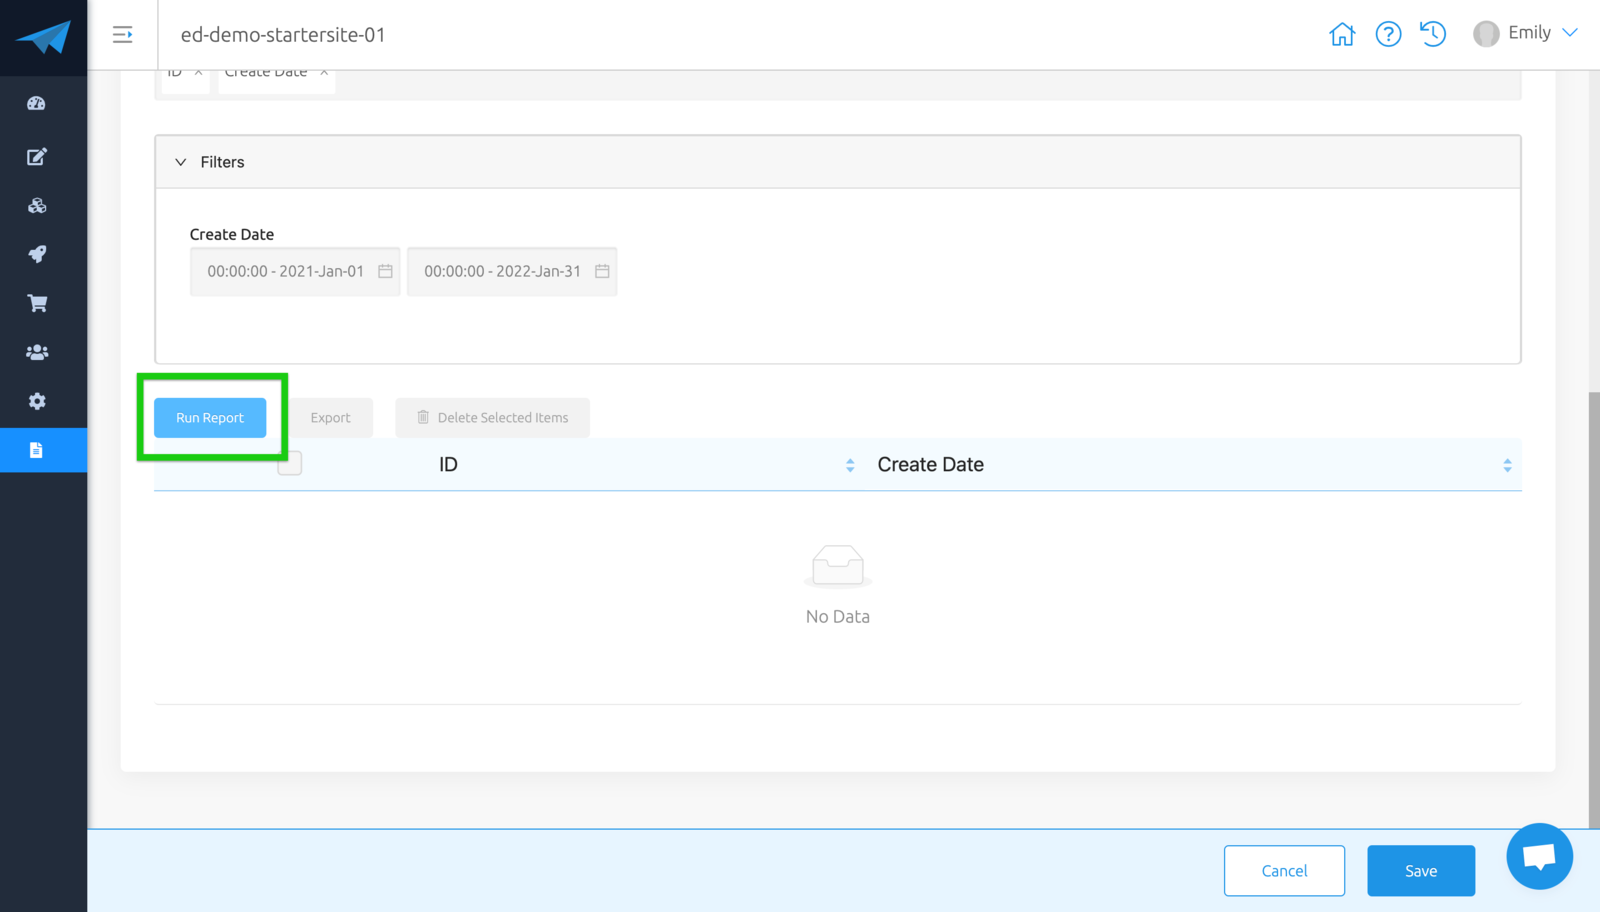
- Run Report
Click "Run Report" to create your Cases report.
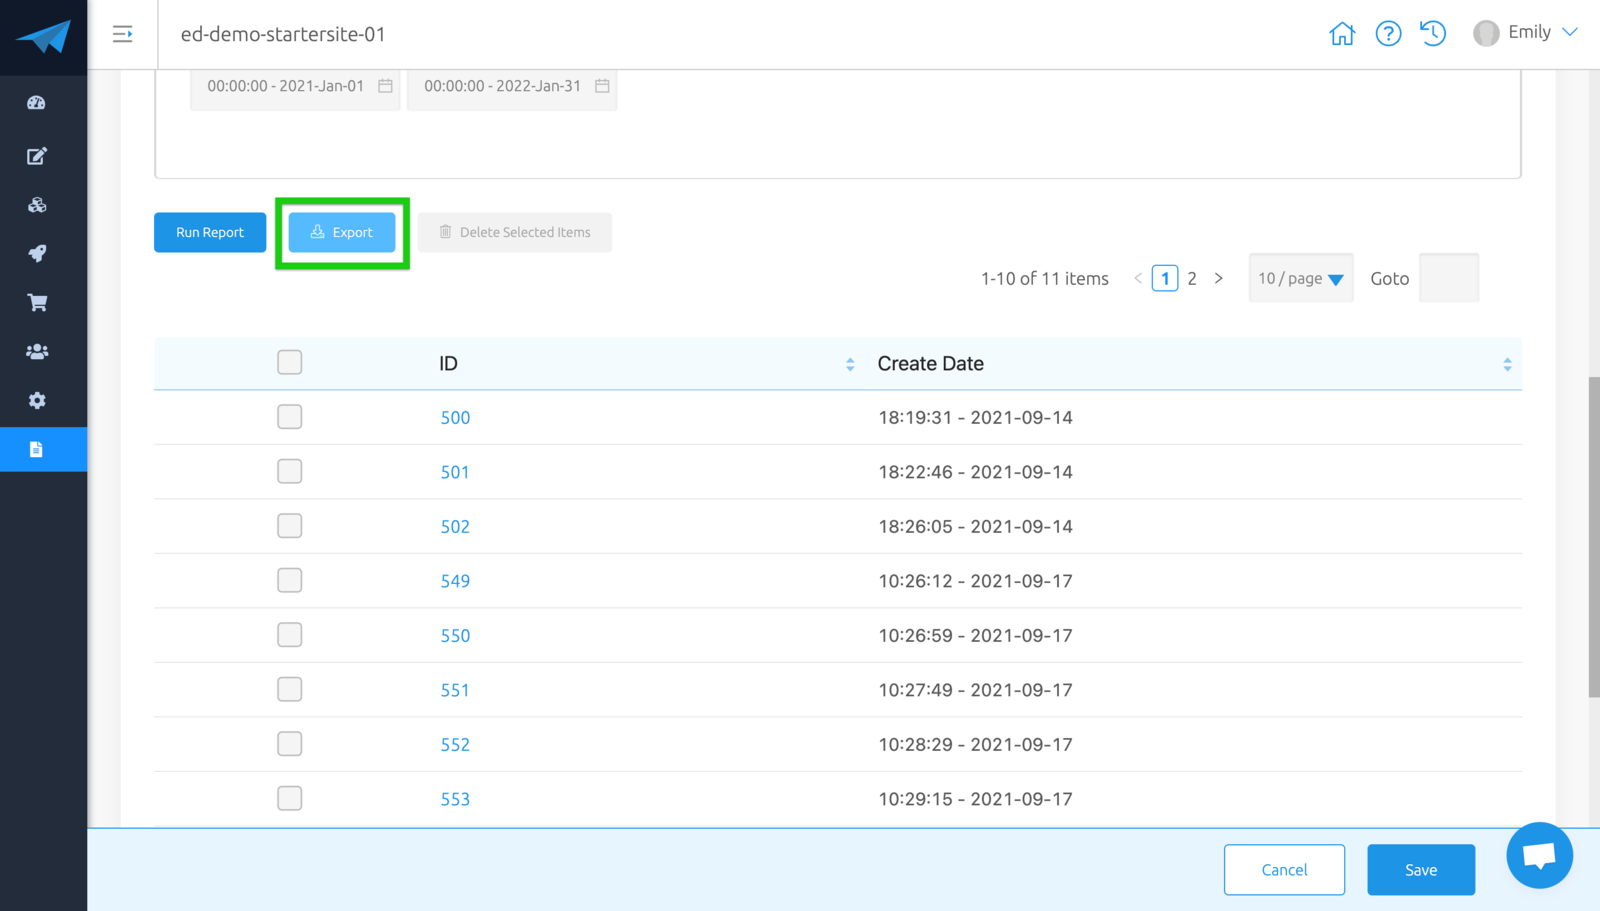
- Download Report
Click "Export" to the right of "Run Report" to download a copy of this report.
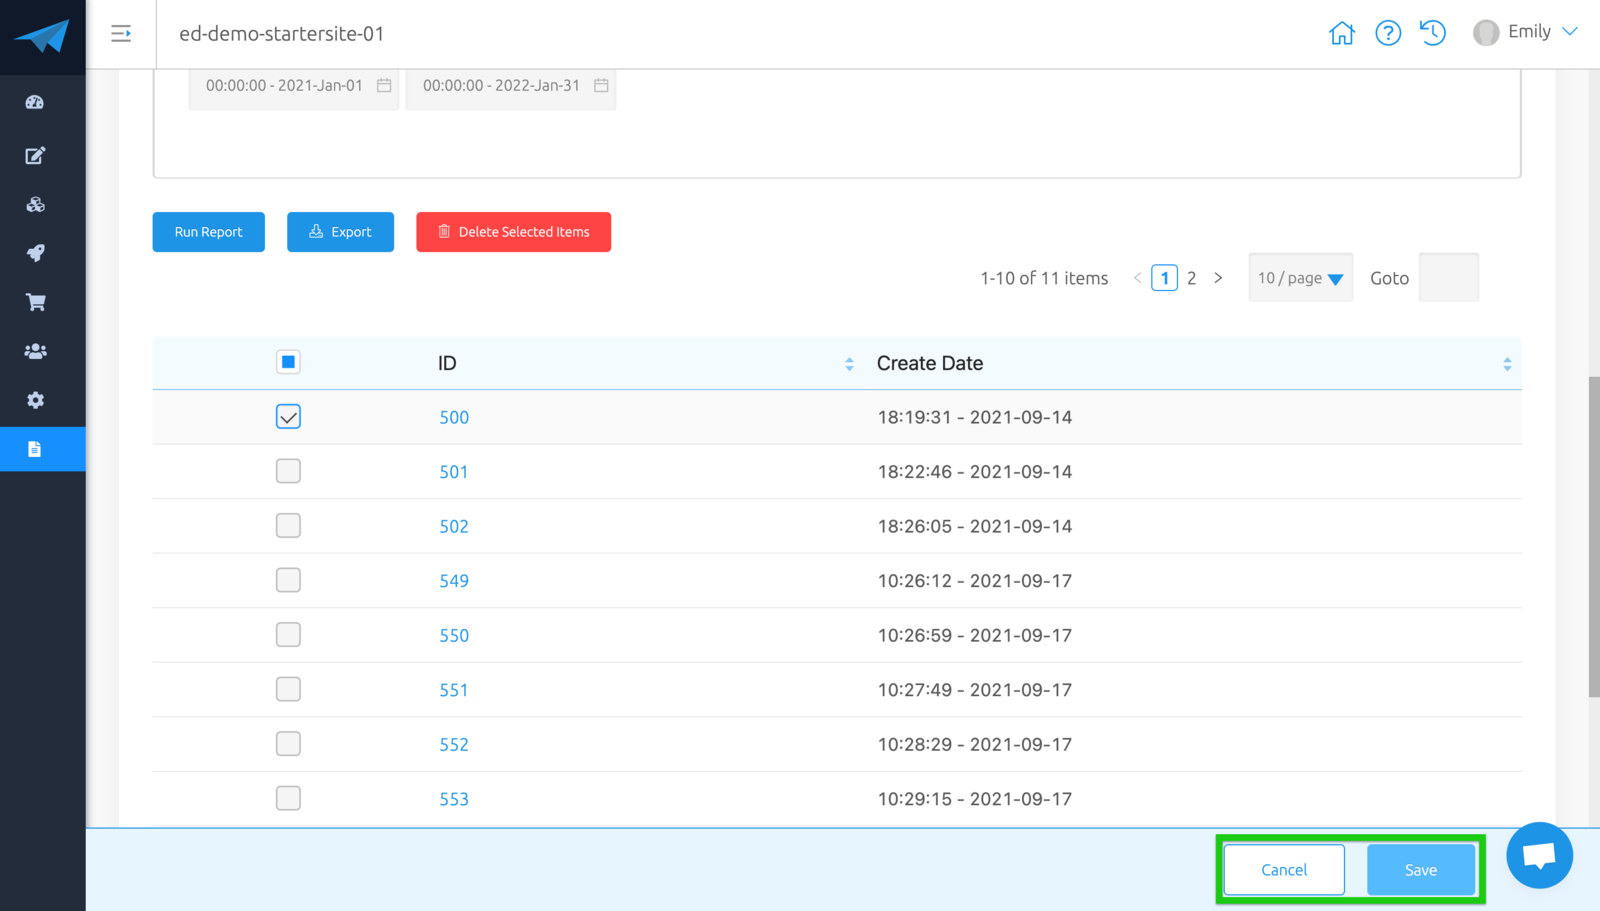
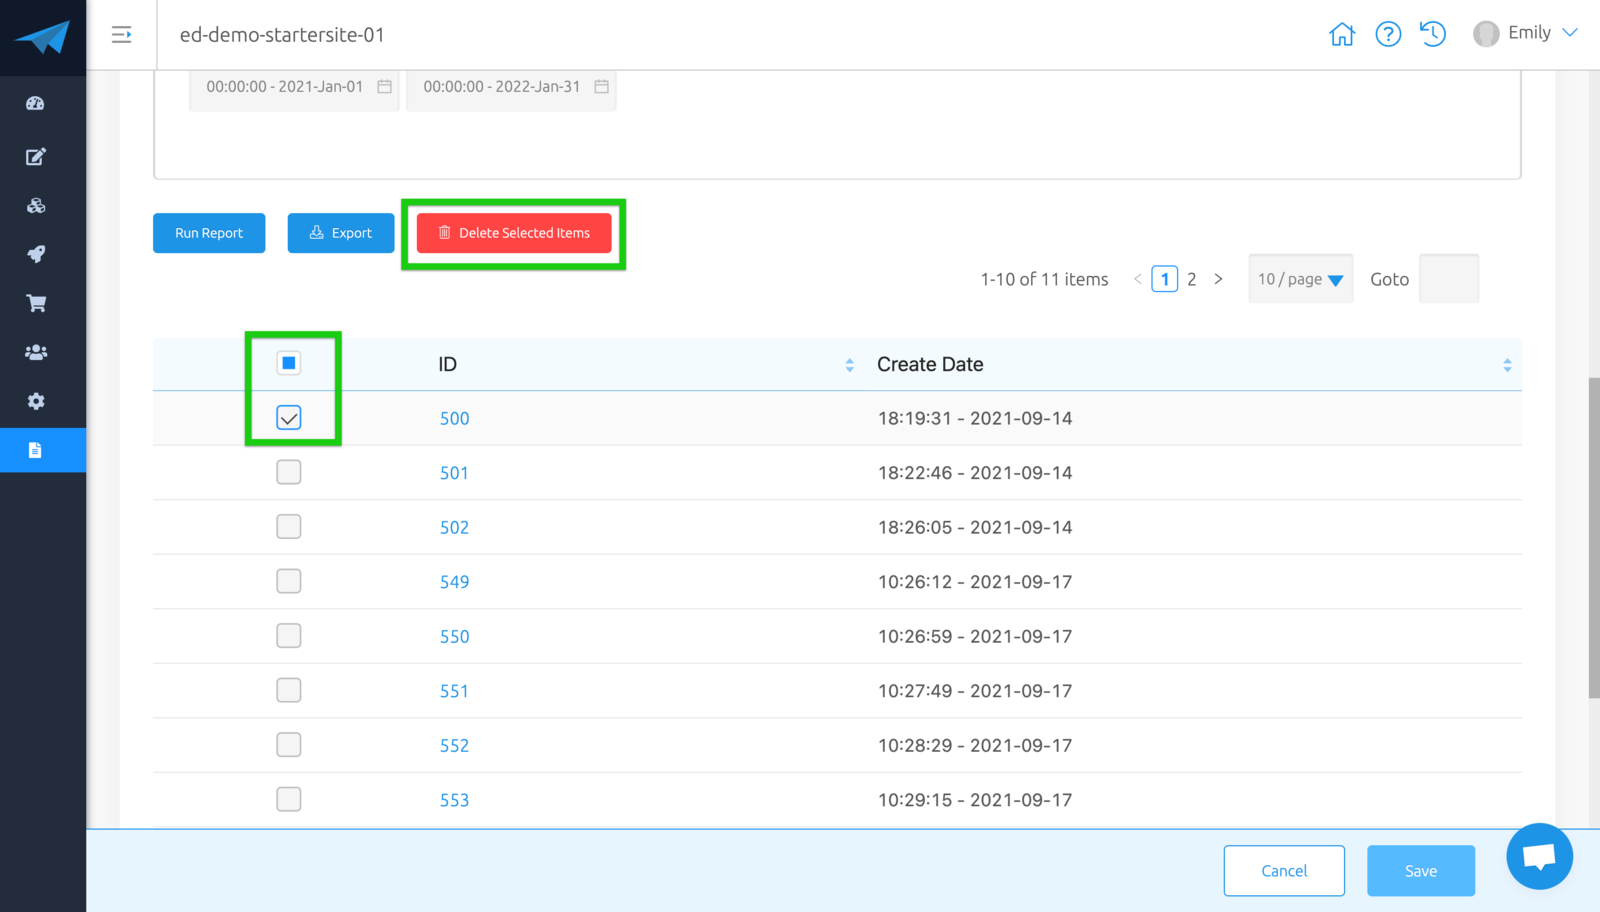
- Optional - Use Bulk Actions
Tick the box next to the Case(s) that you'd like to delete, and choose to 'Delete Selected Items' to the right-hand side of "Export".
Warning: This cannot be undone.
- Once report has run, you can choose to save this report to be used later on.