

CRM is an area within Admin where you can manage Users that sign up to your Site, or fill in Forms creating Cases; and these associated Cases.
Clicking into a User enables you to see when this User first registered; email addresses; ability to send a password reset to this User; which Secure Zone (if any) that they are assigned to; Cases - Forms that they have filled in on your Site; and Custom Field Sets that are attached to each Users.
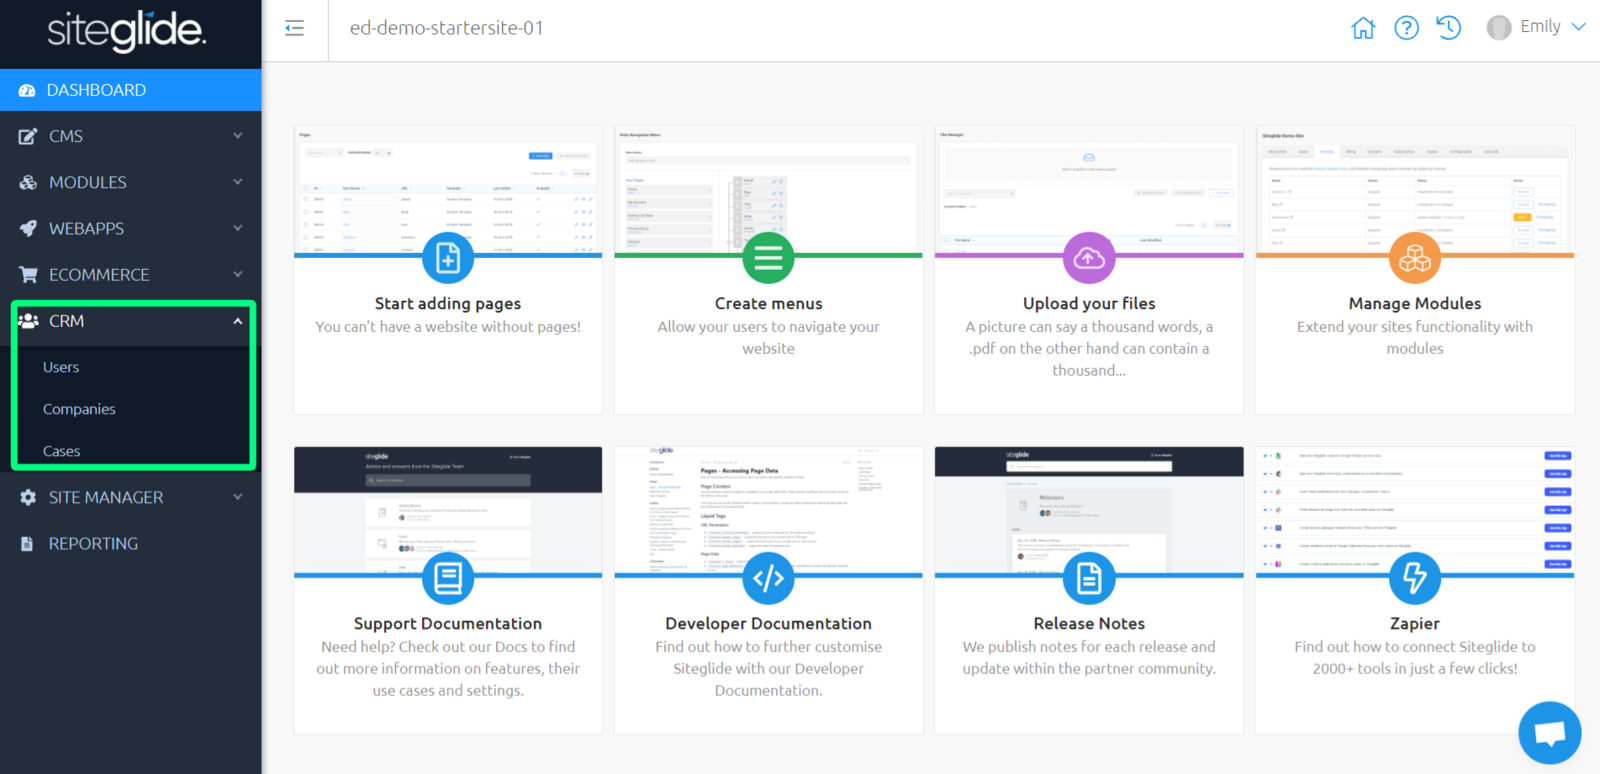
Finding CRM
While viewing your Site Admin, use the left-hand menu to click "CRM" and expand the sub-menu. Next click on "Users" to view a list of Users on your Site; "Companies" to view a list of Companies on your Site; or "Cases" to view a list of all Cases on your Site.
Setting Up CRM
Before we add Users, it’s important to set up our CRM with any additional custom fields of our choice.
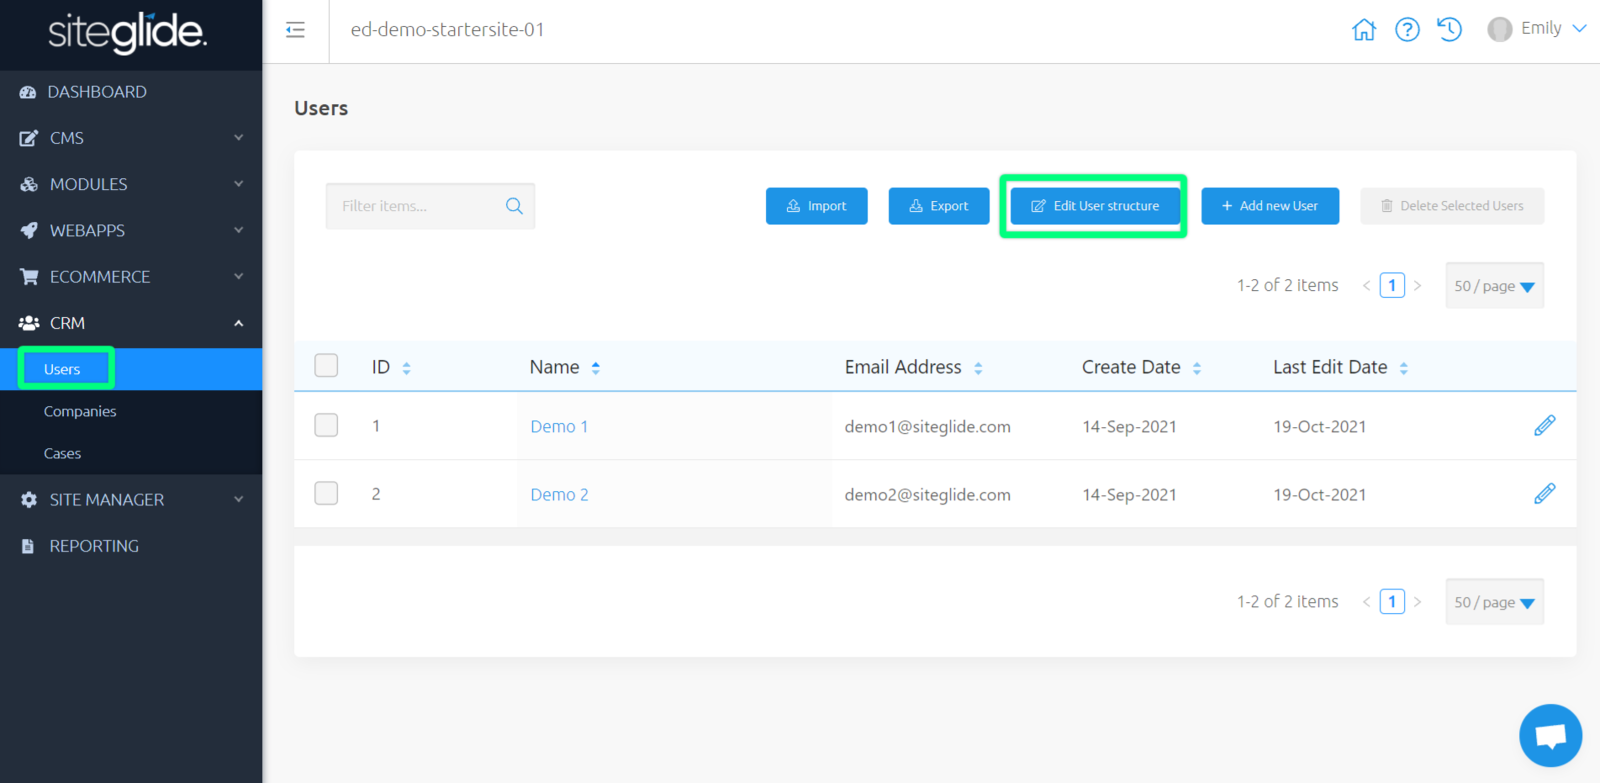
“Edit User Stucture”, above your list of Users, is where we can view all standard fields, and create custom fields.
Standard And Custom Fields
While editing User structure, you can view all standard fields and custom fields for your CRM.
Often there may be times when you do not see a field listed that you’d like to use.
Simply, navigate over to ‘Custom Fields’ and start creating your own fields. Below is a list of all field types you can currently use:
- Text (String) - Single line text field, used for short text inputs.
- Text (Multiline) - Multiline text field, used for longer text inputs.
- Checkbox - Comma seperated e.g. Checkbox 1, Checkbox 2
- Radio Button - Comma seperated e.g. Radio 1, Radio 2
- Dropdown (Single Item) - Comma seperated e.g. Option 1, Option 2
- Dropdown (Multi Item) - Comma seperated e.g. Option 1, Option 2
- Datasource (Single Item) - Access data of an item from a selected WebApp or Module. Output within Detail, List or Form layouts.
- Datasource (Multi Item) - Access data of multiple items from a selected WebApp or Module. Output within Detail, List or Form layouts.
- Image (Single) - Choose an image from File Manager
- Image (Array) - Choose multiple images from File Manager
- File - Media upload field
- Folder - Choose a folder from File Manager
- Date - Select a date
- Number (Integer) - Choose between a minimum and maximum integer for each item
- Number (Float) - Choose between a minimum and maximum float for each item
- Boolean - Toggle 'Yes' and 'No'
- Custom Array - Comma seperated e.g. Option 1, Option 2
Users
Users displays a full list of Users (who have submitted a Form on your Site, including those who have created a Login account.)
Creating Users
Users are created whenever a visitor submits a Form on your Site. Alternatively, you can also manually create Users.
Get started with "Add new User".
Redirected to ‘Standard Fields’, we can fill in required fields and navigate tab by tab filling in any additional information we’d like to include, along with any required custom fields:
Standard Fields
- Name (required)
- Email Address (required)
- Company - A datasource field linked to CRM - Companies. If no Companies are available to pick from, see below.
- Password - Only included if you have the Secure Zone Module installed - This can be created manually by you, or within a Sign Up Form.
- Secure Zones - Only included if you have the Secure Zone Module installed - This can be added manually by you, or added on Sign Up.
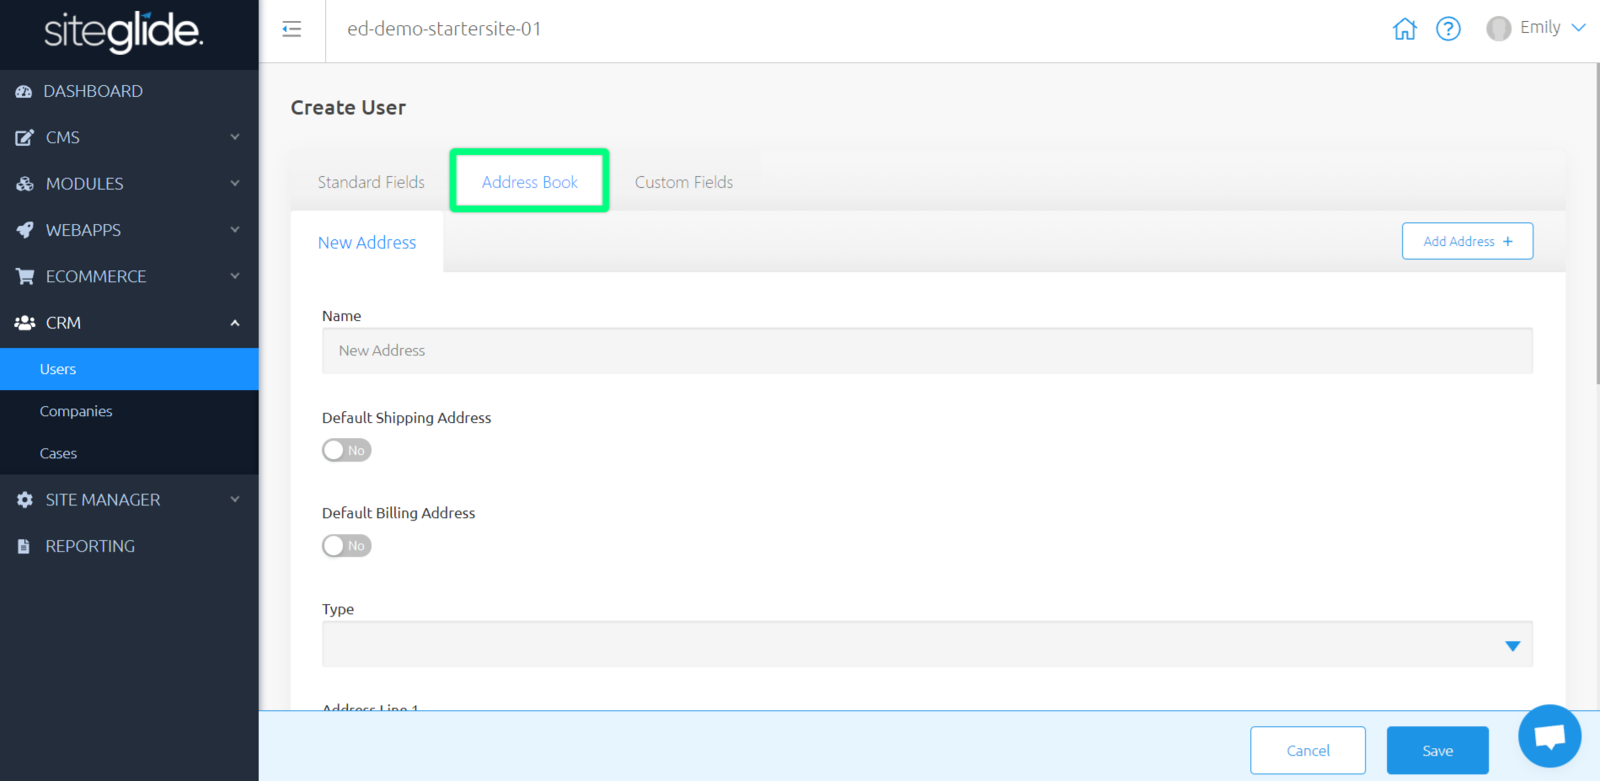
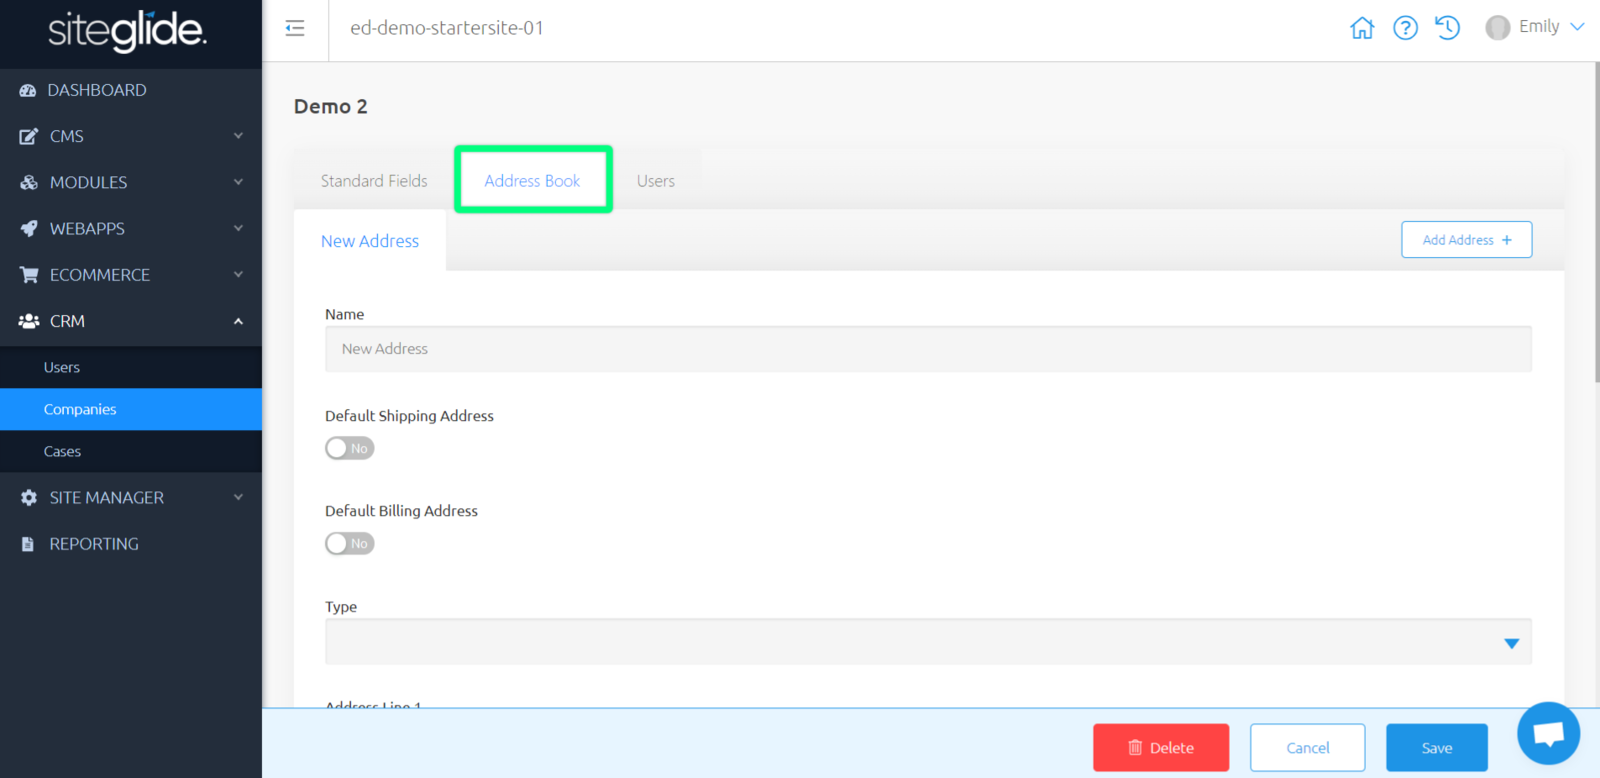
Address Book
From 'Standard Fields', navigate to the second tab along, called 'Address Book'.
Here, you can manage and edit all addresses for this User:
- Name - Name for address
- Default Shipping Address toggle - Toggle to make this the default shipping address for this User
- Default Billing Address toggle - Toggle to make this the default billing address for this User
- Type - 'Home' , 'Work' , 'Other'
- Address Line 1 - First line of address
- Address Line 2 - Second line of address
- City - Enter a city for this address
- State - Enter a state for this address
- Zip Code - Enter a Zip or Post code for this address
- Country - Choose a country using the dropdown provided
You can manage and edit any User by clicking their name or pencil icon (to the right-hand side). This will redirect you to this User's settings.
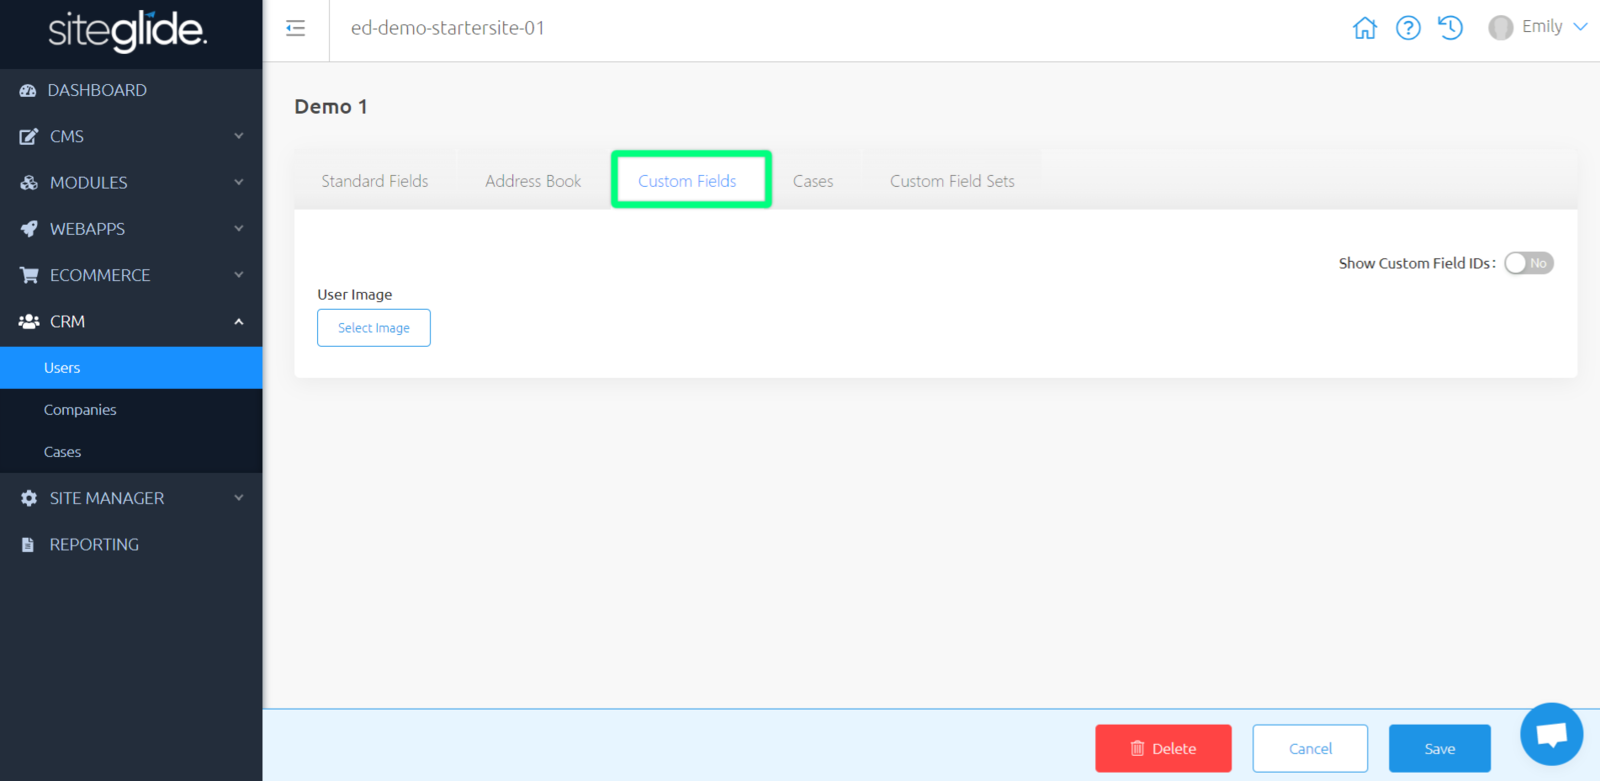
Custom Fields
From 'Standard Fields', navigate to the third tab along, called 'Custom Fields'.
Here, you can manage and edit all Custom Fields added to the User Structure.
Cases
From 'Standard Fields', navigate to the fourth tab along, called 'Cases'.
Here, you can view and manage all Form Submissions created by this User.

You can learn more about Cases here.
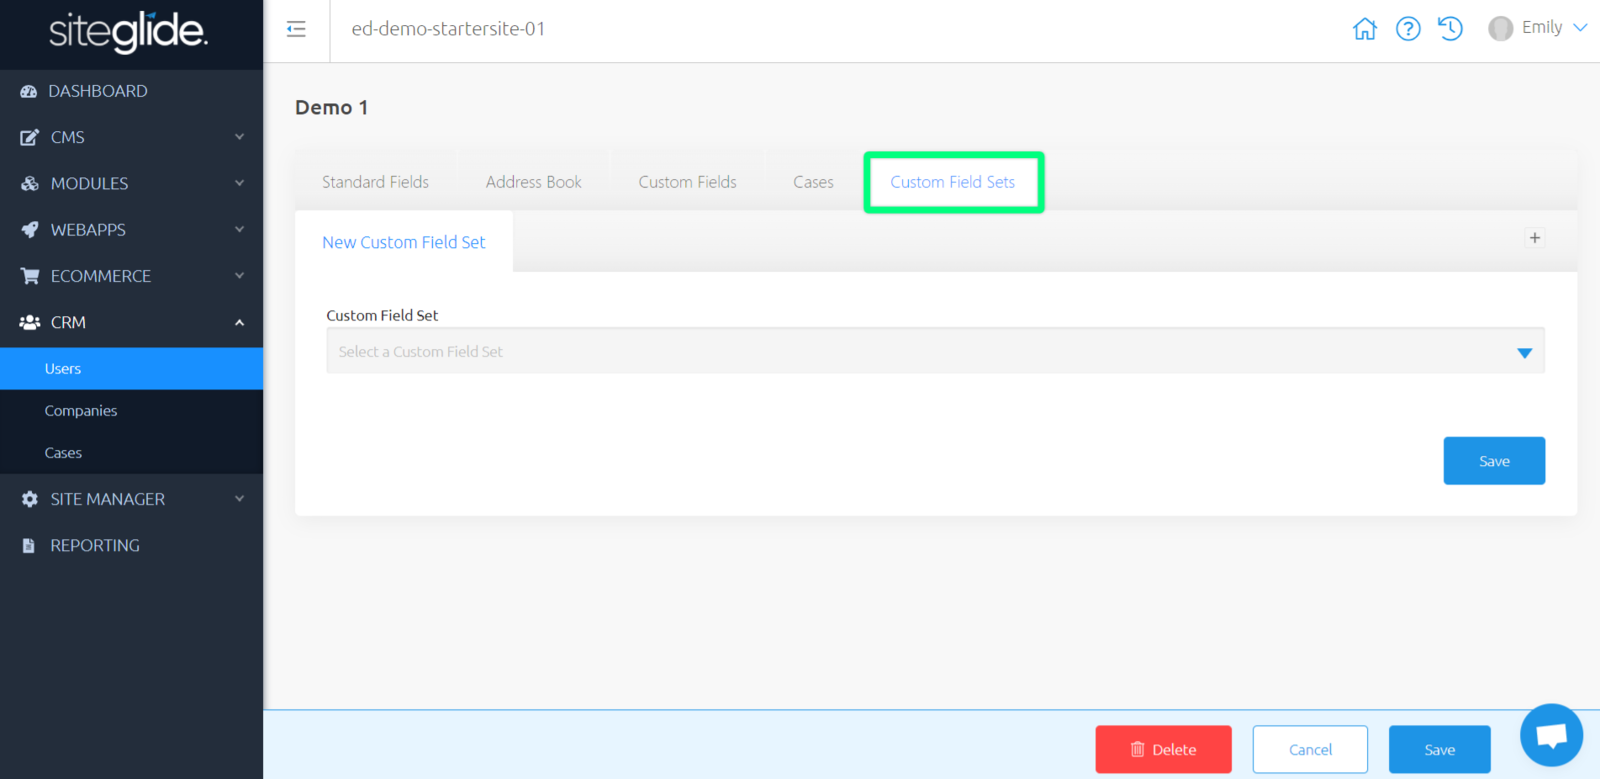
Custom Field Sets
From 'Standard Fields', navigate to the fifth tab along, called 'Custom Field Sets'.
Similar to Custom Fields, Custom Field Sets are custom fields that are not specific to one area within your Site, and can be added to your CRM Users, Products, Modules, etc.
Here, you can manage and edit all Custom Field Sets that you'd like to add to your Users.
You can learn more about Custom Field Sets here
Companies
Companies can be created to grouped your CRM Users together, this can also be helpful for Users as they can use a grouped address and have one main contact.
Creating Companies
Companies can be created by Users when they submit Forms, or can be created manually within your CRM.
Get started with "Add new Company".
Redirected to ‘Standard Fields’, we can fill in required fields and navigate tab by tab filling in any additional information we’d like to include, along with any required custom fields:
Standard Fields
- Name (required) - Company name
- Email Address (required) - Main email address for this Company
- Primary Contact - Main contact for this Company
Address Book
From 'Standard Fields', navigate to the second tab along, called 'Address Book'.
Here, you can manage and edit all addresses for this Company:
- Name - Name for address
- Default Shipping Address toggle - Toggle to make this the default shipping address for this Company
- Default Billing Address toggle - Toggle to make this the default billing address for this Company
- Type - 'Home' , 'Work' , 'Other'
- Address Line 1 - First line of address
- Address Line 2 - Second line of address
- City - Enter a city for this address
- State - Enter a state for this address
- Zip Code - Enter a Zip or Post code for this address
- Country - Choose a country using the dropdown provided
You can manage and edit any Company by clicking the name or pencil icon (to the right-hand side). This will redirect you to this Company's settings.
Users
From 'Standard Fields', navigate to the third tab along, called 'Users'.
Here, you can view and manage all Users within this Company.
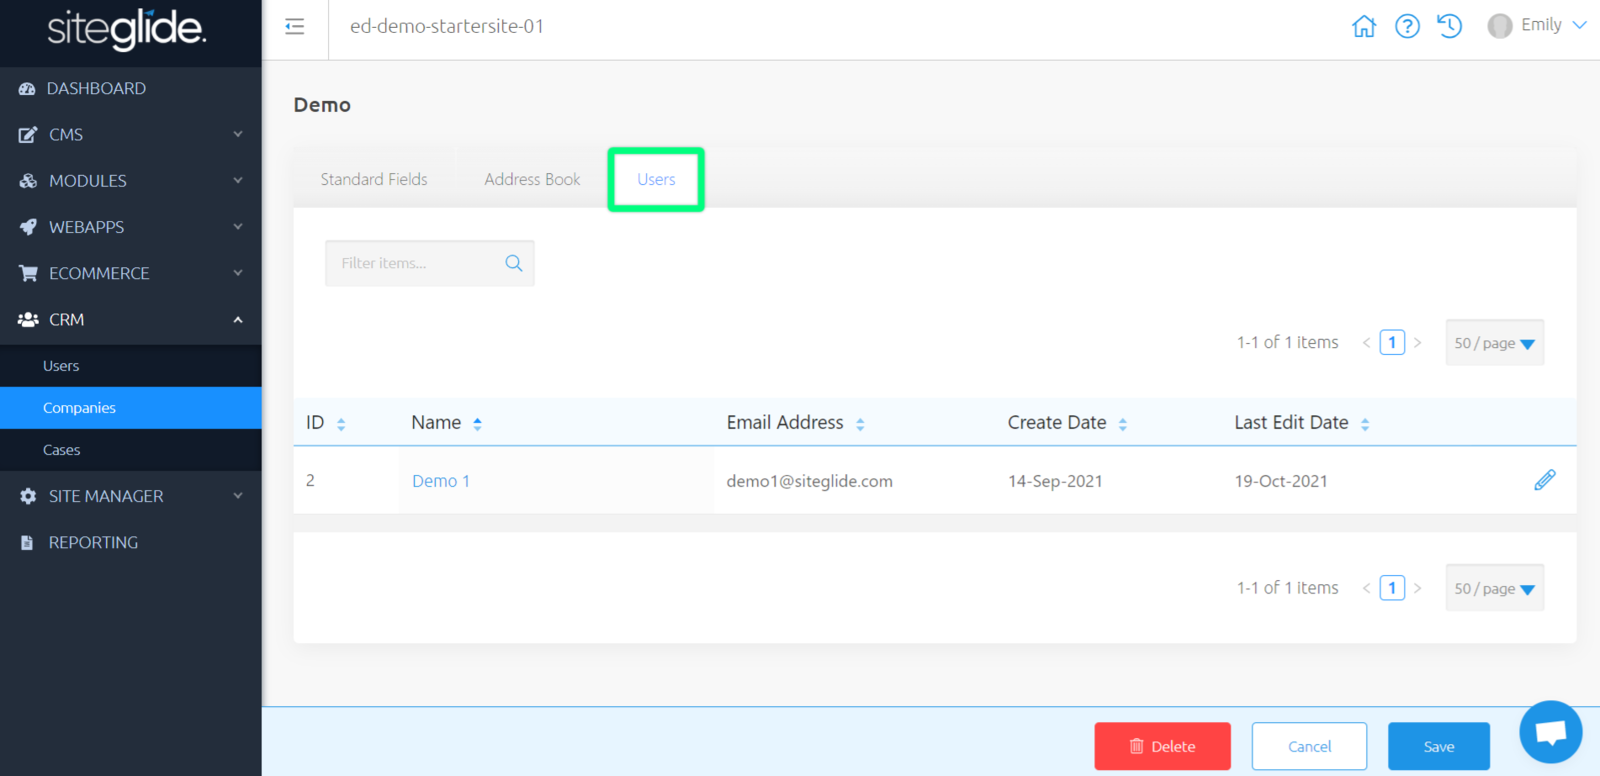
You can find out more information about a User by clicking their name or the pencil icon (to the right-hand side). This will redirect you to this User's settings.
Cases
Here you can view and manage all Cases submitted from all Forms on your Site.
You can filter these by searching for a Form, filter by date ranges, or using the sorting features on each column to find Cases that you're looking for.
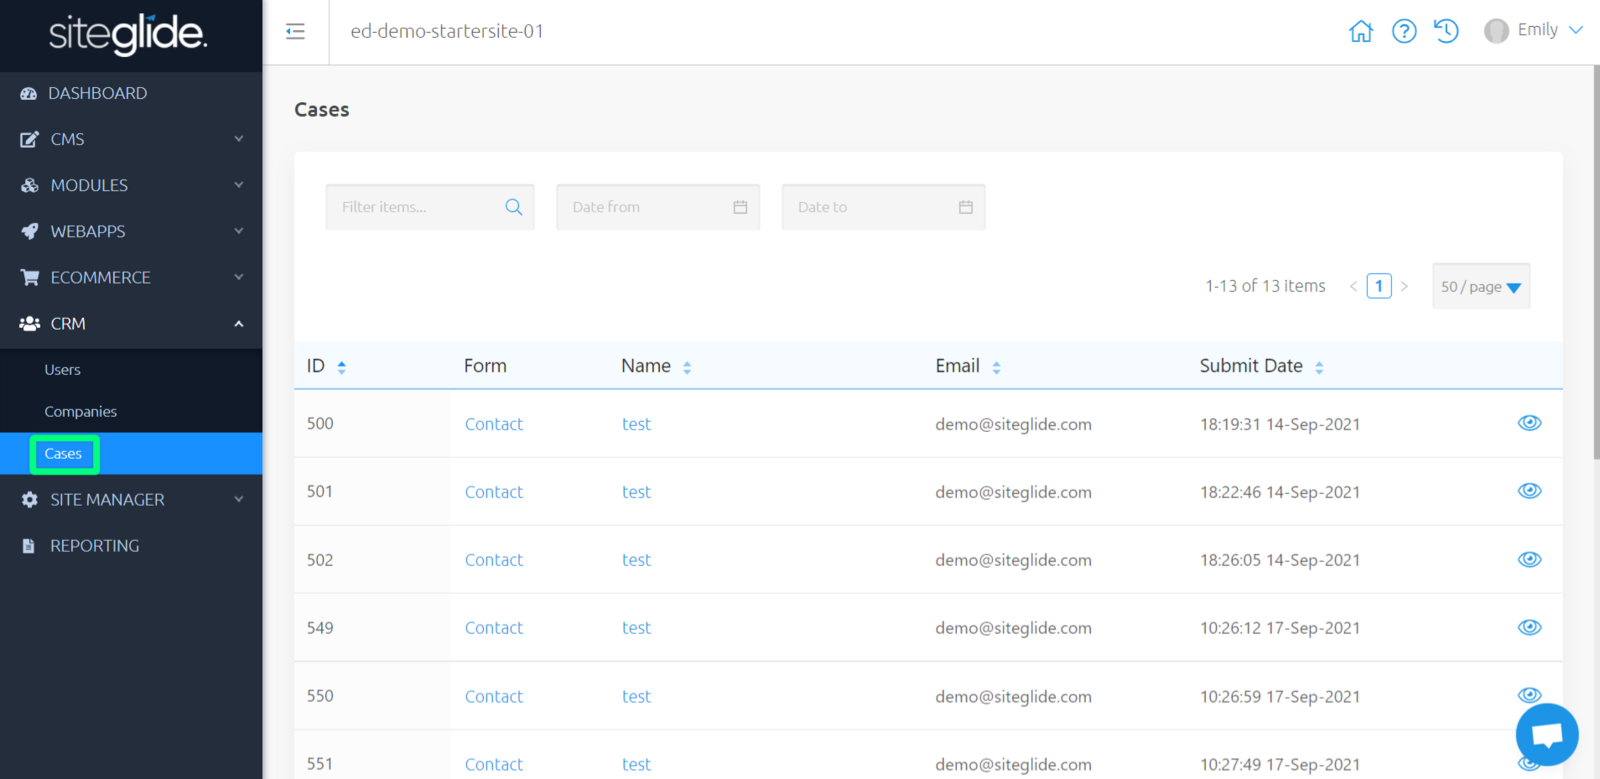
You can learn more about Cases here.
Importing And Exporting
Import
Importing CSVs is great for migrating Users and Companies over from other sites to Siteglide; creating new items or editing existing items in bulk.
From your list of Users or Companies, you can “Import” to “Download Import Template”, which contains essential columns for you to begin populating with data; alternatively, looking at this template preview in admin will show you which columns are required, and more information about each column to help you populate correctly.
“Start Import” to “Select CSV” and begin importing your items.
A success or error message will appear in the top-right hand corner, and you will receive an email of the success or failure of each import.
If an import fails, you can head to Site Manager > Import Logs to learn more about this failure.
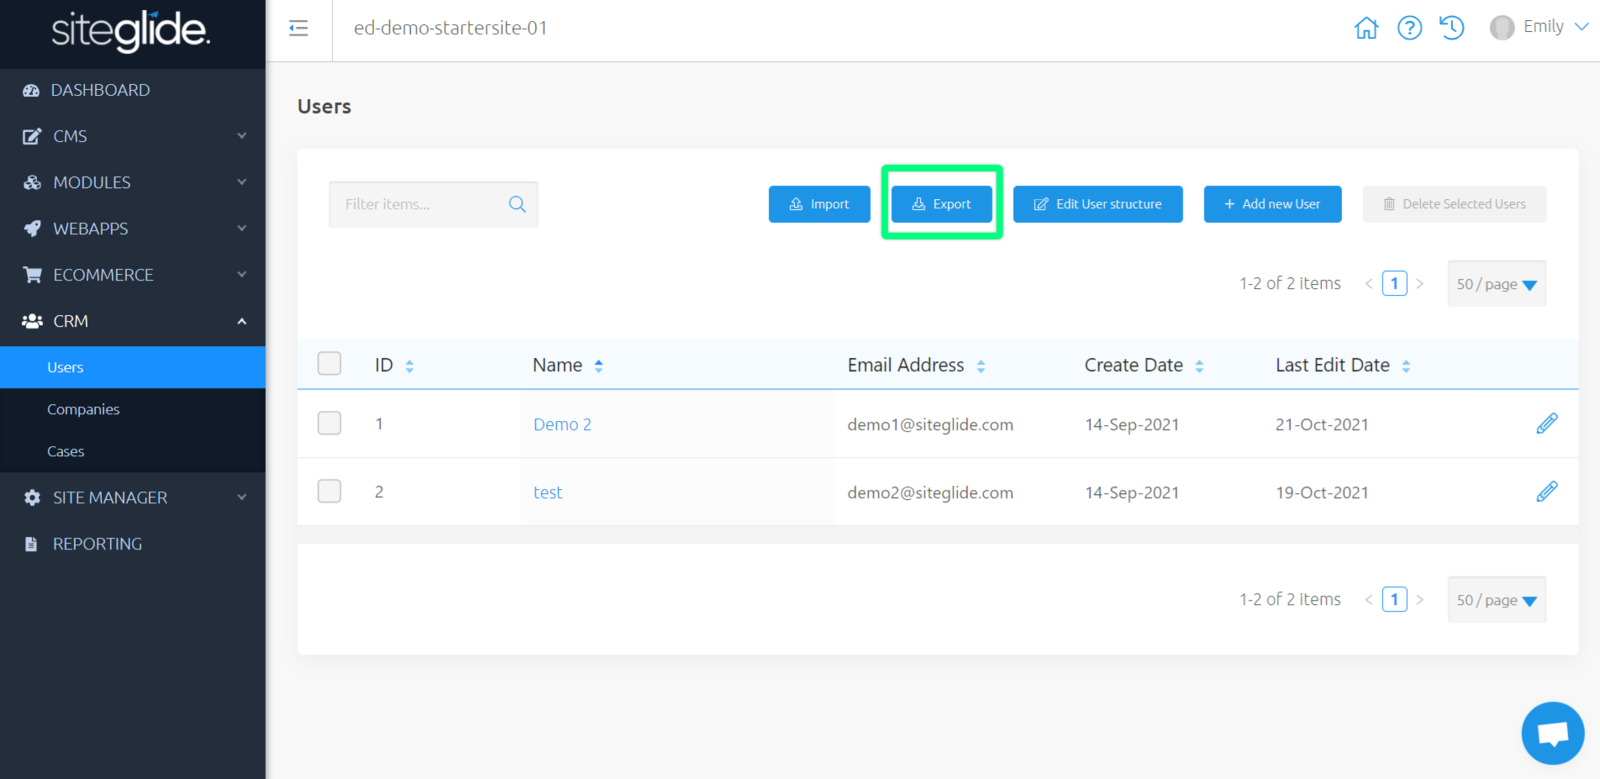
Export
Exporting CSVs enables you to manage and edit all existing items (leaving the ID column as it is); or export an example item to help you import items correctly.
From your list of items, you can “Export” to download a CSV of all of your existing items for this module. This will be processed in the background and you will receive an email of the success or failure of this export.
Success or fail, you can head to Site Manager > Export Logs to download this CSV or learn more about this failure.
Related Documents:
- Cases - Getting Started
- FAQ - Why are form submissions creating cases, but not users in the CRM?
- Displaying CRM Data Front End - Introduction
- Displaying CRM Data Front End - User Details
- Displaying CRM Front End - User Secure Zones
- Displaying CRM Front End - User's Form Submissions (Cases)
- CRM - Front End - Storing User's Favourite WebApp / Module Items
- CRM - Editing a User's CRM record Front End with Custom Field Sets
- CRM - How Users Edit their Email and Password Front End
- Custom Field Sets
- Custom Field Set - Import / Export