

How to create a role
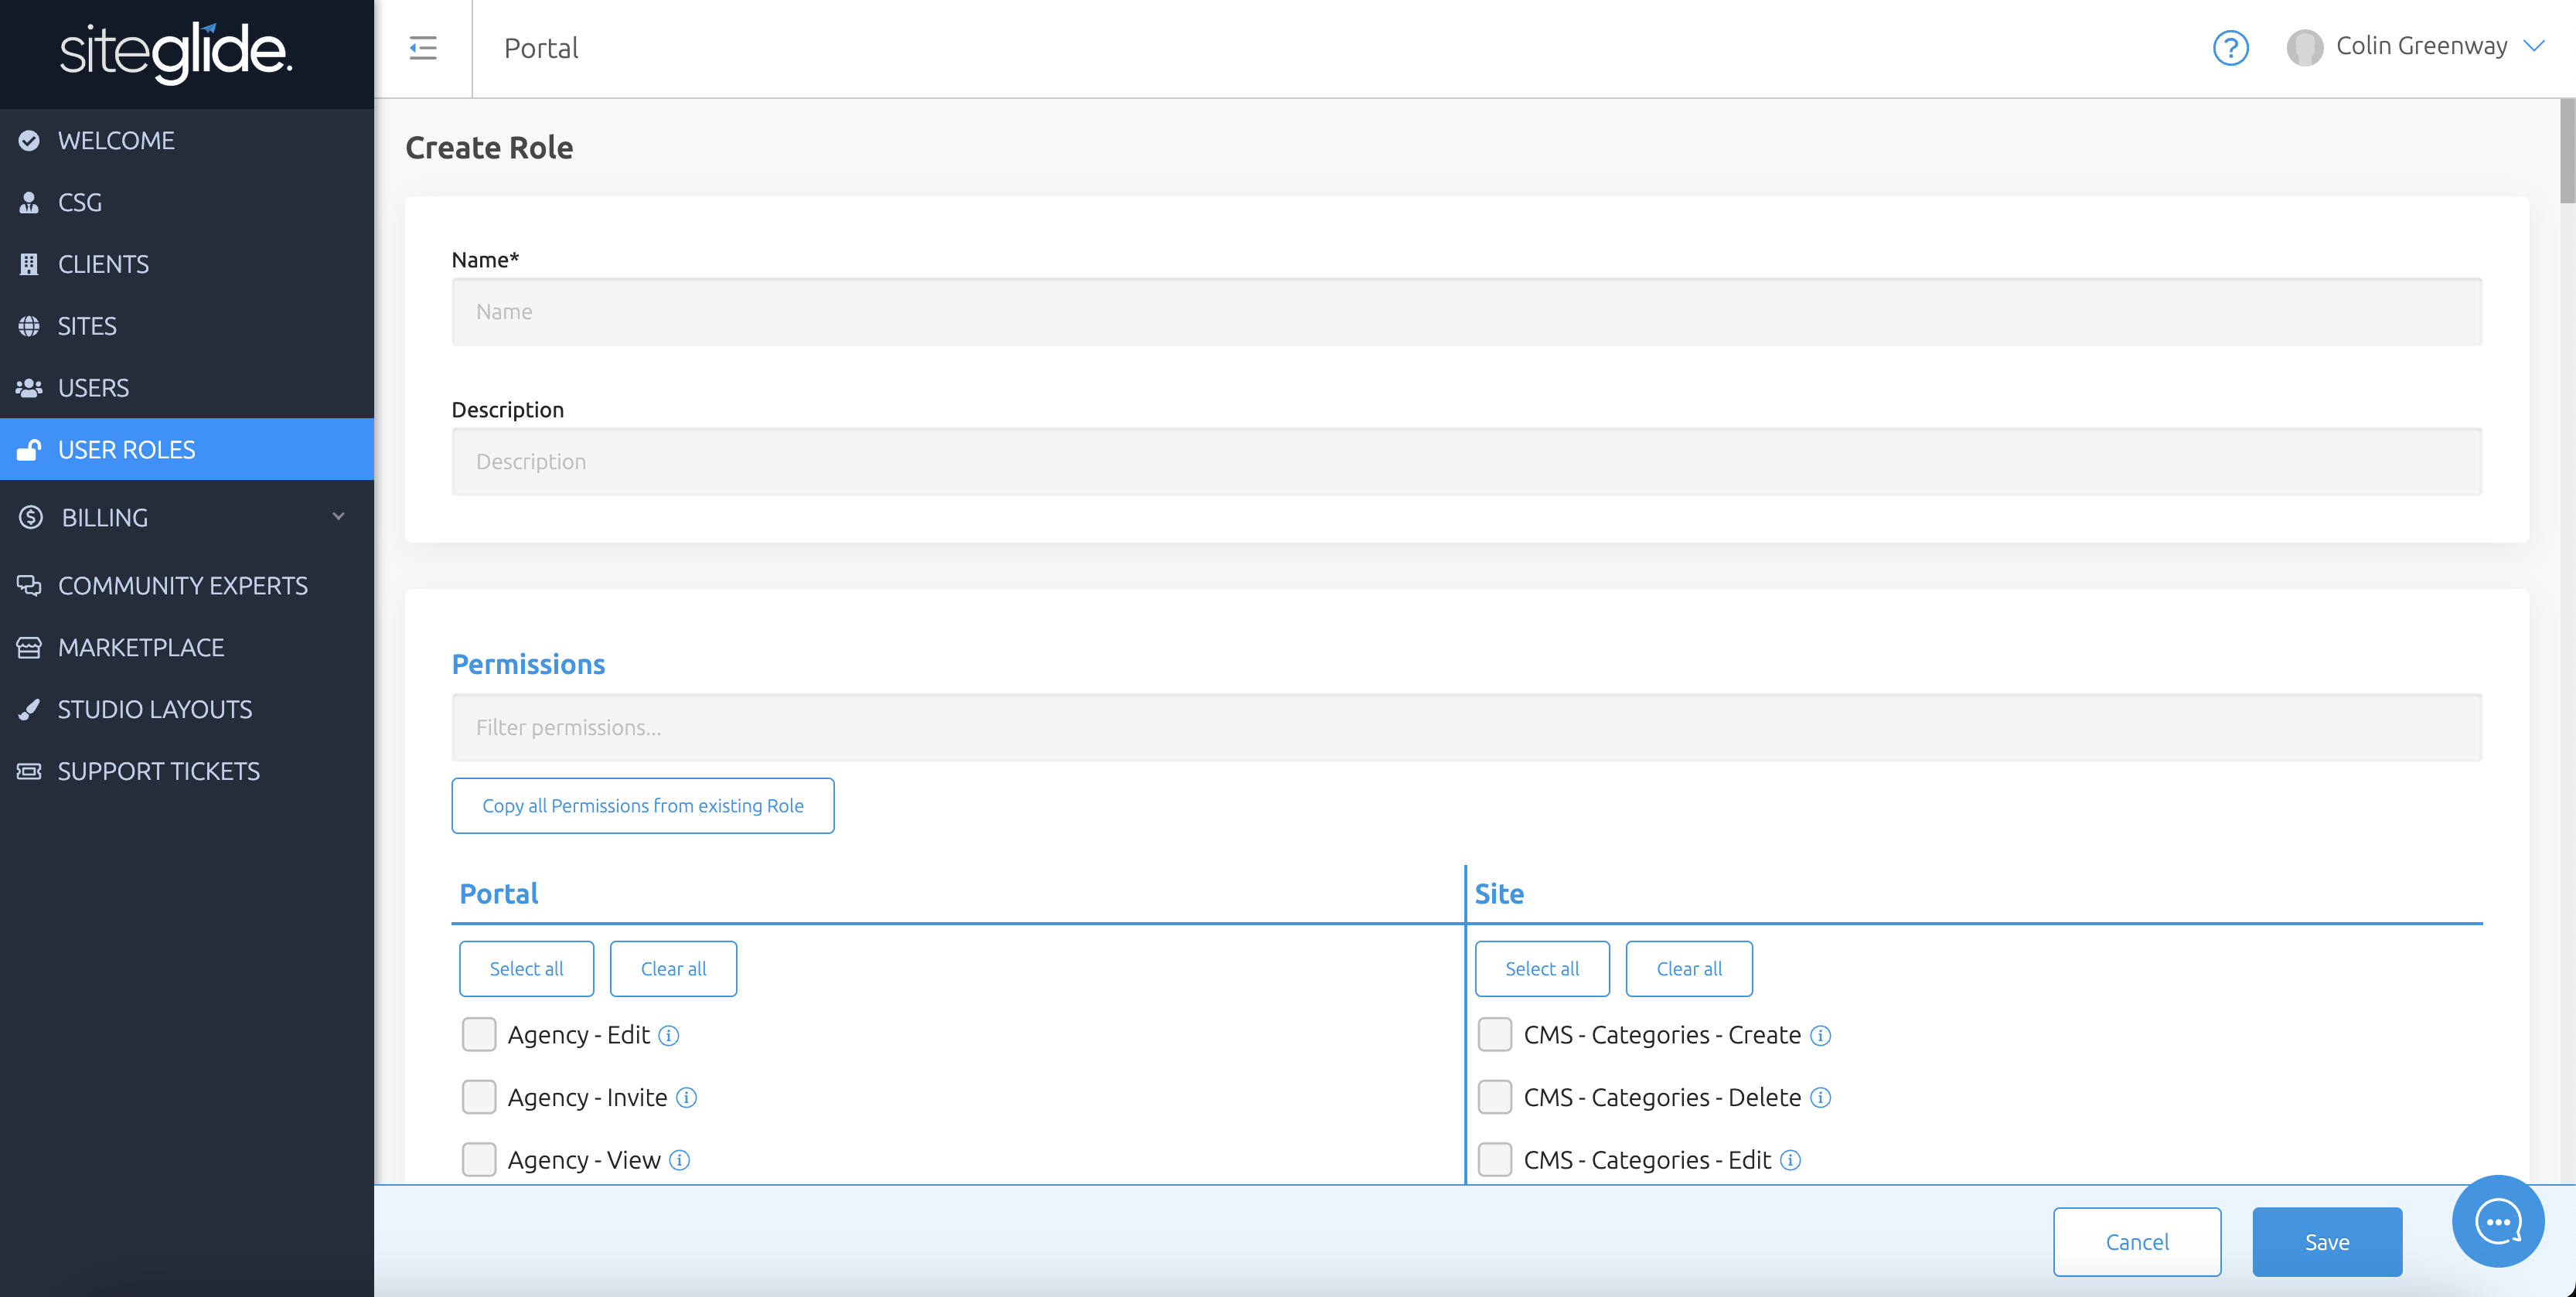
If you navigate to 'Portal > User Roles' you'll find a list of roles that your agency own. Here you can create or edit roles, where you give the role a name and description before setting the permissions you'd like to allow.
For example, you might want to limit someone to only be able to edit Content Sections. In doing so, they won't see anything else available to them in the left-hand menu.
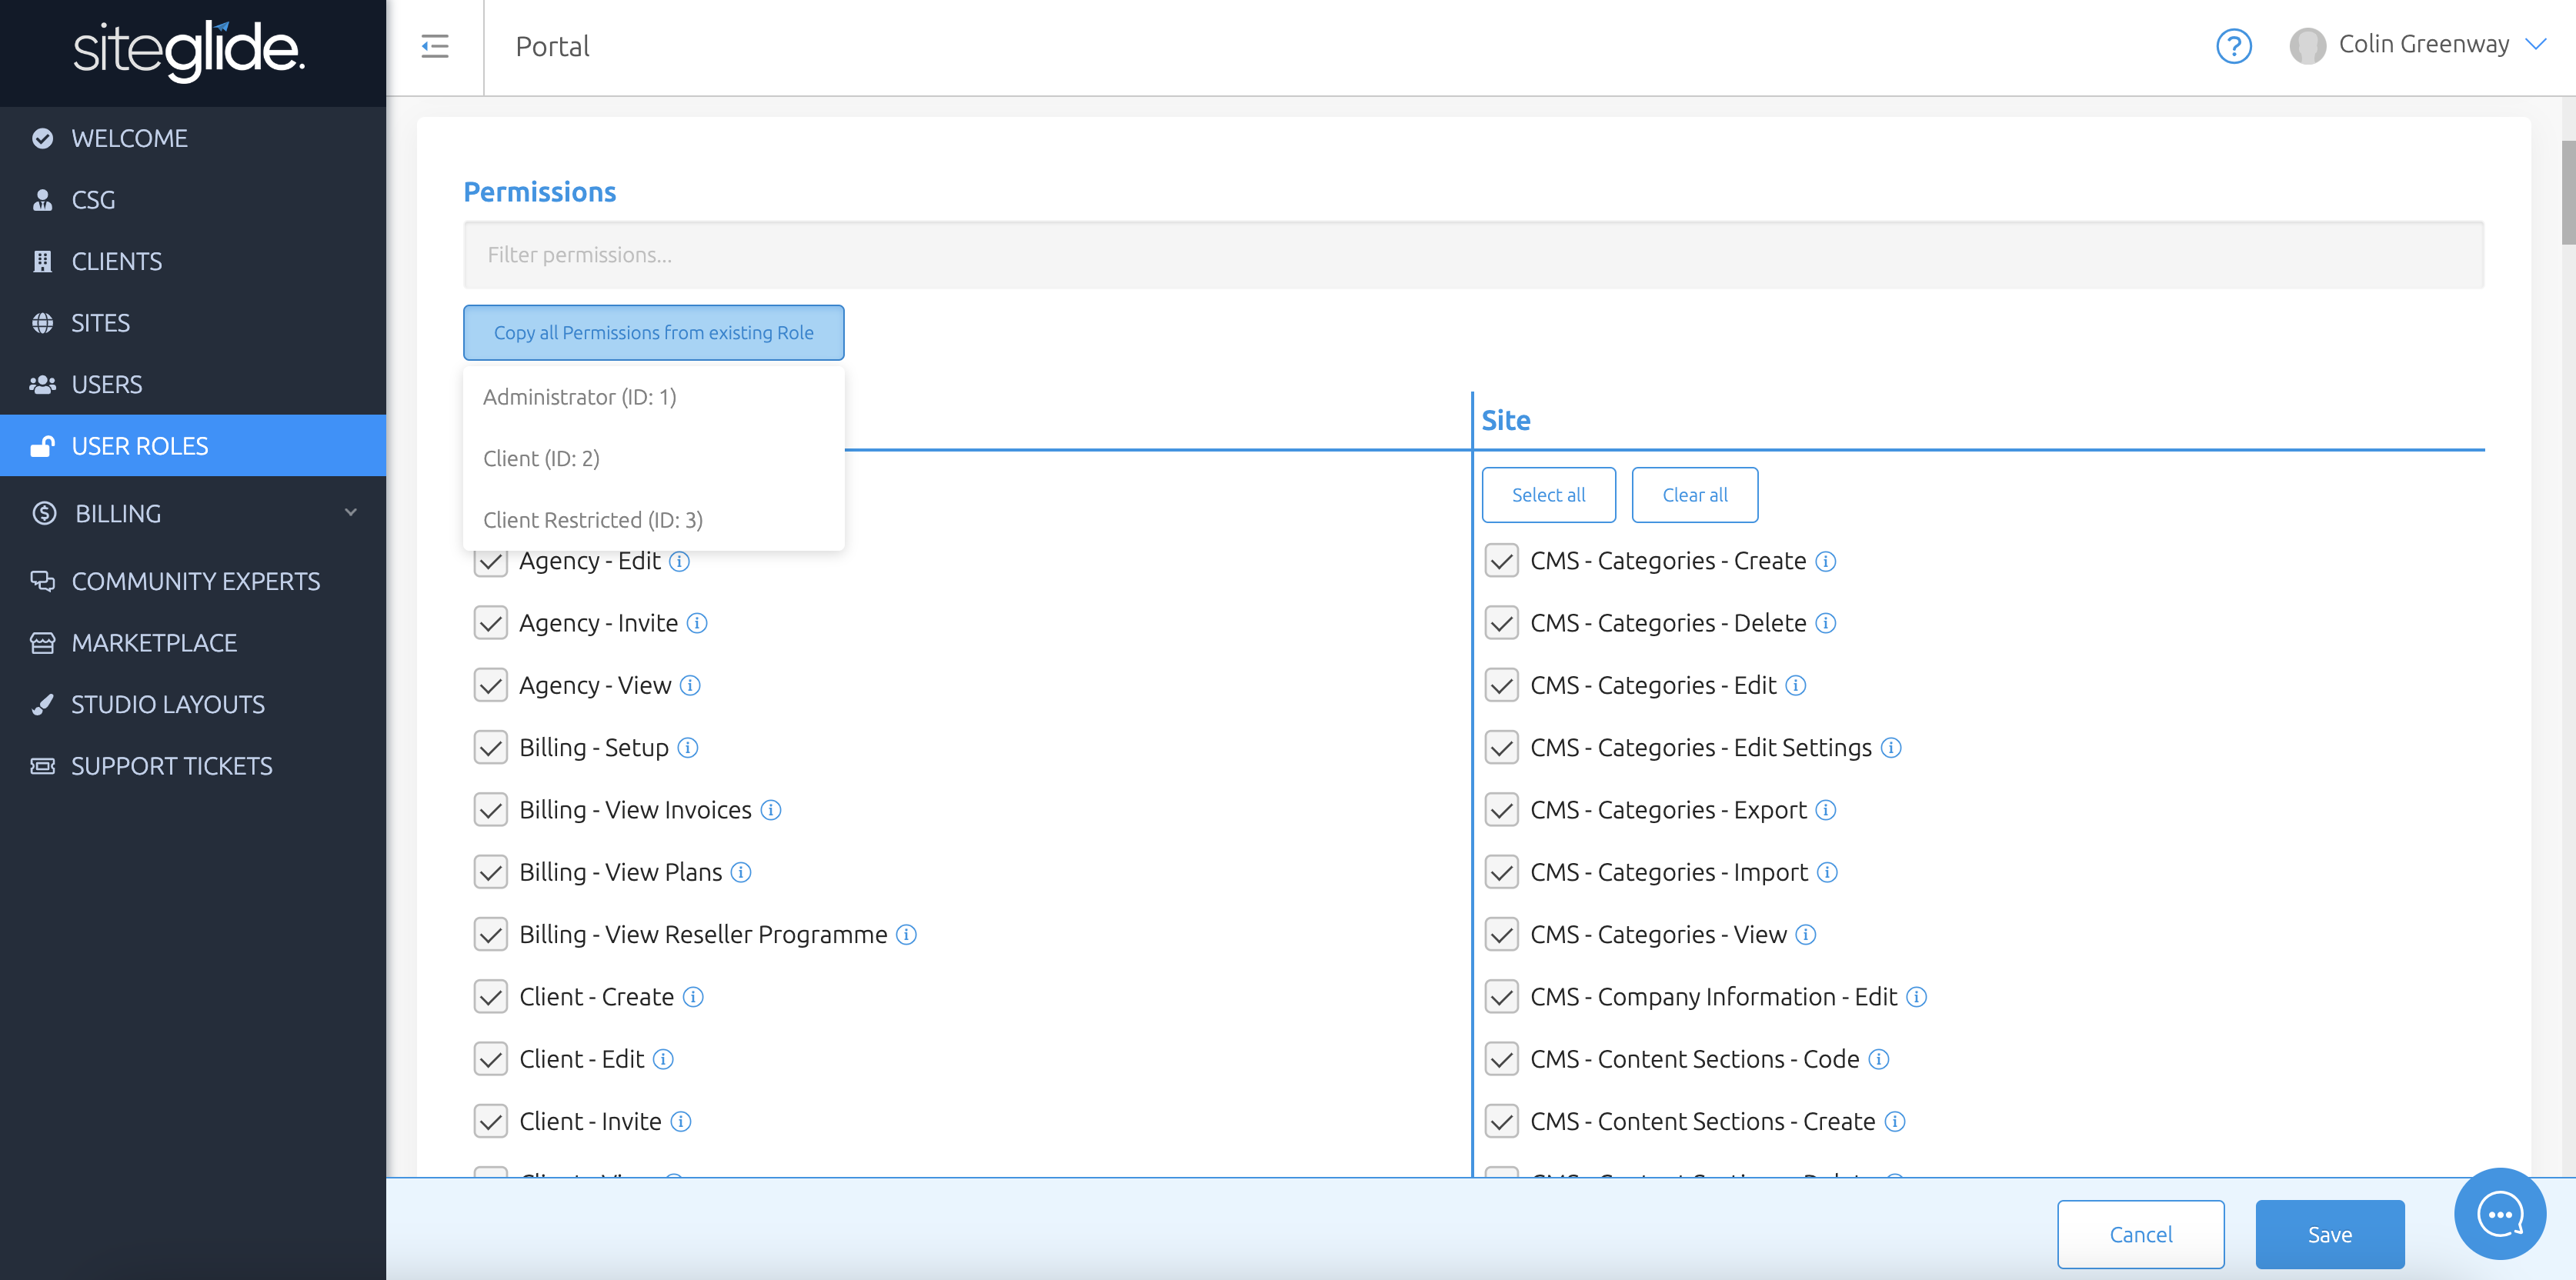
The ability to copy all permissions from an existing role.
Filter permissions for easy selection to add or remove from the user role.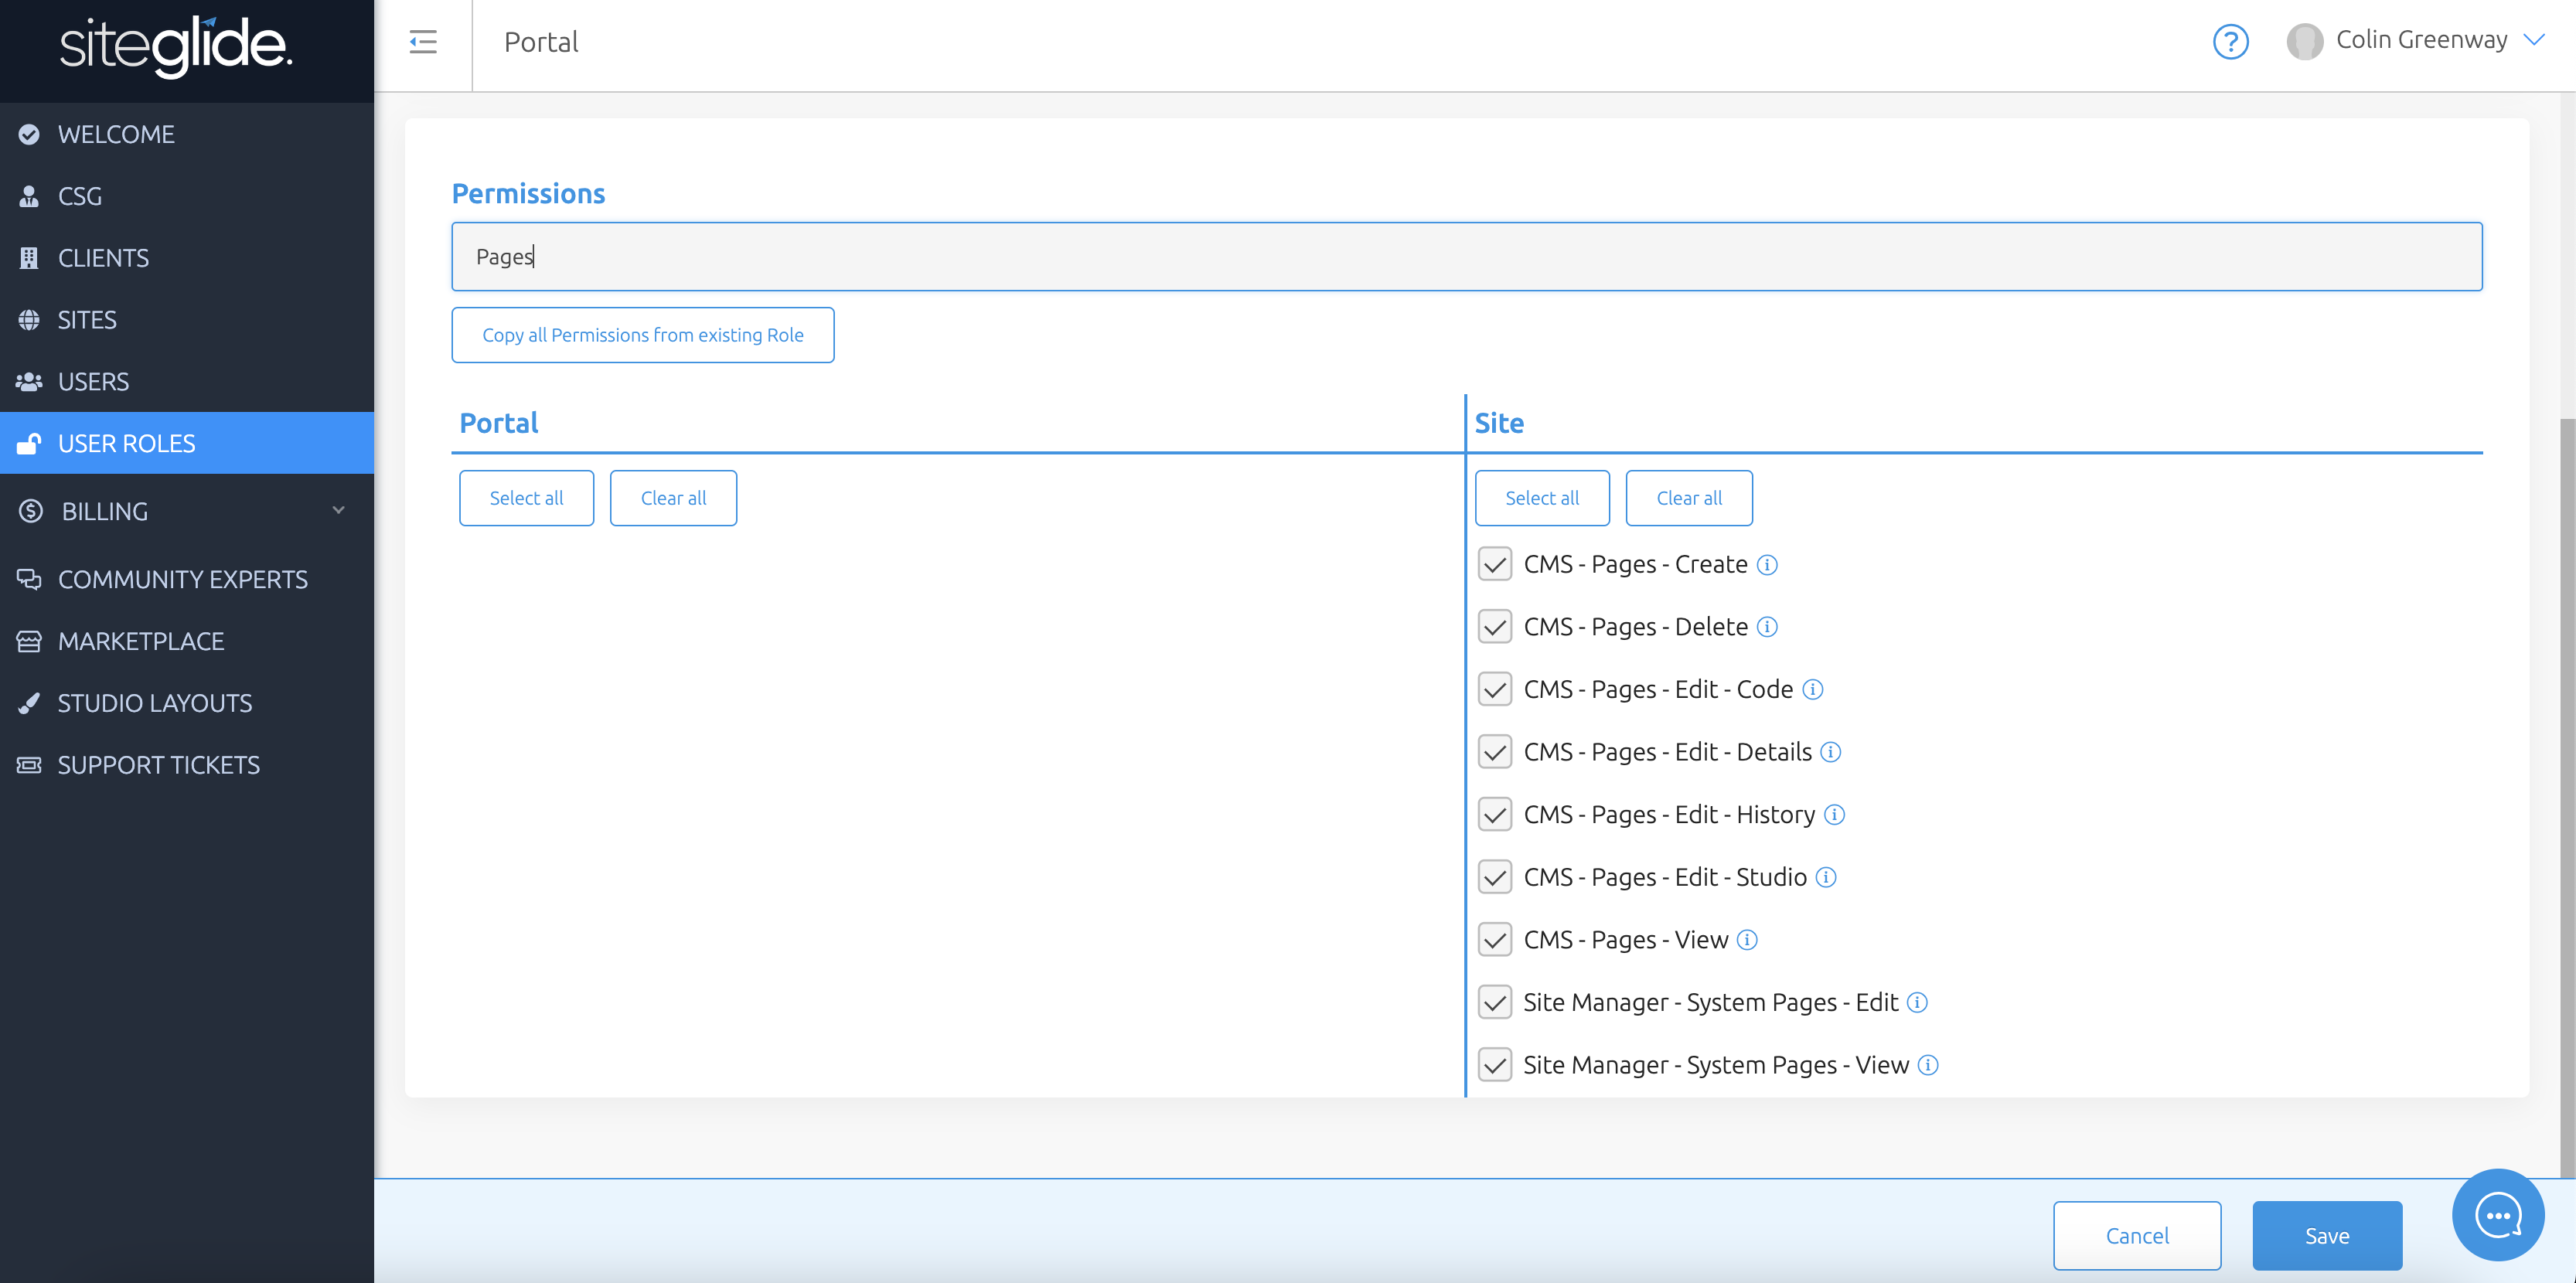
How to apply a role
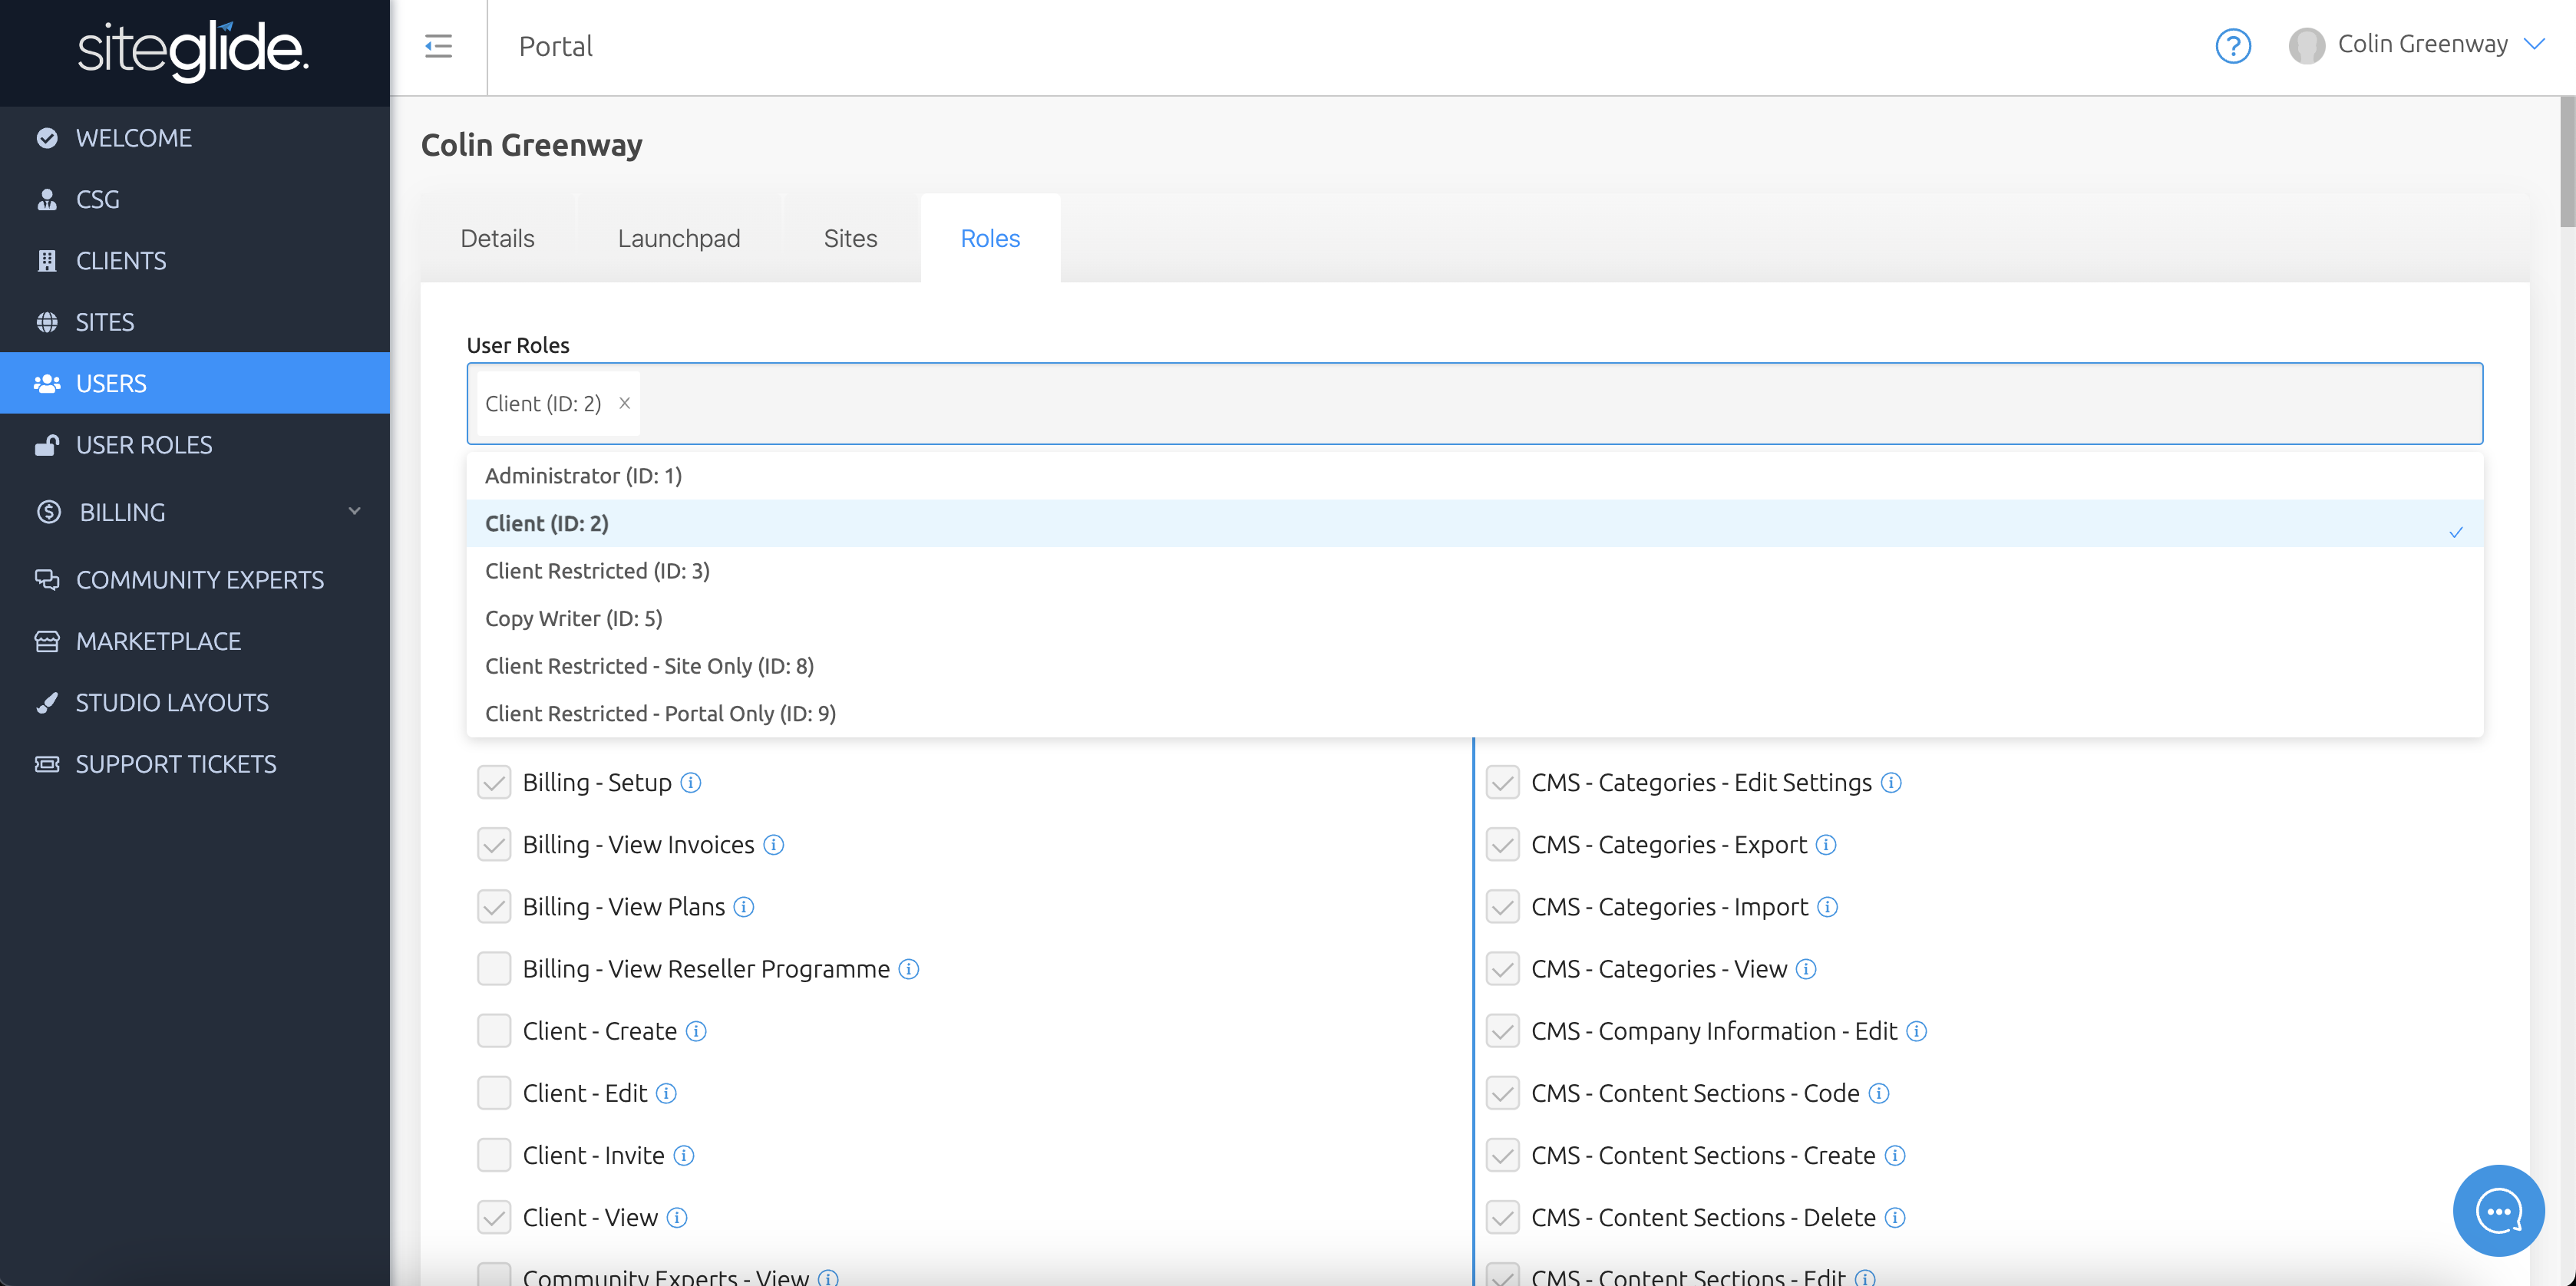
If you navigate to 'Portal > Users' and then select a user, you'll see the 'Roles' tab. Here you can select what roles the user has, and the table underneath will indicate what permissions that user has when in those roles.
Roles stack, so you can have multiple different roles and receive a combination of permissions. This allows you to split your desired permissions into blocks, and apply them where needed without having to create specific roles for every user.
Access limits based on user type
Users within an agency have full access to the platform, whereas users within a client have some limitations that are permanent and cannot be overcome by editing User Roles.
Portal view limited to:
- Site List
- Site Details
- Client Profile
- User Profile
- Billing Setup, Plans, and Invoices (only shows if paying Siteglide directly)
Other restrictions:
- Gist/Live Chat - Cannot access, so they have no direct line of communication with Siteglide and must instead to their agency
- Sites - Cannot see status, so they're not informed of any billing issues (Payment Failed)
- Billing - Cannot see anything related to Reseller Programme
- Client - Cannot edit 'Payee' to set to themselves as paying Siteglide directly
Site view has no limitations, and a client user has the same feature access as an agency user (unless limited via User Roles)